Our bathroom is done. Woo hoo!! So, let’s recap our journey…
We began with a somewhat builder-basic bathroom with a garish yellow-tan bath surround (which, sadly, was my very own doing. Ugh!). Now, I’ll admit… with a shower curtain hung, the bathroom wasn’t terribly offensive… Just kind of beige. A little lacking in personality. Our goal was to give the room an inexpensive makeover while using what we already had in terms of countertops, cabinet, tub, toilet, tile etc. to save some cash.
Here’s the room before we started. Aside from some accessorizing, this is how the bath looked when we purchased the house…


So, I put together a plan to figure out the direction I wanted to go…

…and while I had my challenges finding these exact elements (as discussed in this planning post), I decided to simply take inspiration from the overall color palette and vibe of the board and run with it.
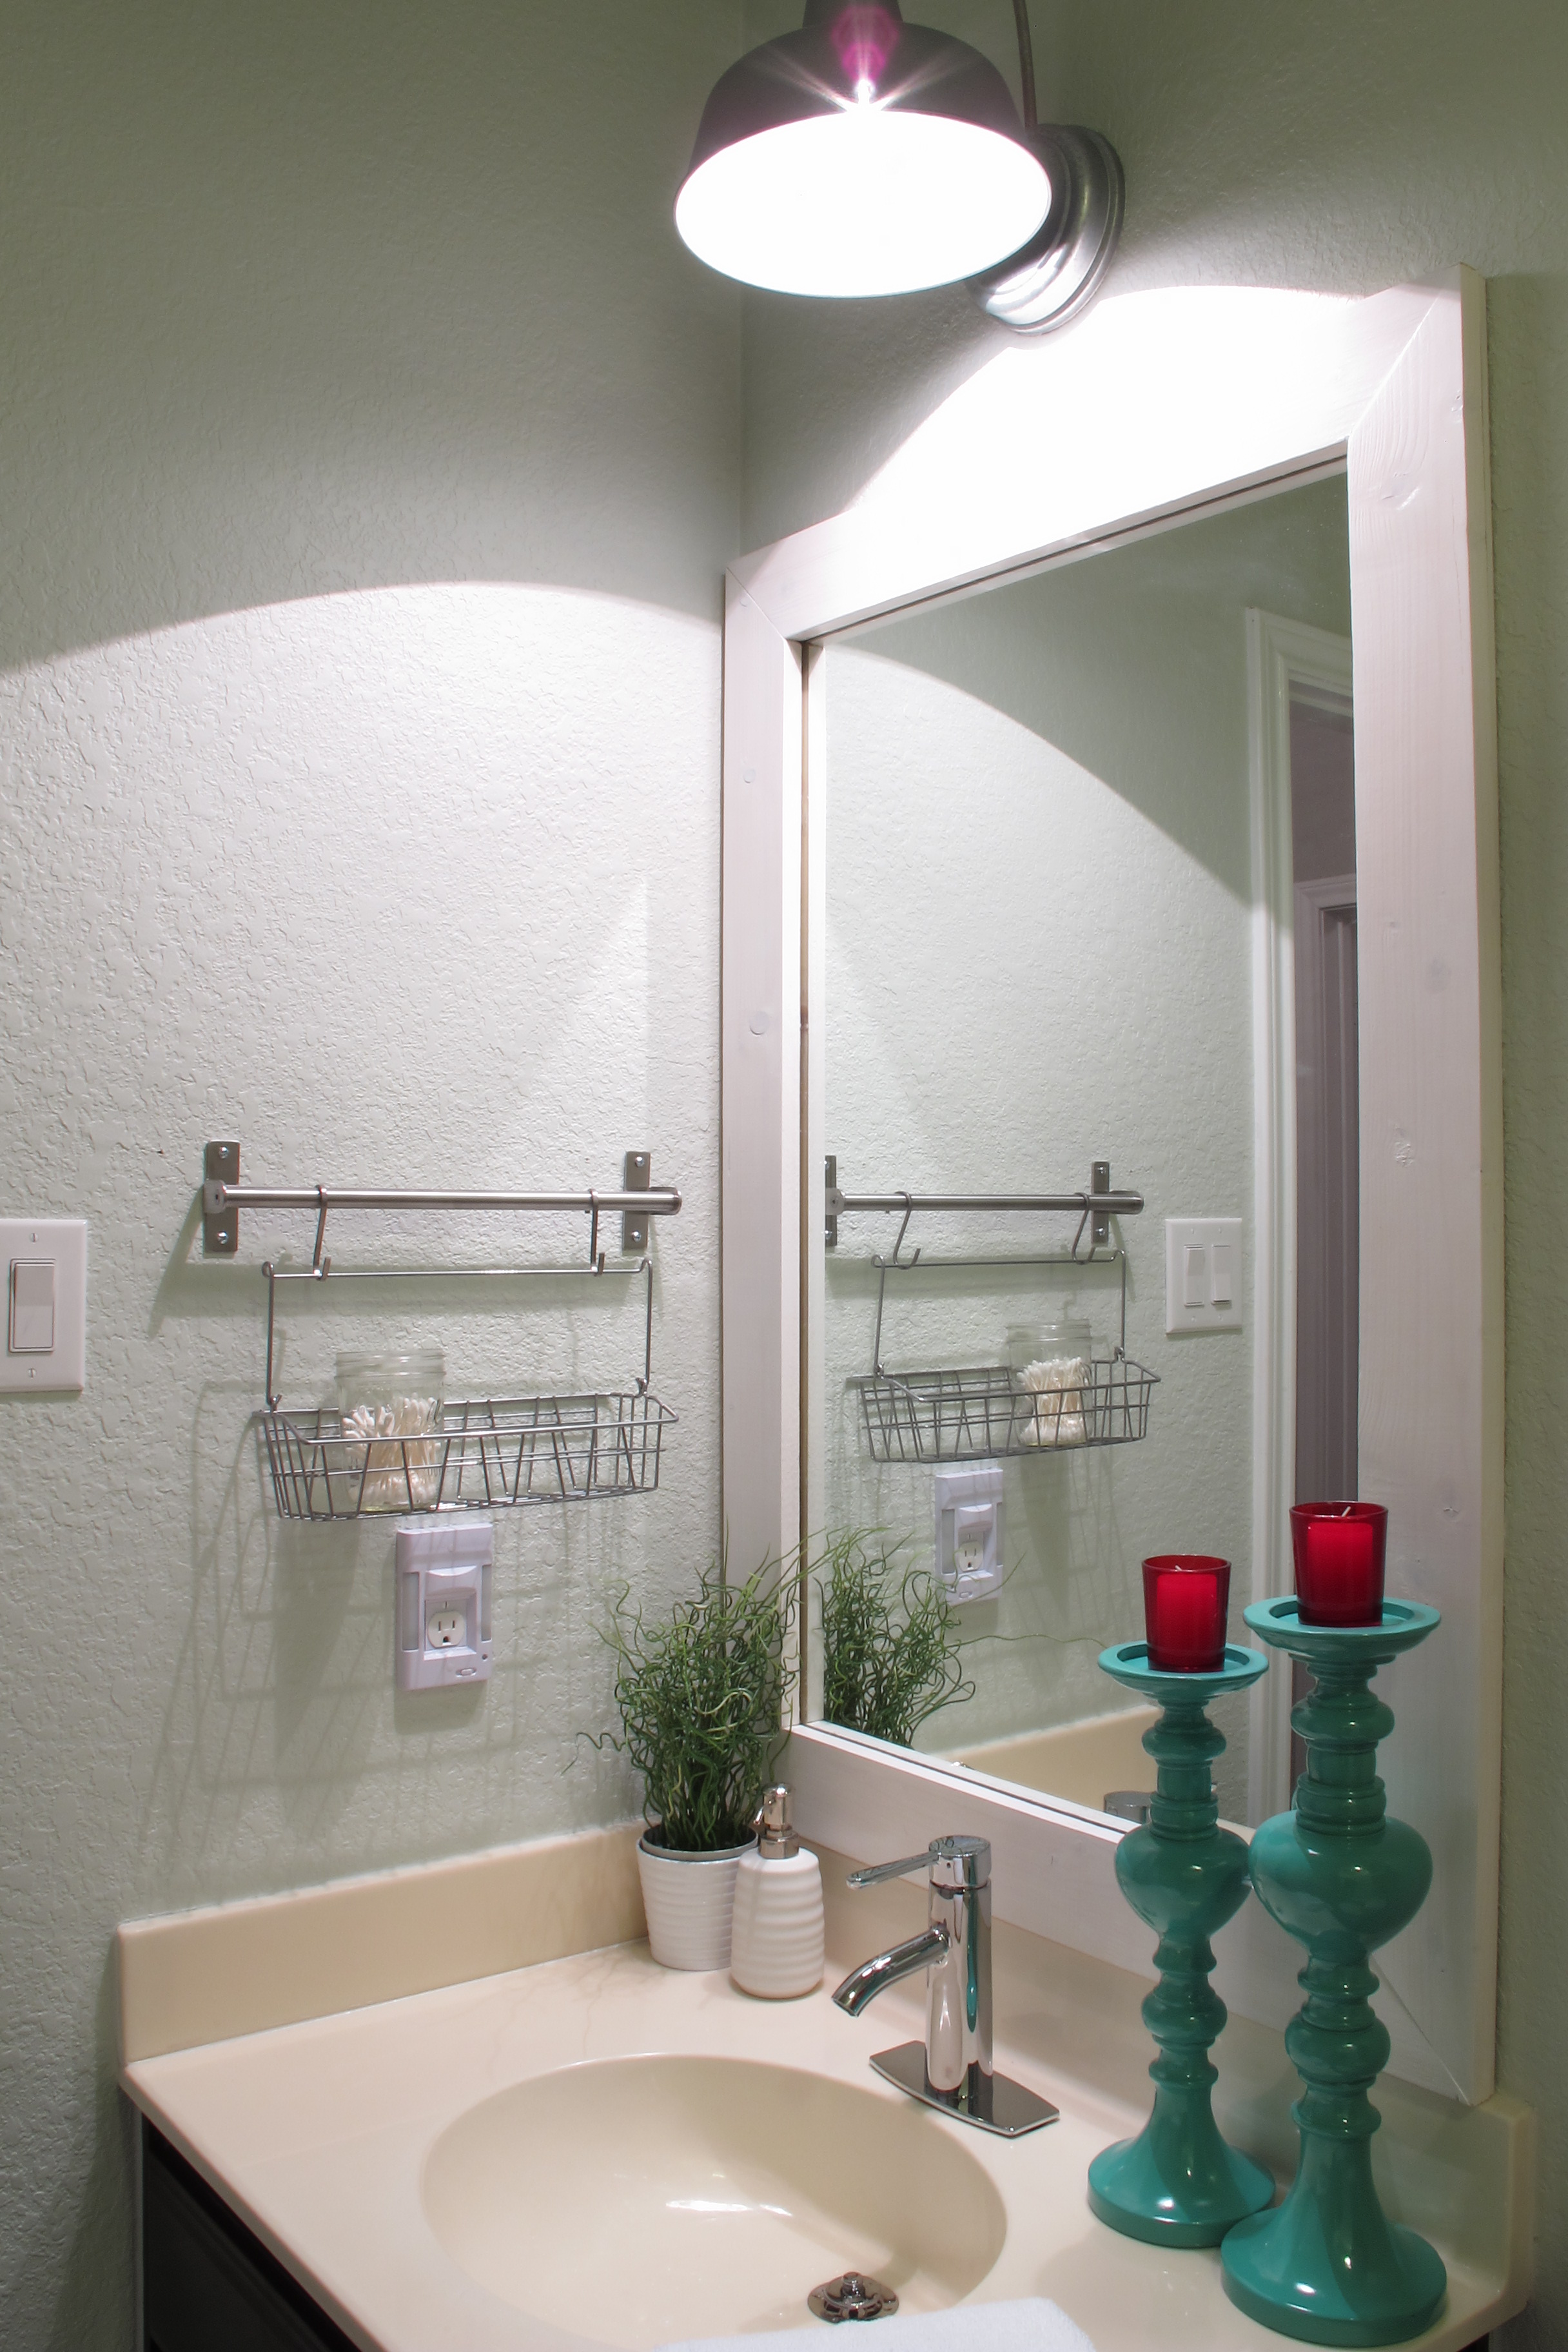
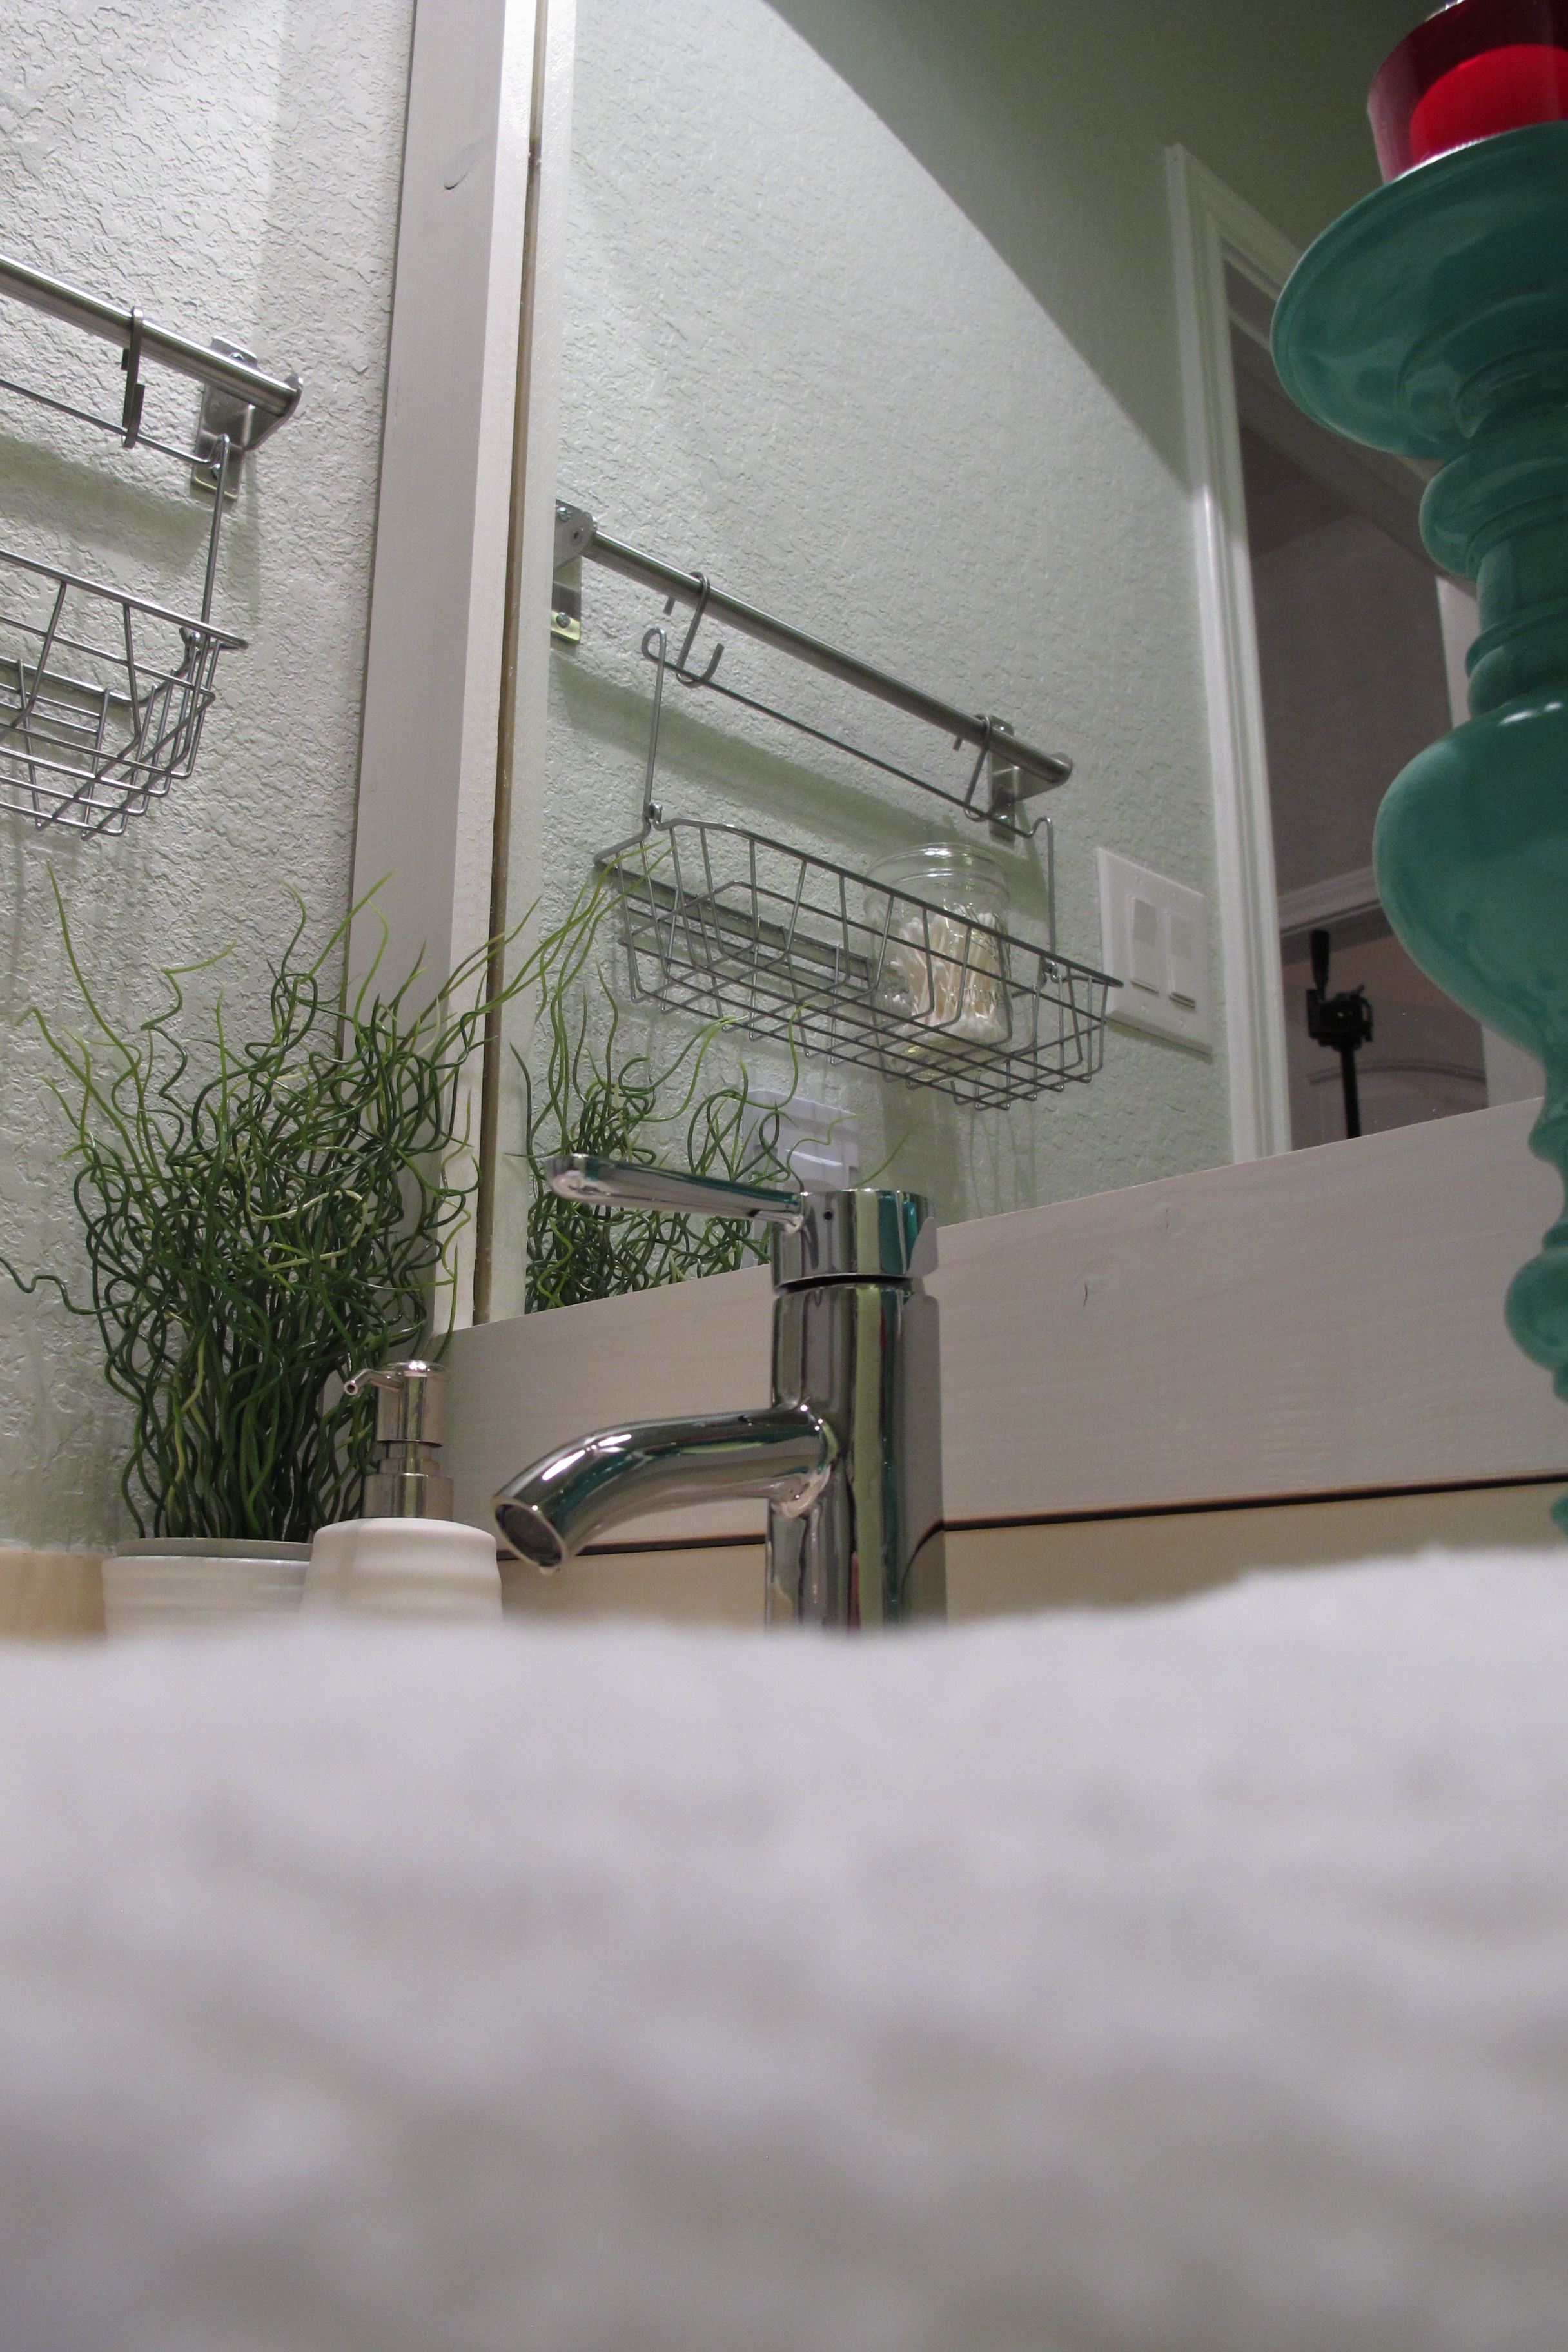
I started by painting the tile bath surround white (which made SUCH a difference). We swapped out the generic light fixture for a barn light, framed out the mirror and white-washed it. Then, I painted the walls a soft turquoise (Ante Meridian by Valspar) and, with the help of my mother-in-law, sewed extra long shower curtains. After that, I worked on some smaller details like changing out the toilet paper dispenser, adding hooks, a drawer pull and a basket-shelf. I changed out the toilet flush handle, then worked on accessorizing.
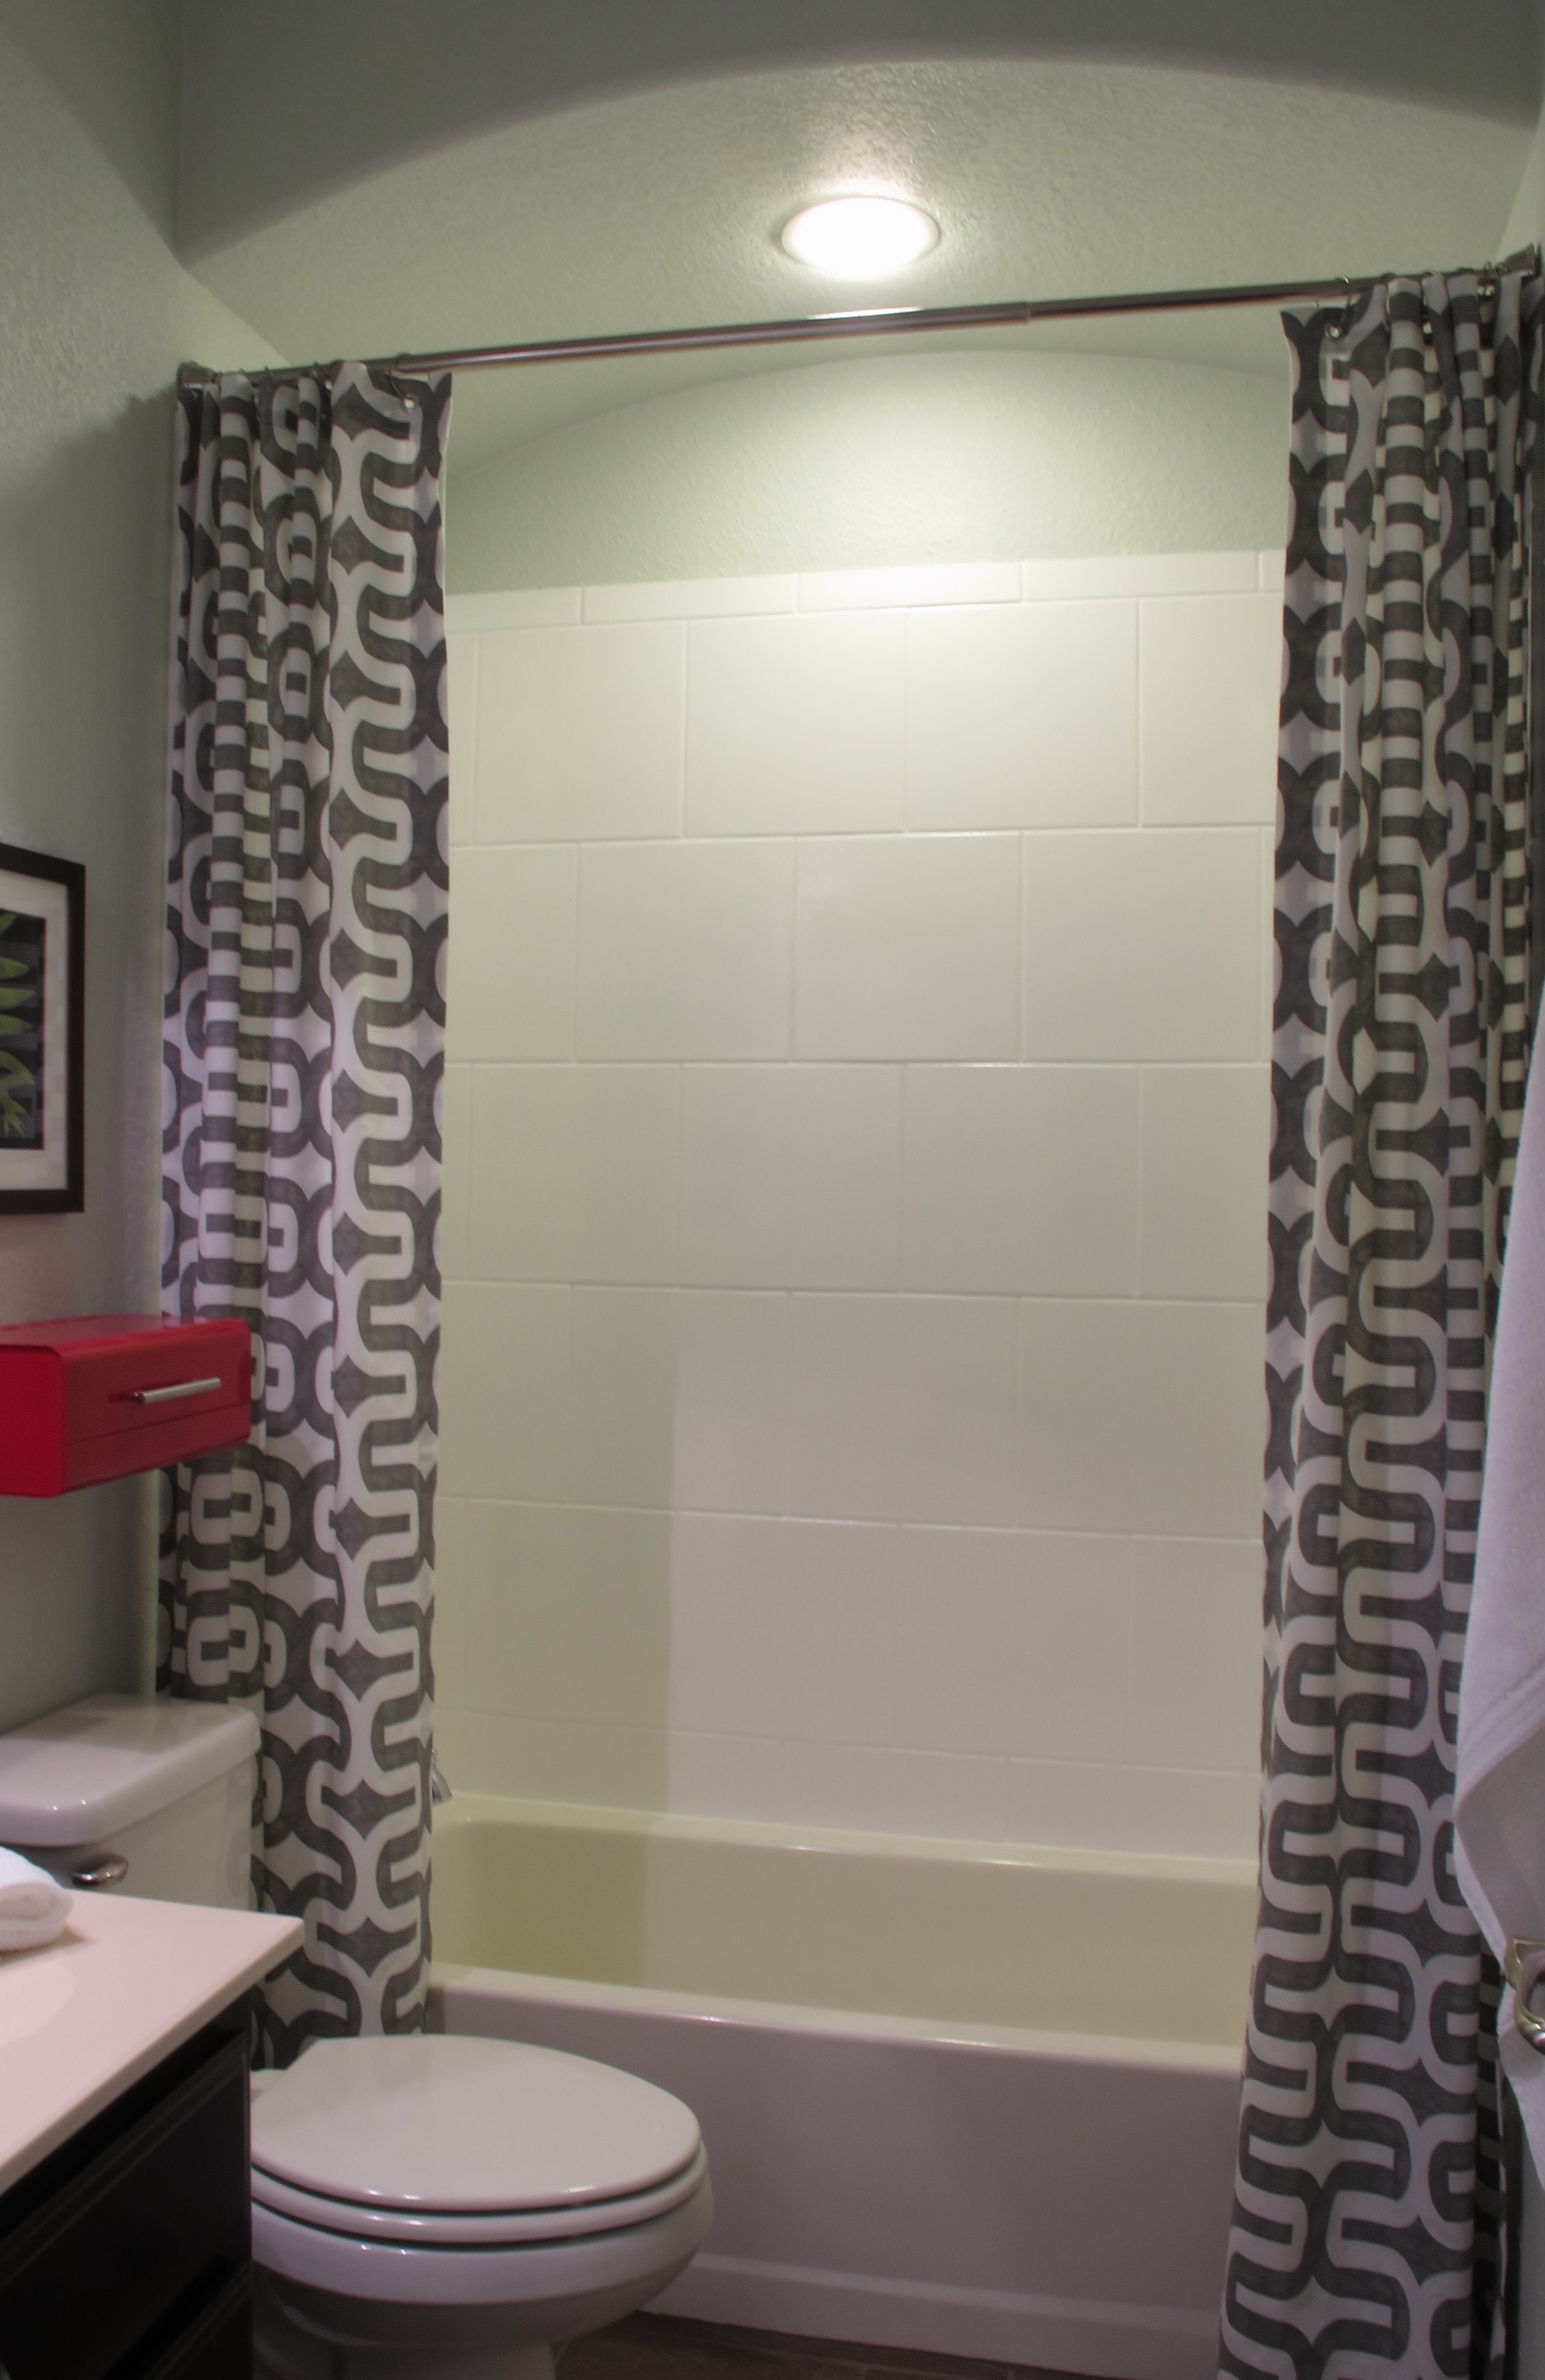
And here is the room as it stands now…


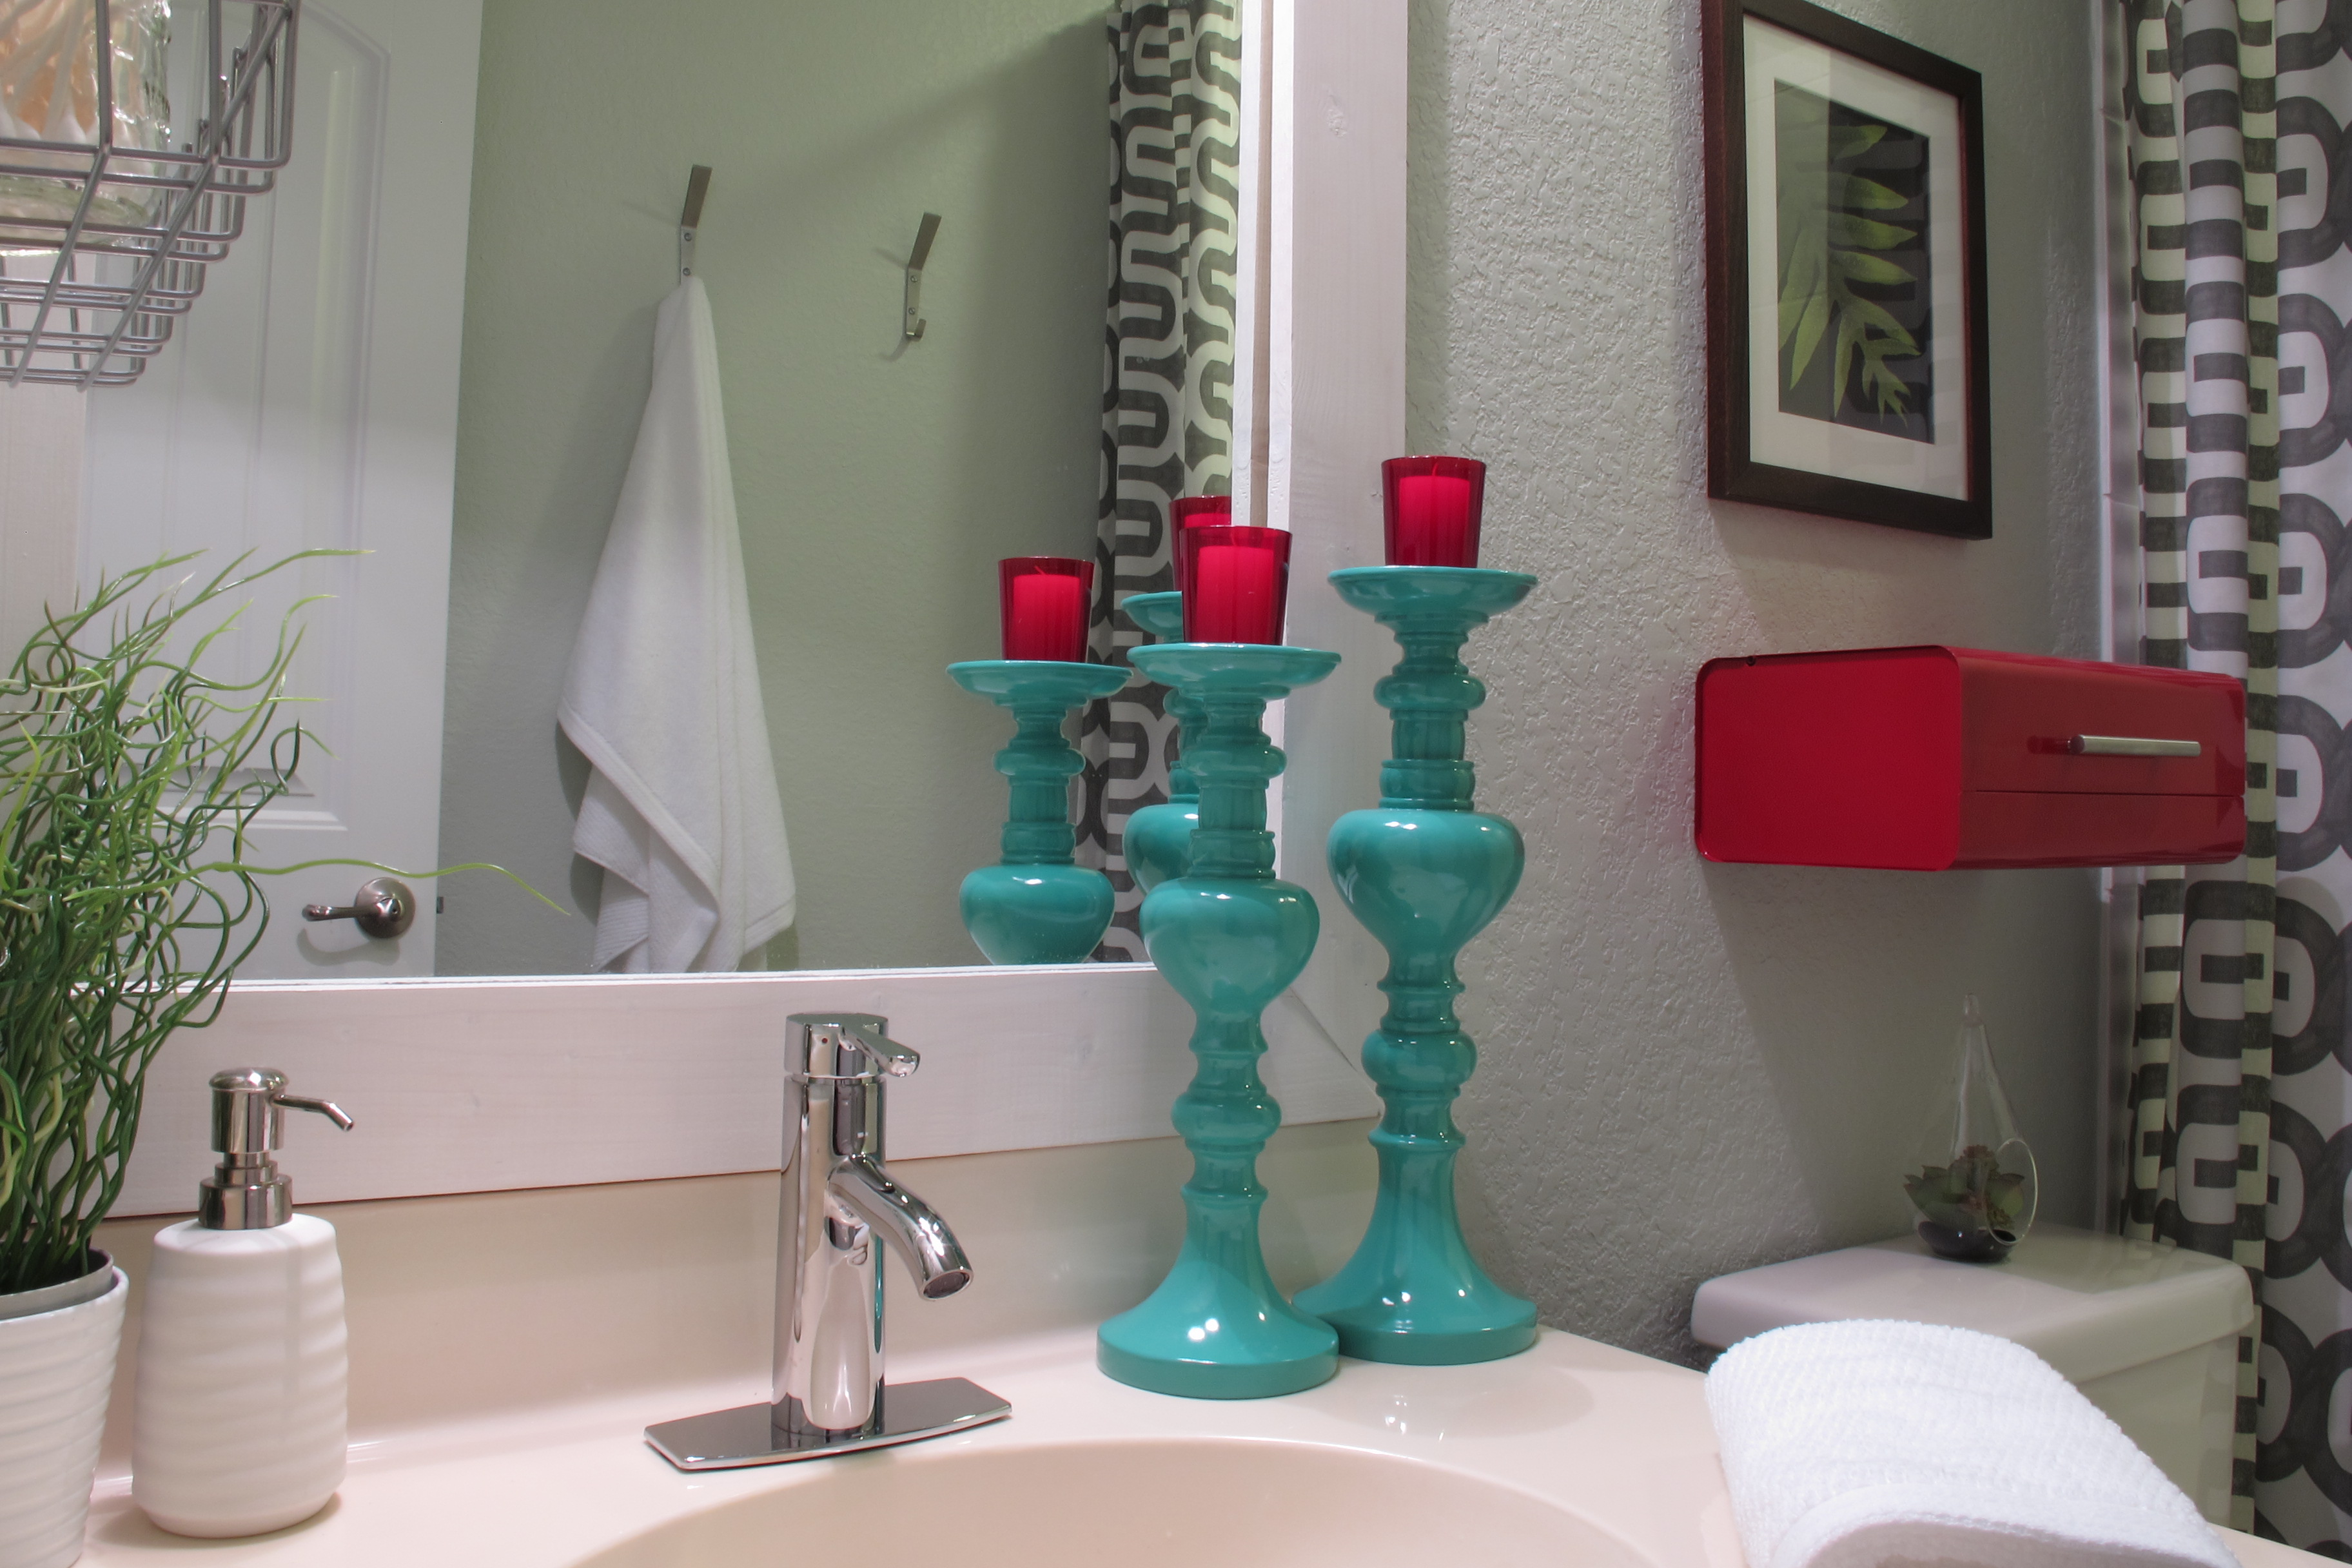
I incorporated aqua candlesticks (which were relocated from the foyer) to help highlight the turquoise in the paint color, then added the pops of red that I’ve been craving. The graphic grey and white shower curtain adds a fun, bold backdrop while my barn light along with the white-washed mirror frame contribute a bit of a rustic tone to the mix.

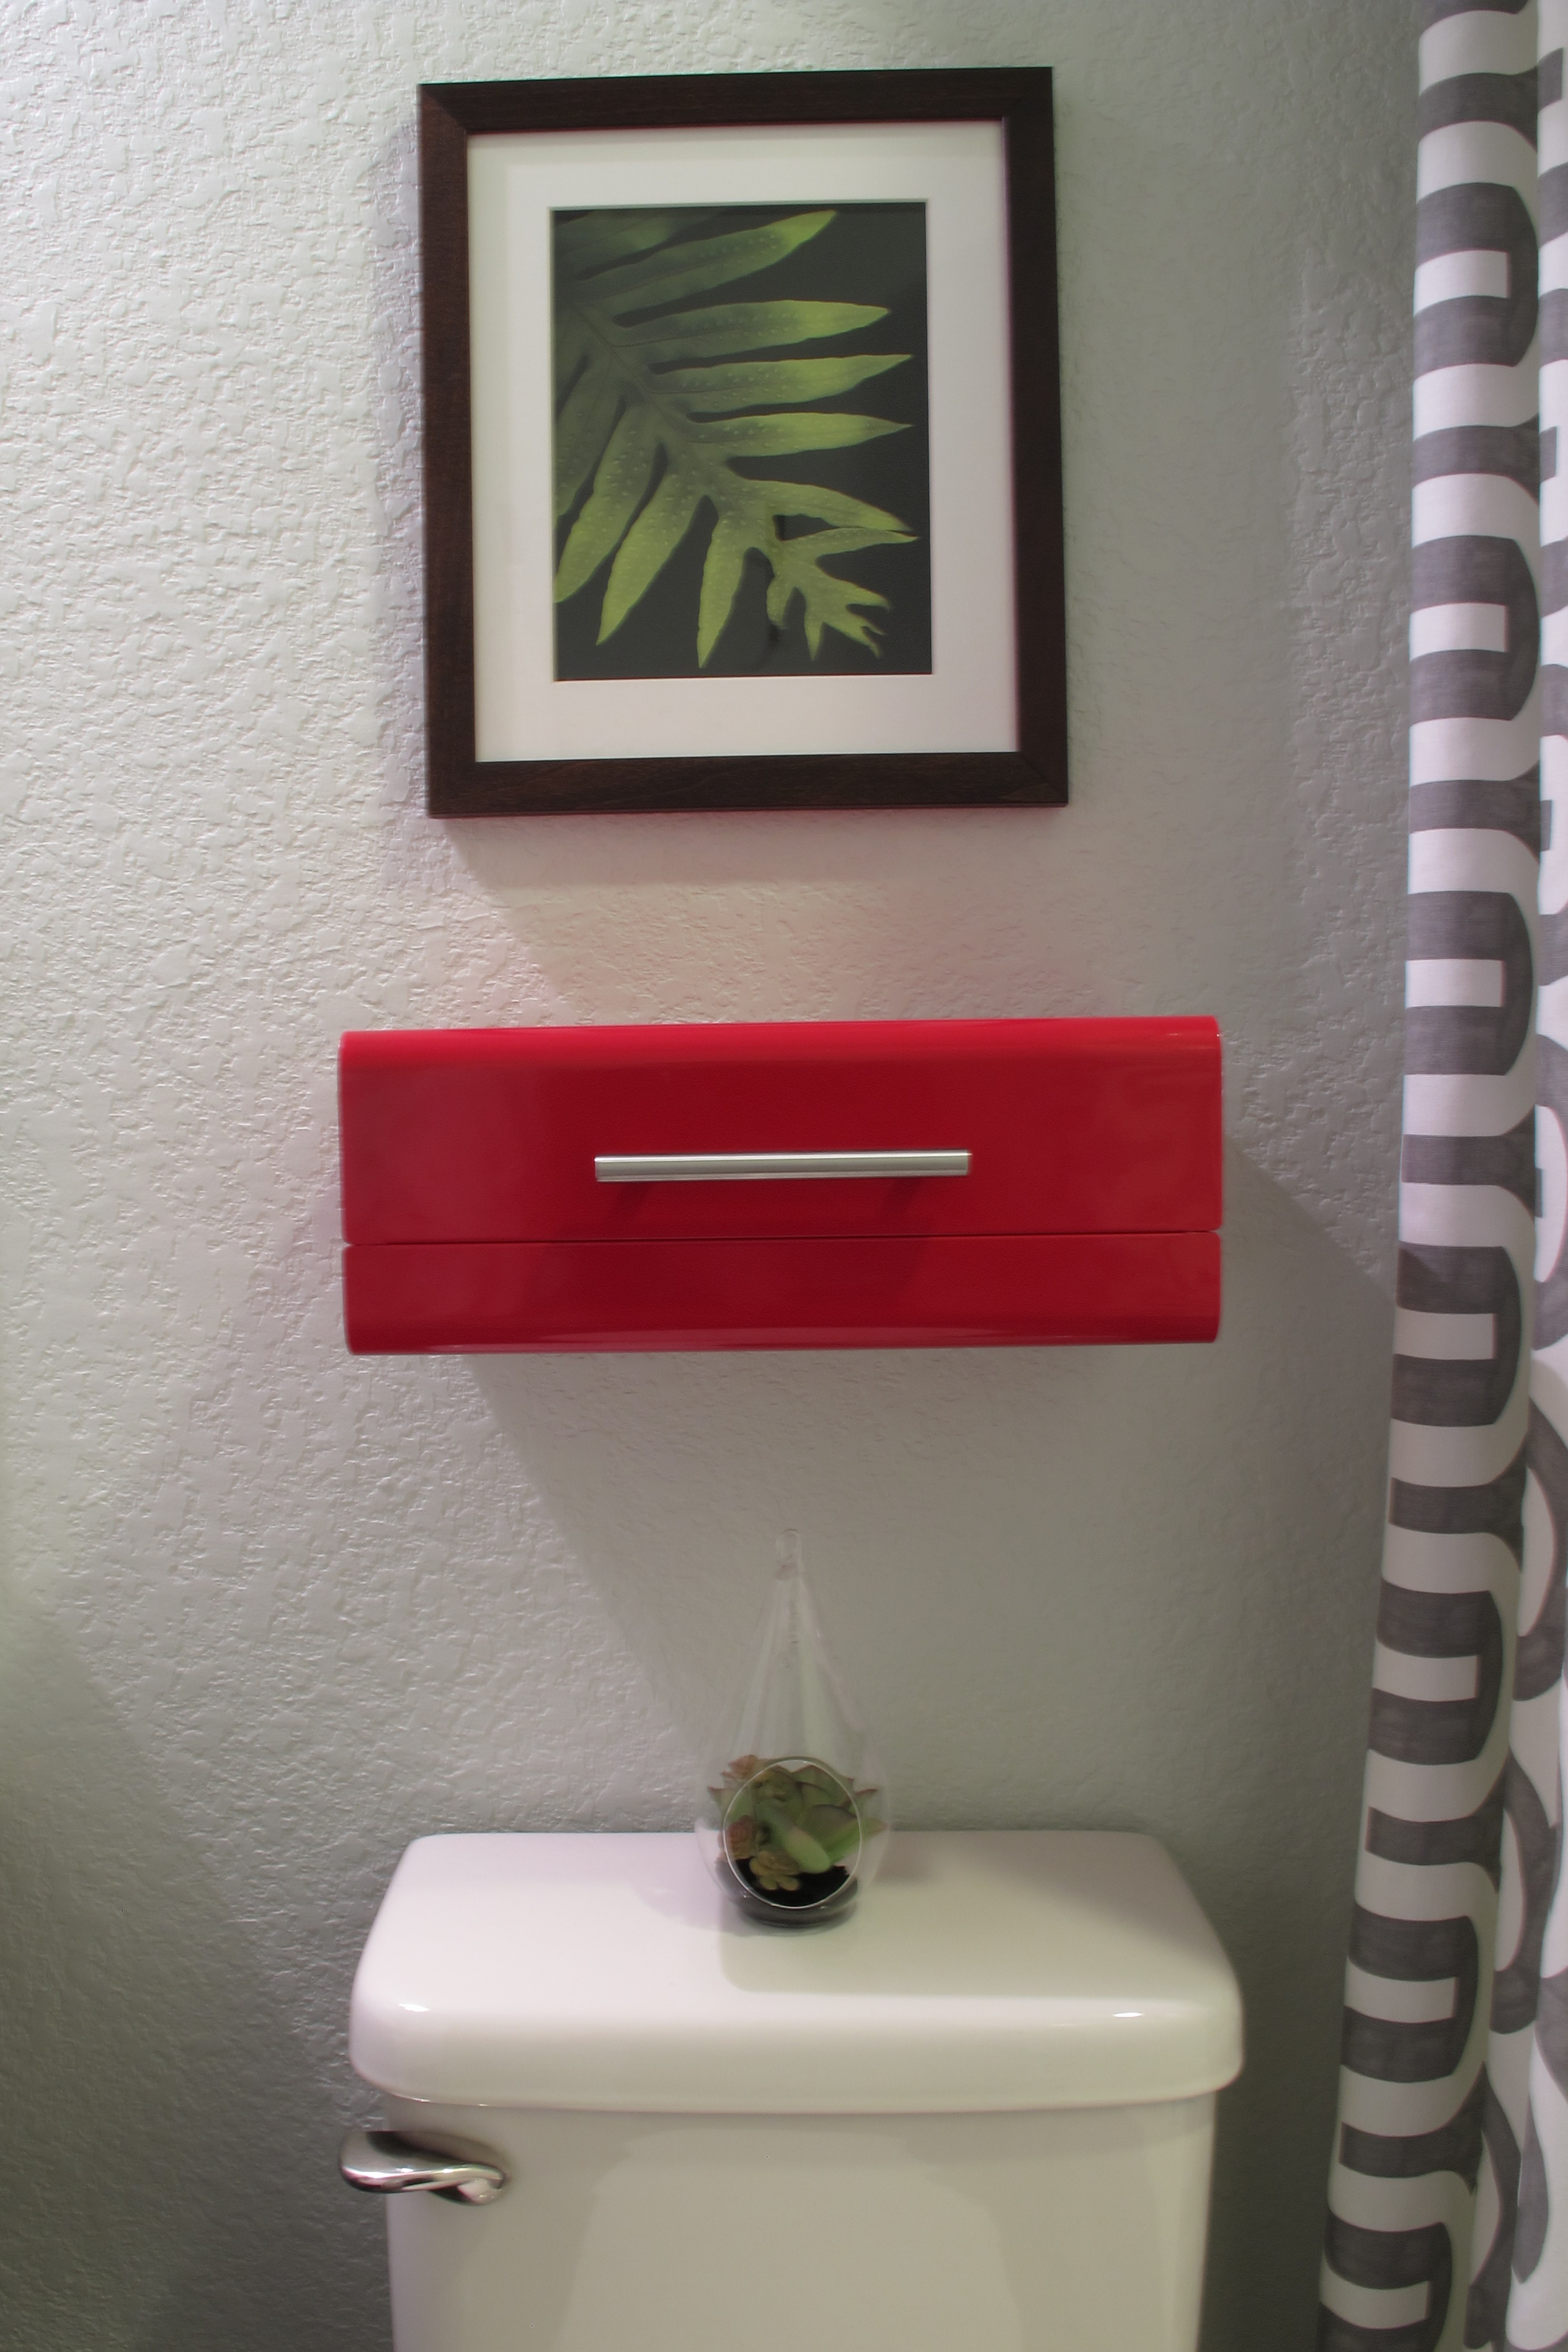
I think my favorite parts of the room are the shower curtains and this pop of red…

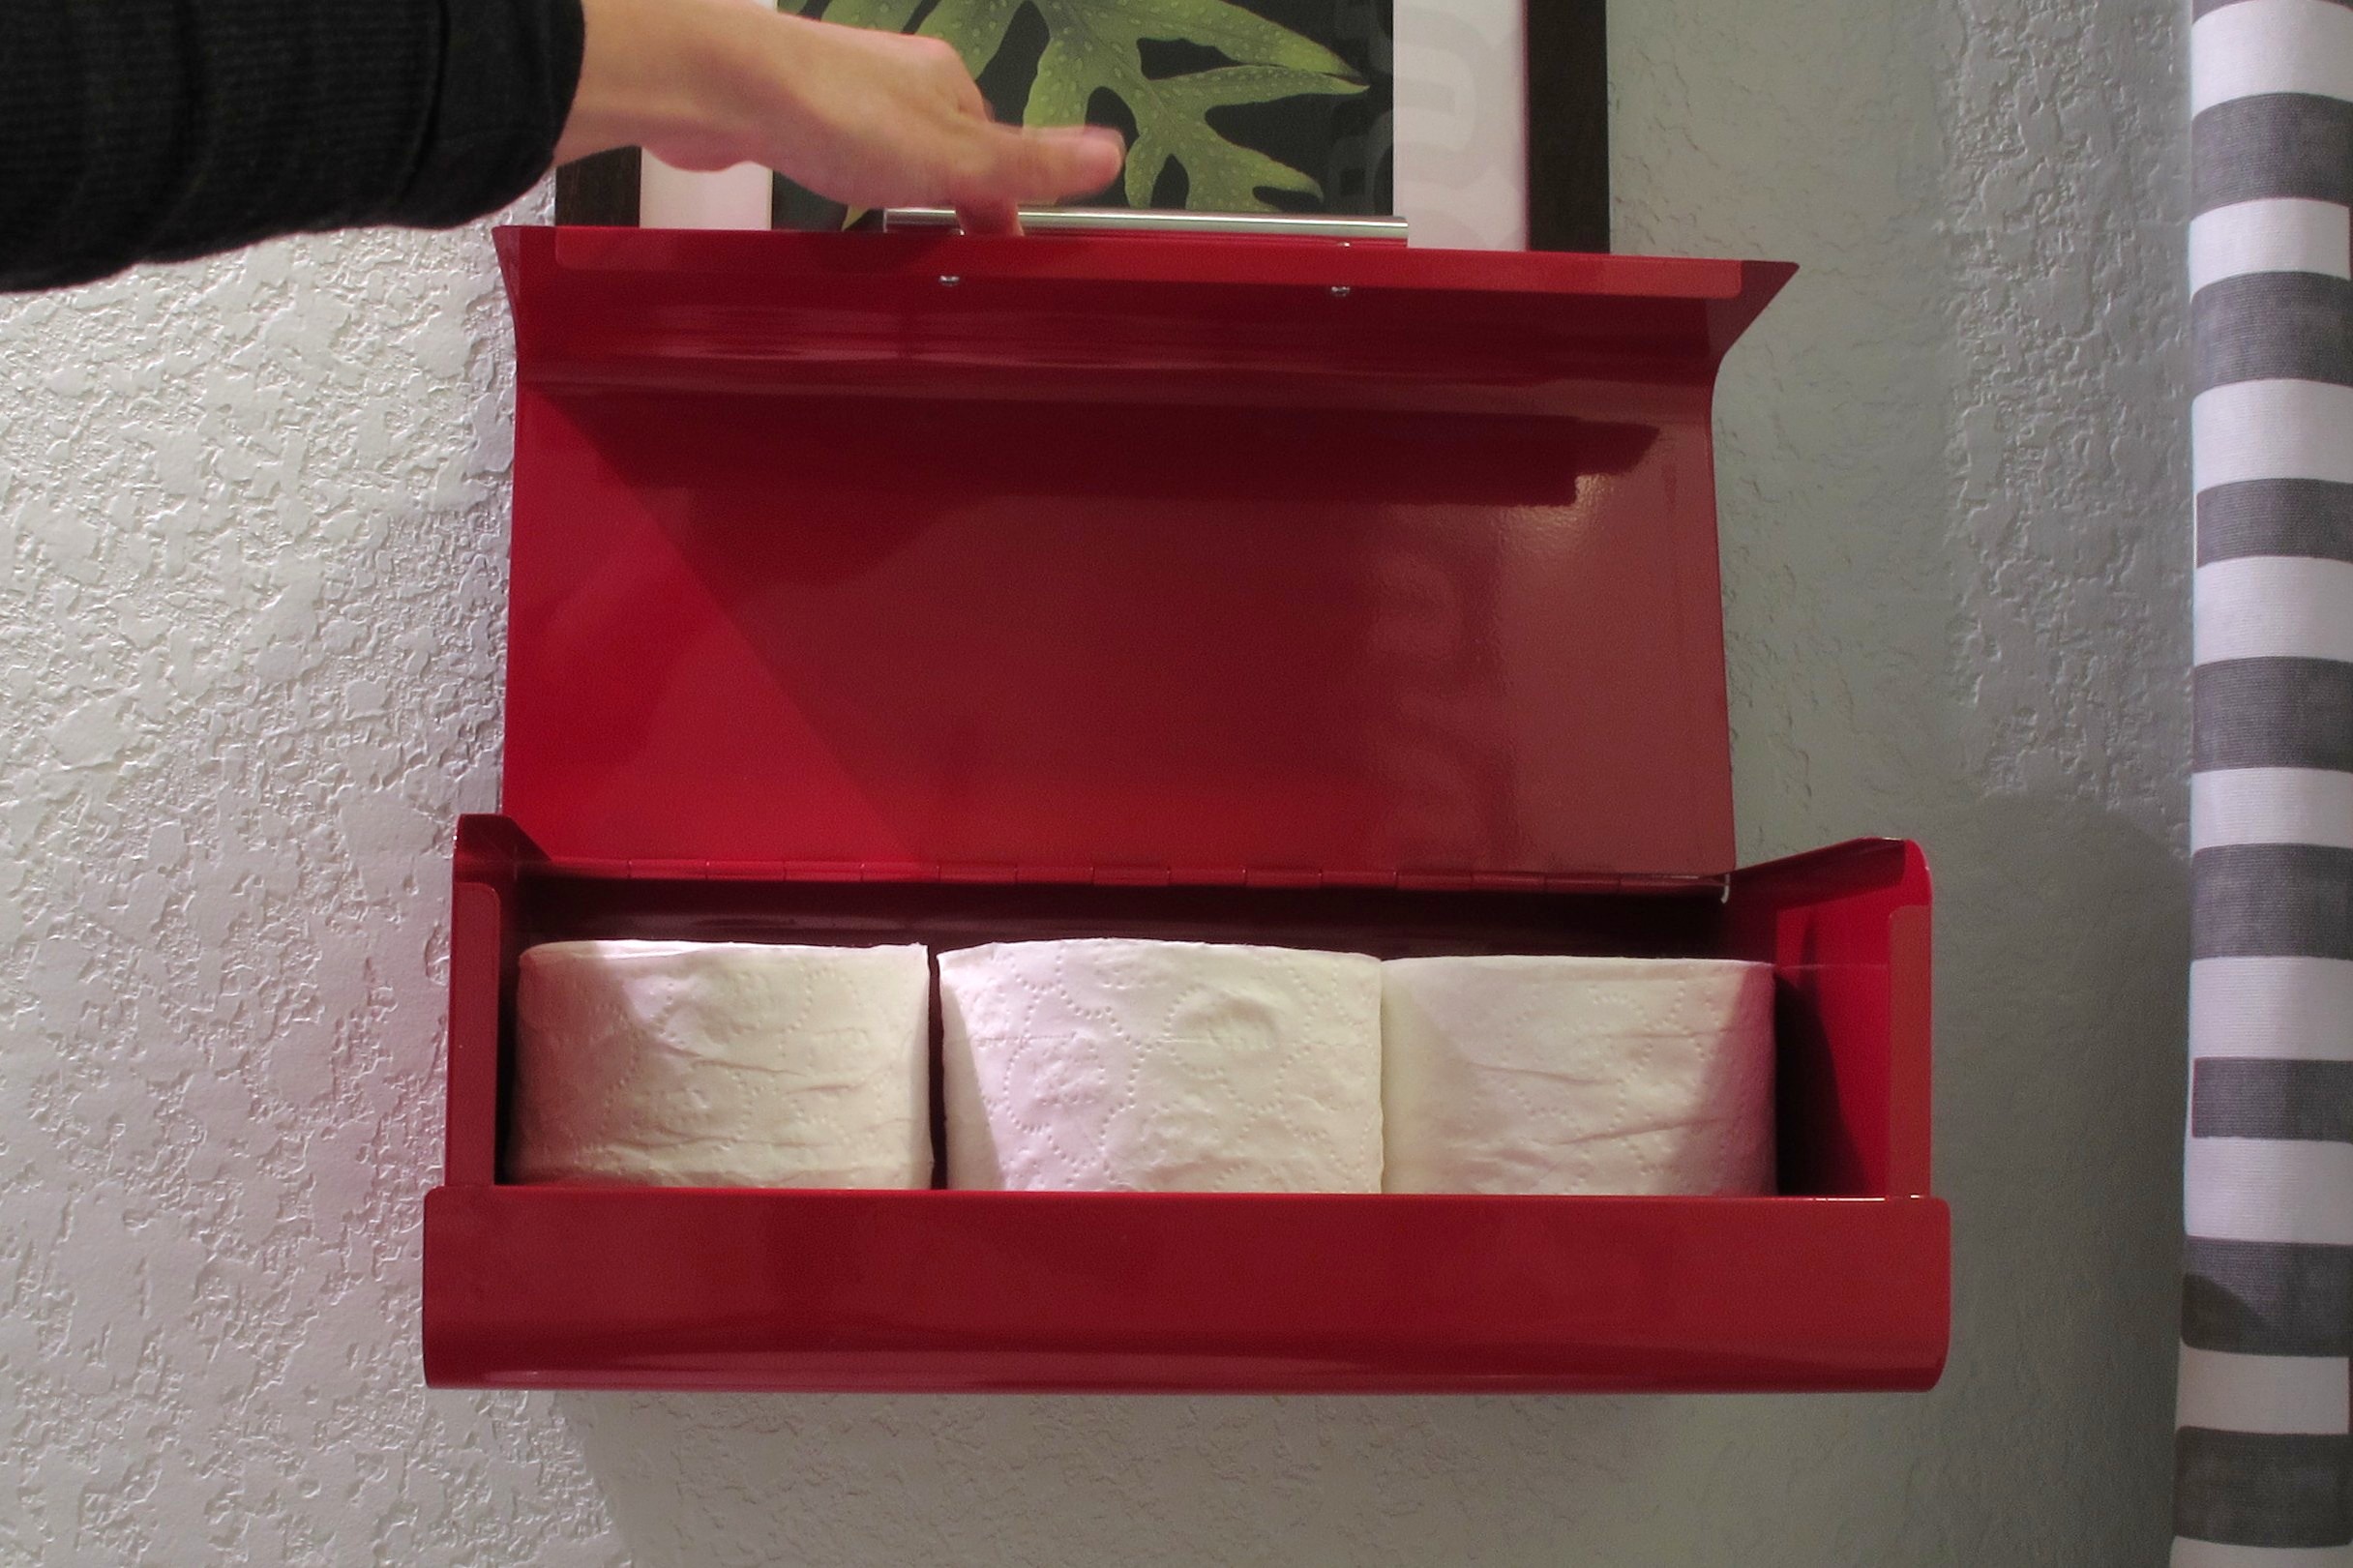
It’s actually a bread box that I got at Goodwill for dirt cheap a while back. I purchased it without a clue as to what I would do with it. Then, as I searched my stash for some pops of red to complete the room, the cables connected. And I thought “Boom! Shelf storage!” for toilet paper…

So, I removed it’s rubber feet and Joey mounted that sucker straight to the wall.

I think it lends sort of a retro vibe, which, as you know, I’m quite the fan of. The leafy art above it, I already owned. It was in the bathroom before, actually. I love how the dark frame ties in the deep ebony sink base. I’m not sure that this will be “forever” art in this room… I think something with a slightly larger scale and more modern feel may eventually replace it. But for now, it’s fine (and free) so we’re going with it.
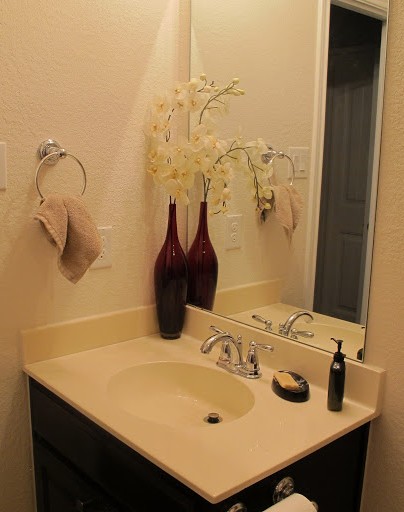
Our new faucet…

…is the Dalskar faucet from Ikea. Much sleeker than his predecessor, for sure. We went with chrome instead of brushed nickel to match our bath tub fixtures, which we’re keeping for now. I actually like the mix of chrome and brushed nickel. I did my best to disperse them throughout the room to make the choice seem intentional.

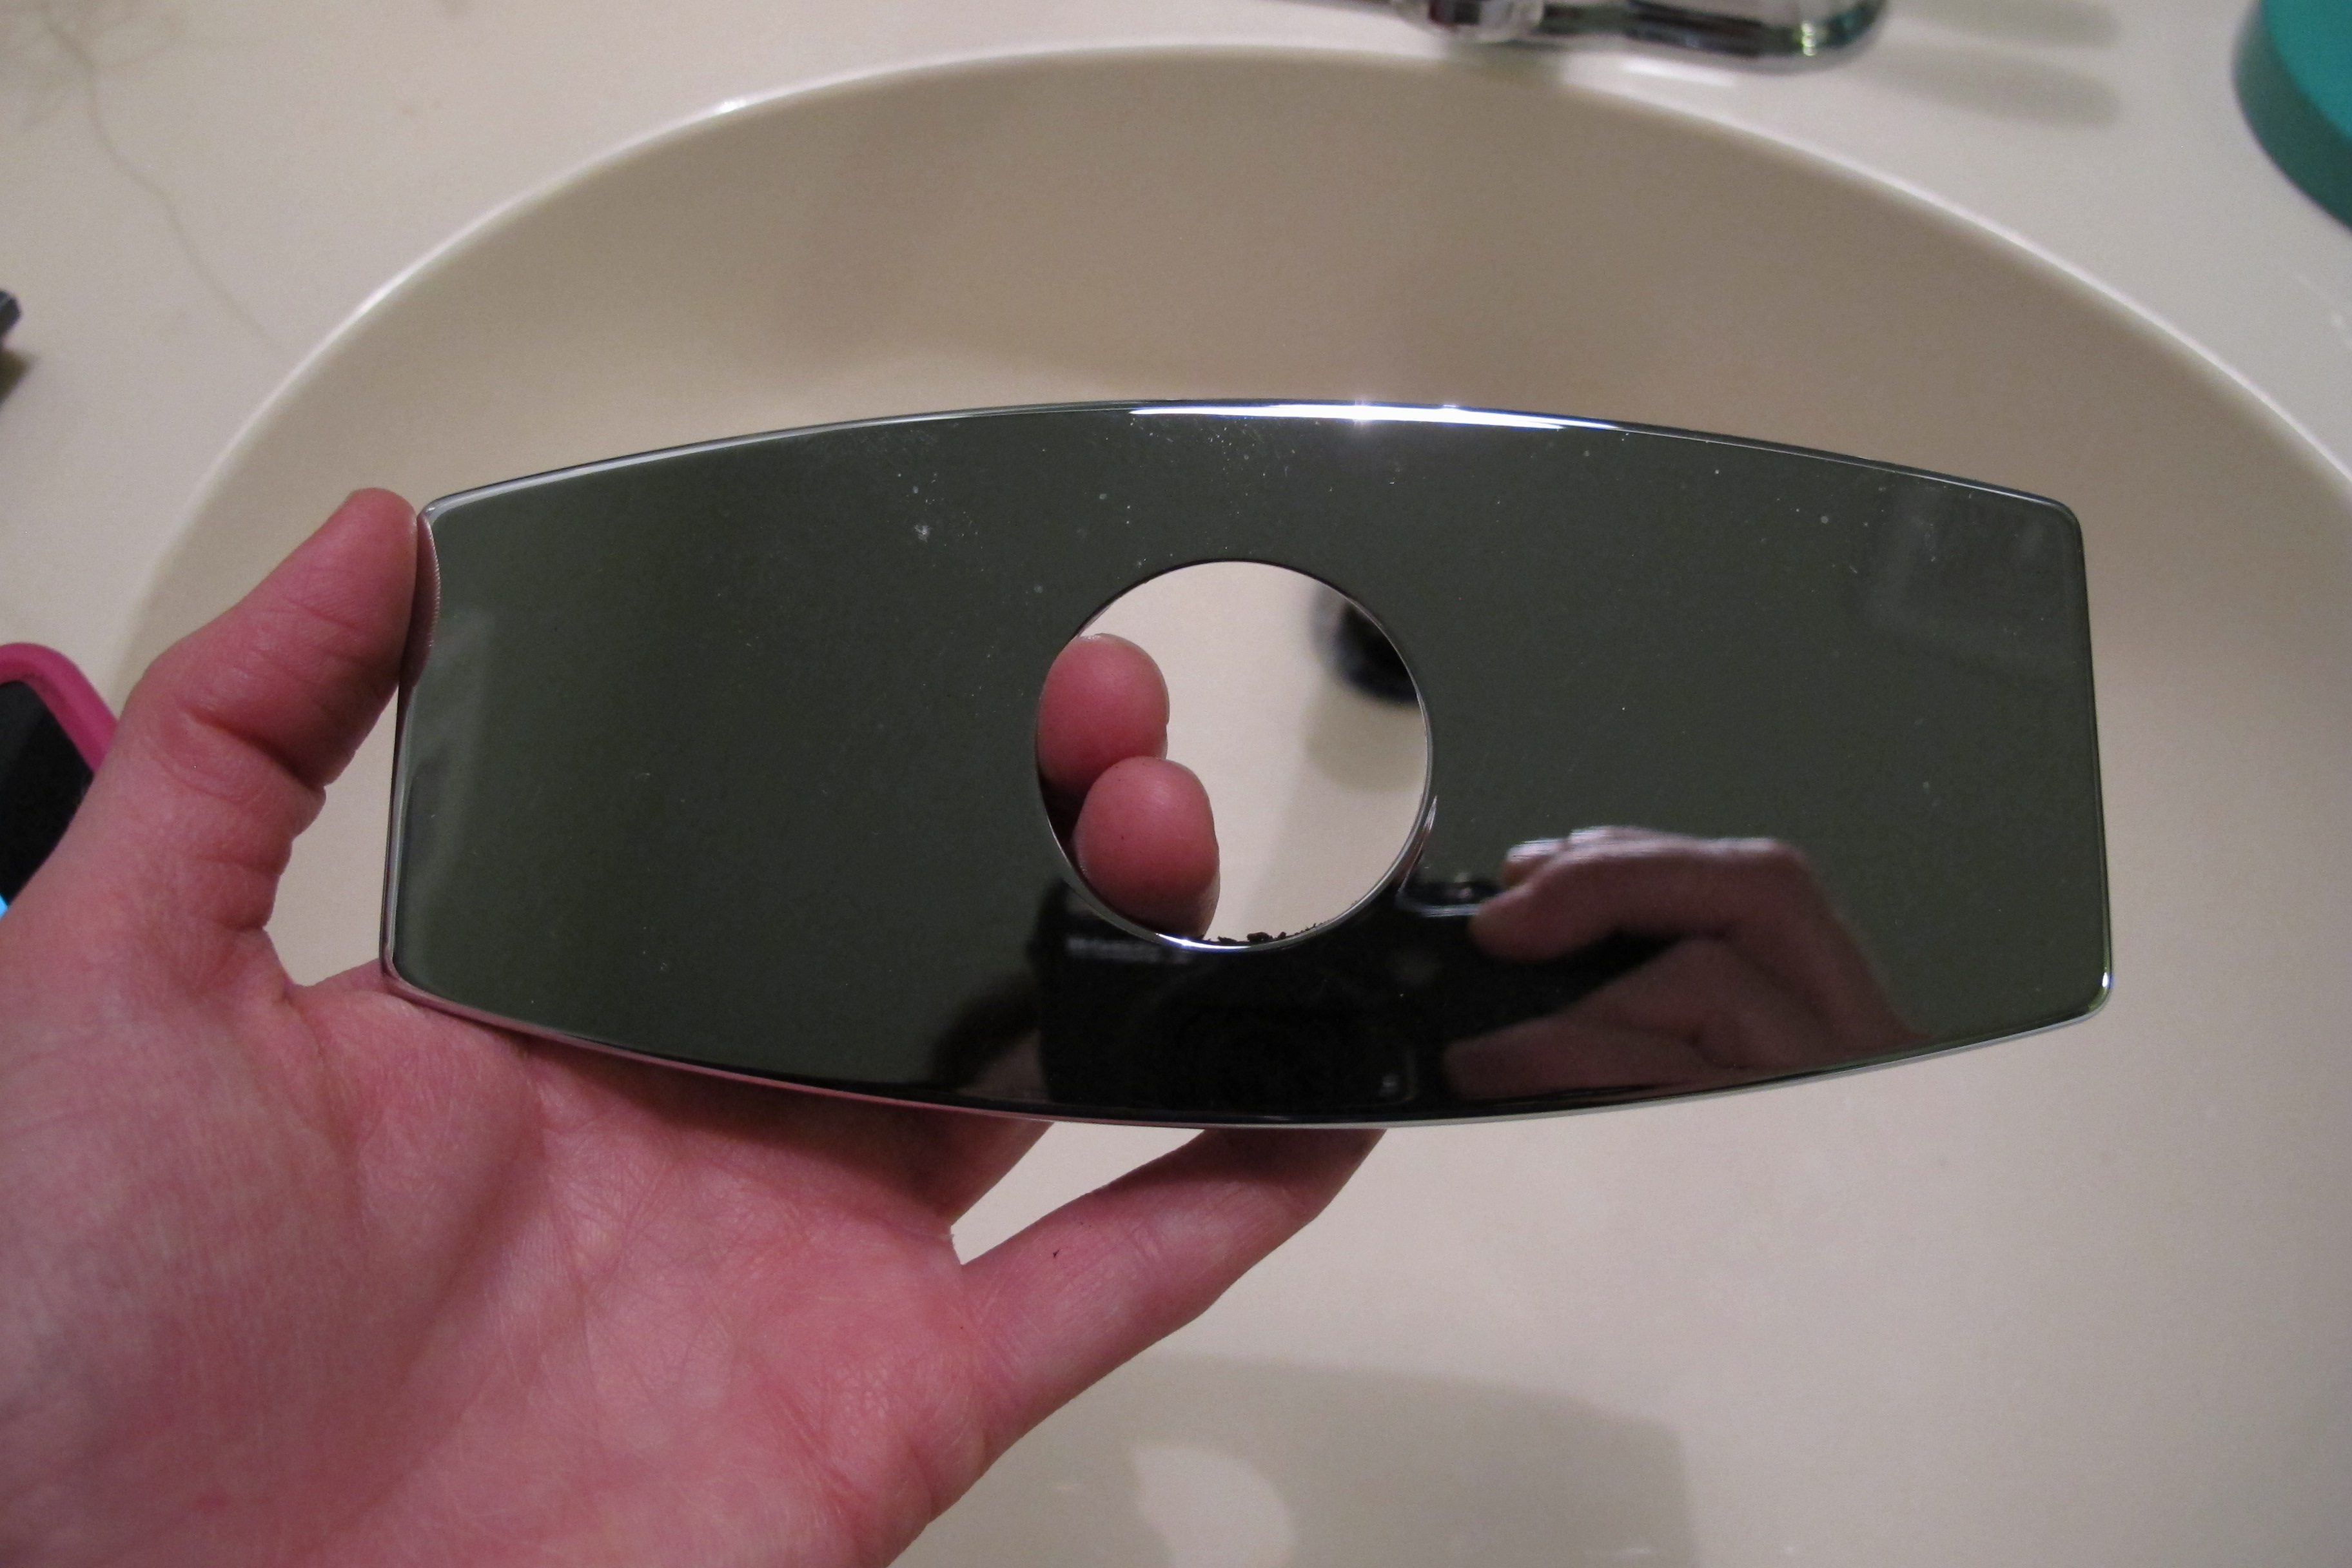
As for the faucet snafu that I’d alluded to in previous posts… We chose a one-hole faucet, not realizing that we had a three-hole countertop. So, imagine our excitement when we began installing the faucet, only to cue the “Womp! Womp!” upon seeing this…

After a short pouting spell, we did some research and ordered this deck plate to conceal the two unused holes…

I wasn’t sure I’d dig the end result, since I had my heart set on a one-holer (and unfortunately, it wasn’t in the budget to change out the countertop), but I actually really, truly like it. The deck plate is nice quality and goes great with the faucet.

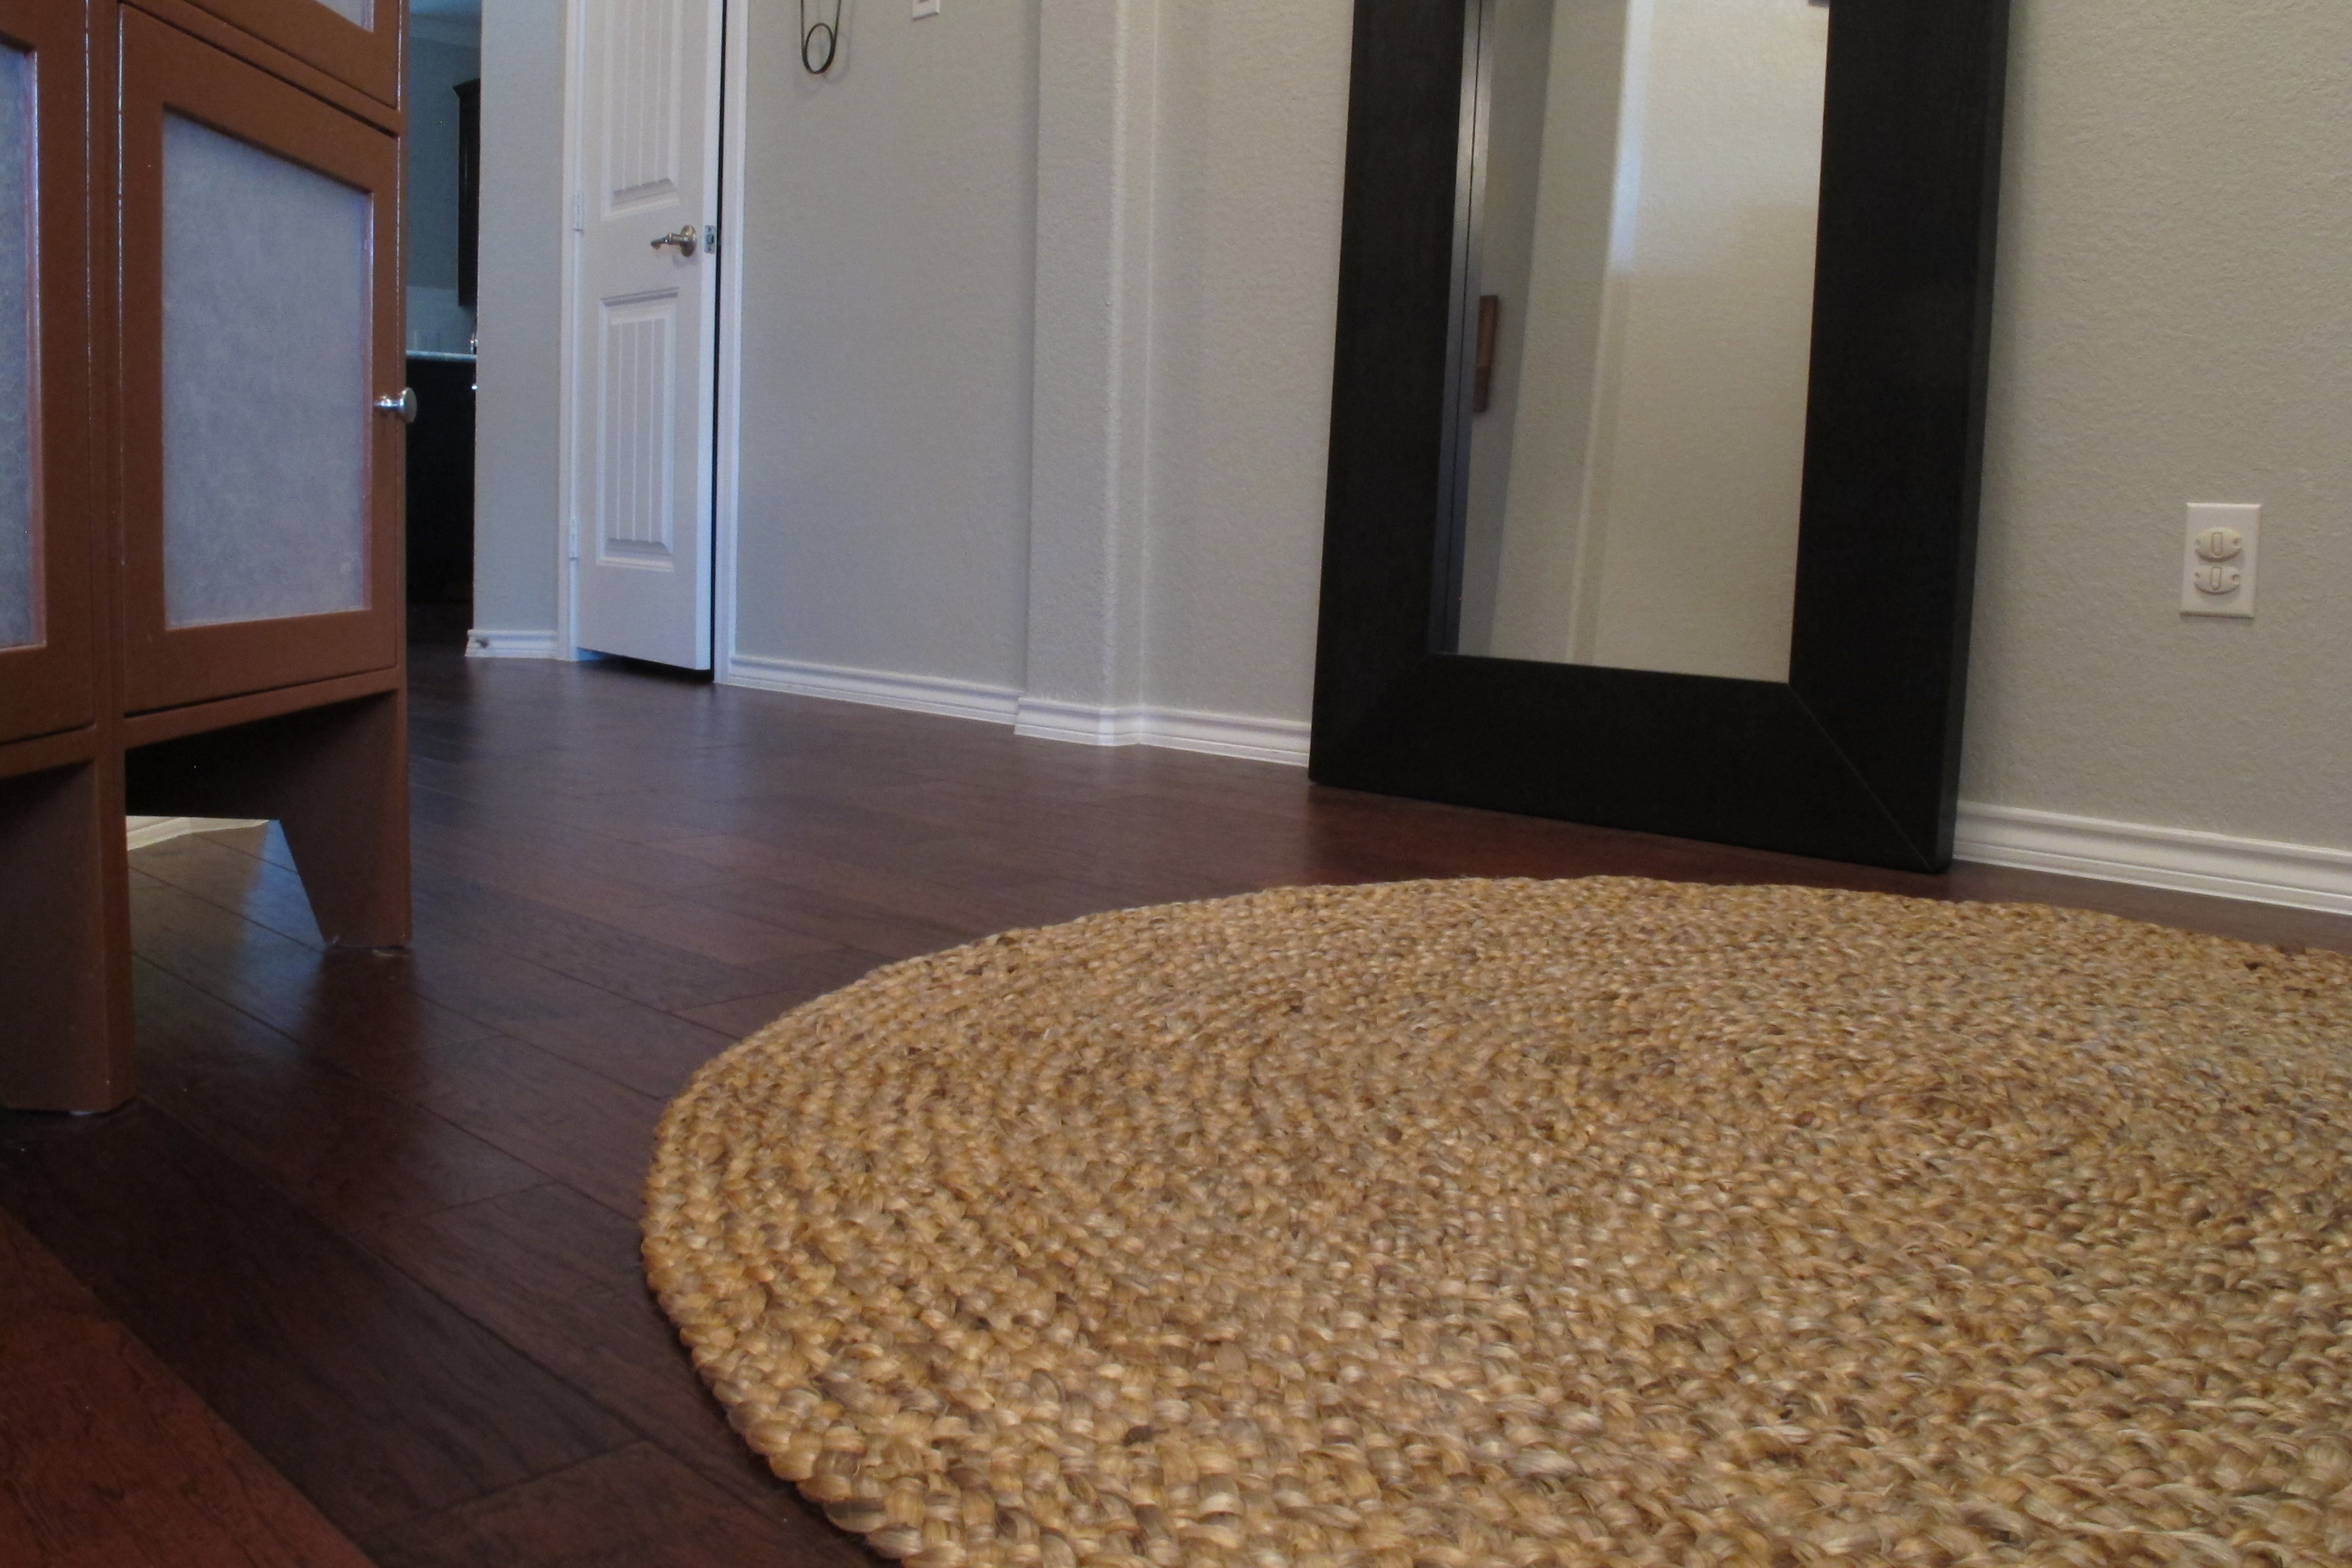
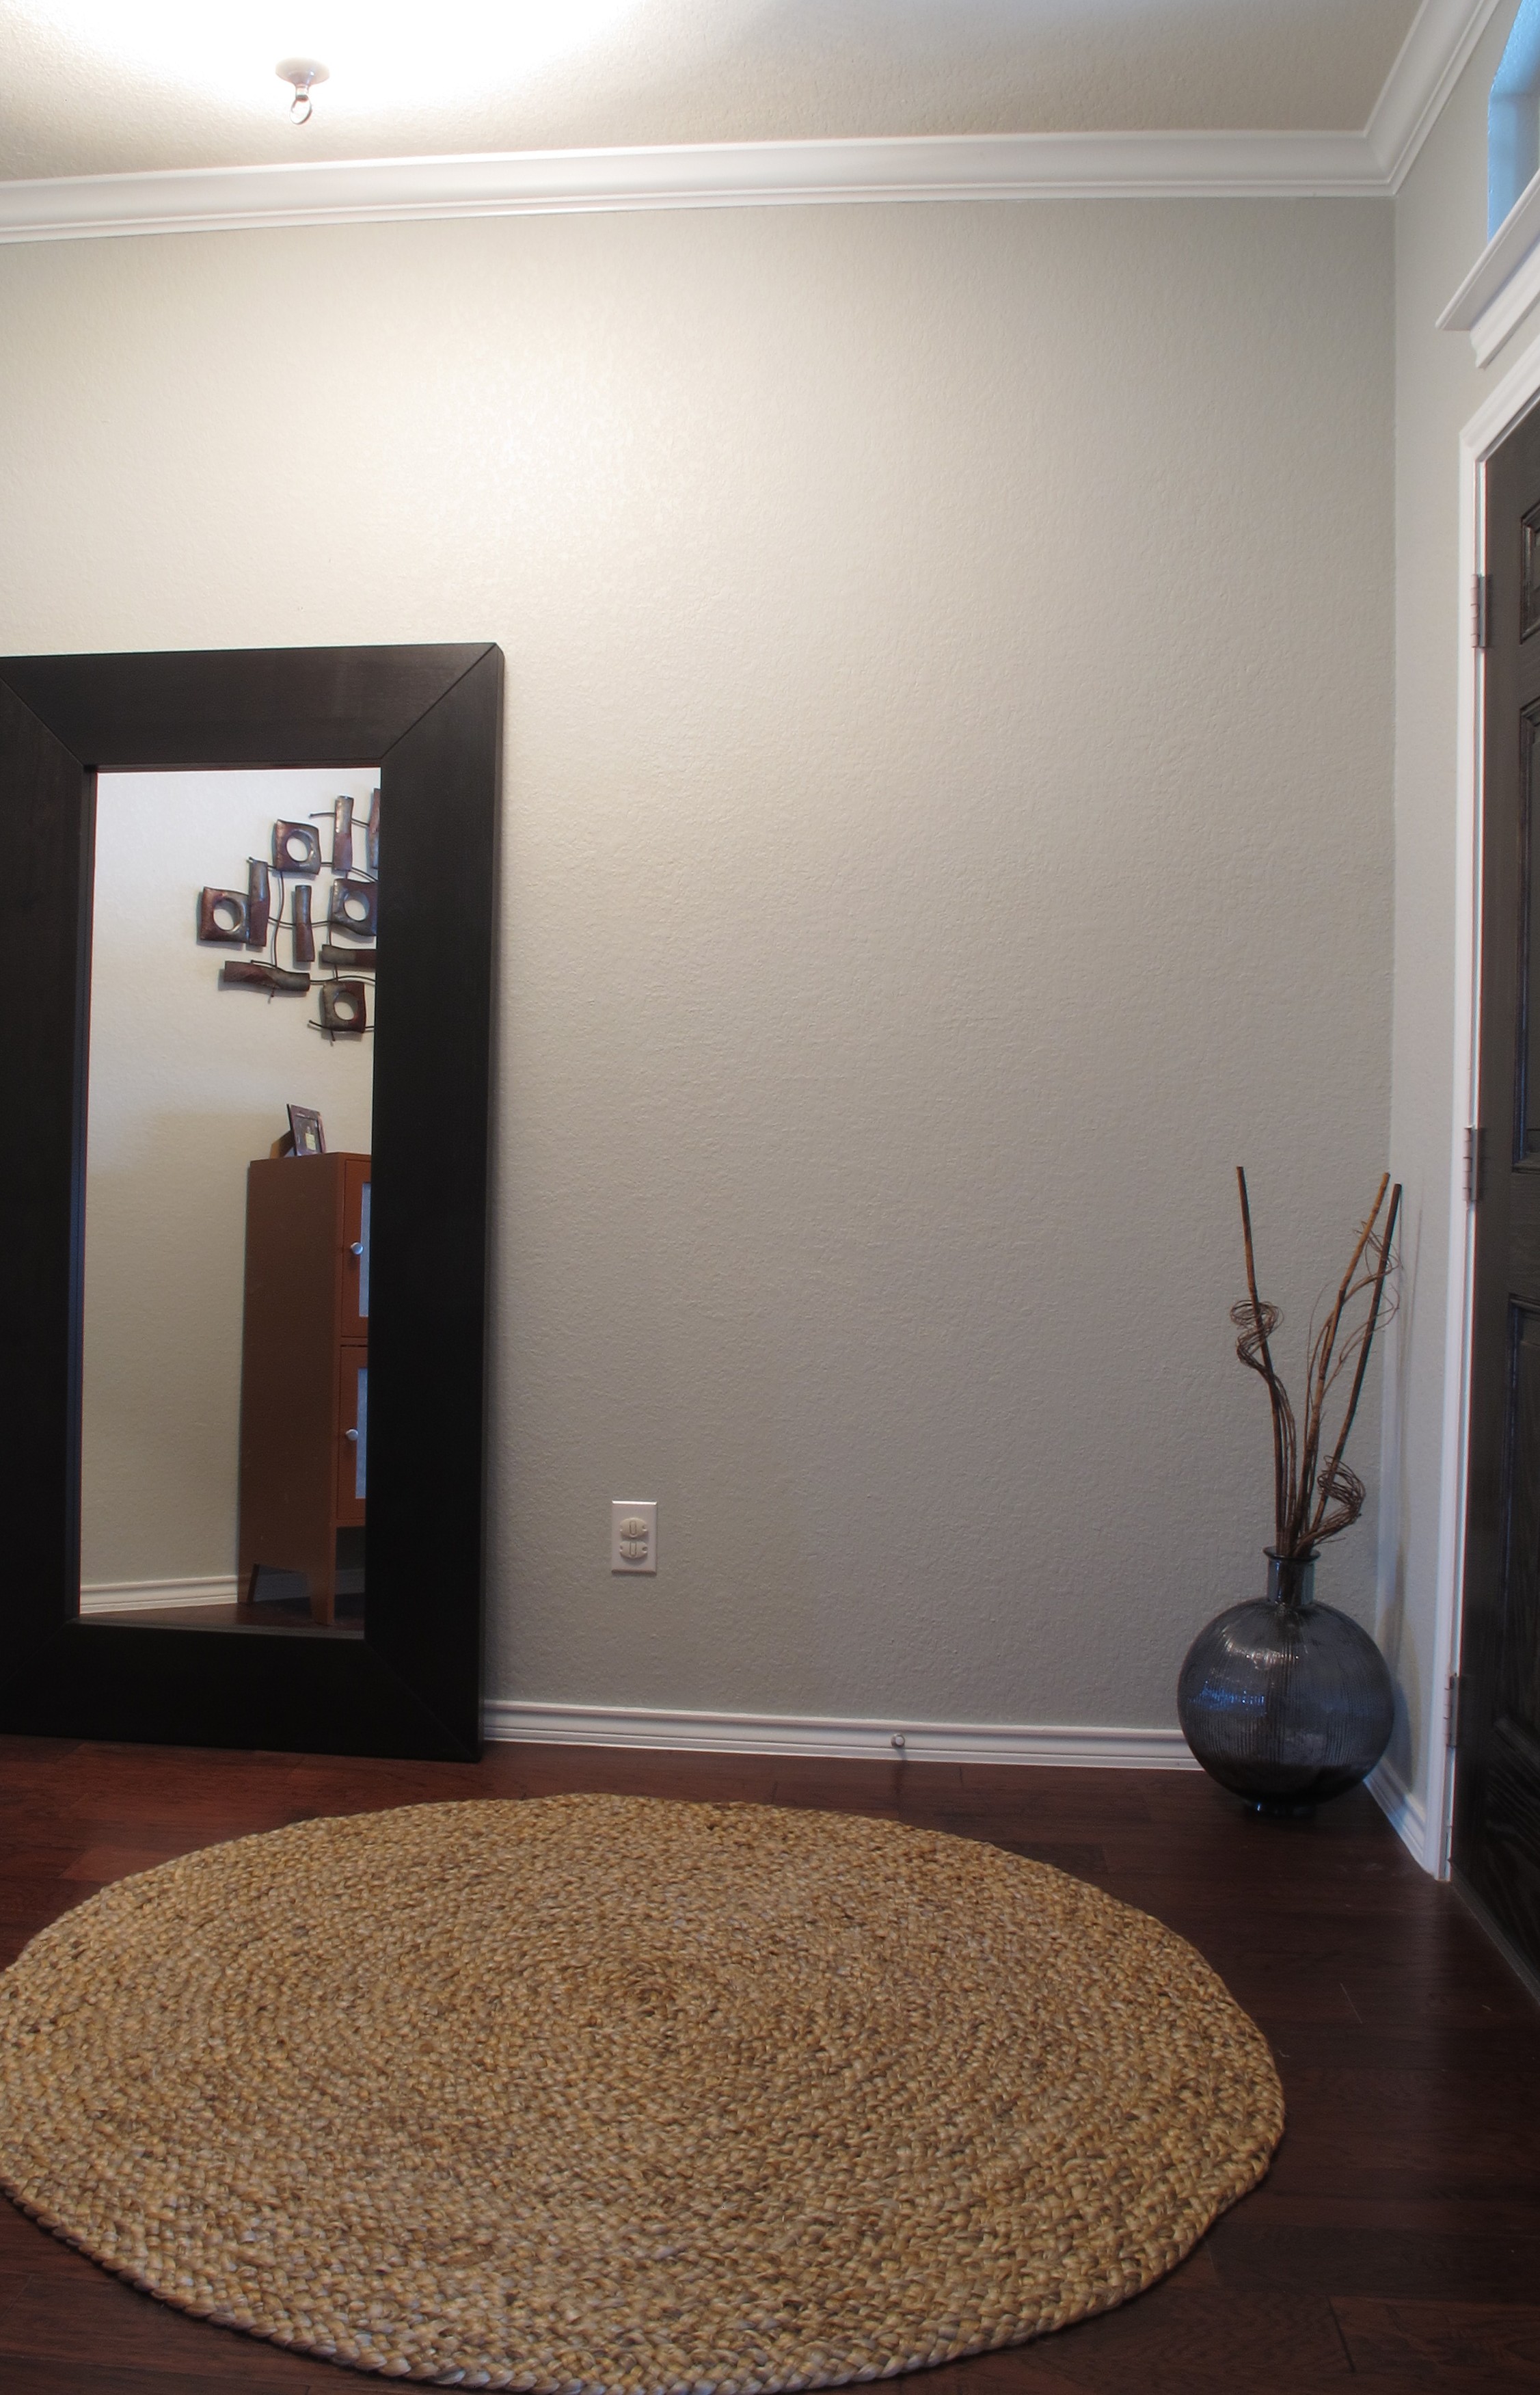
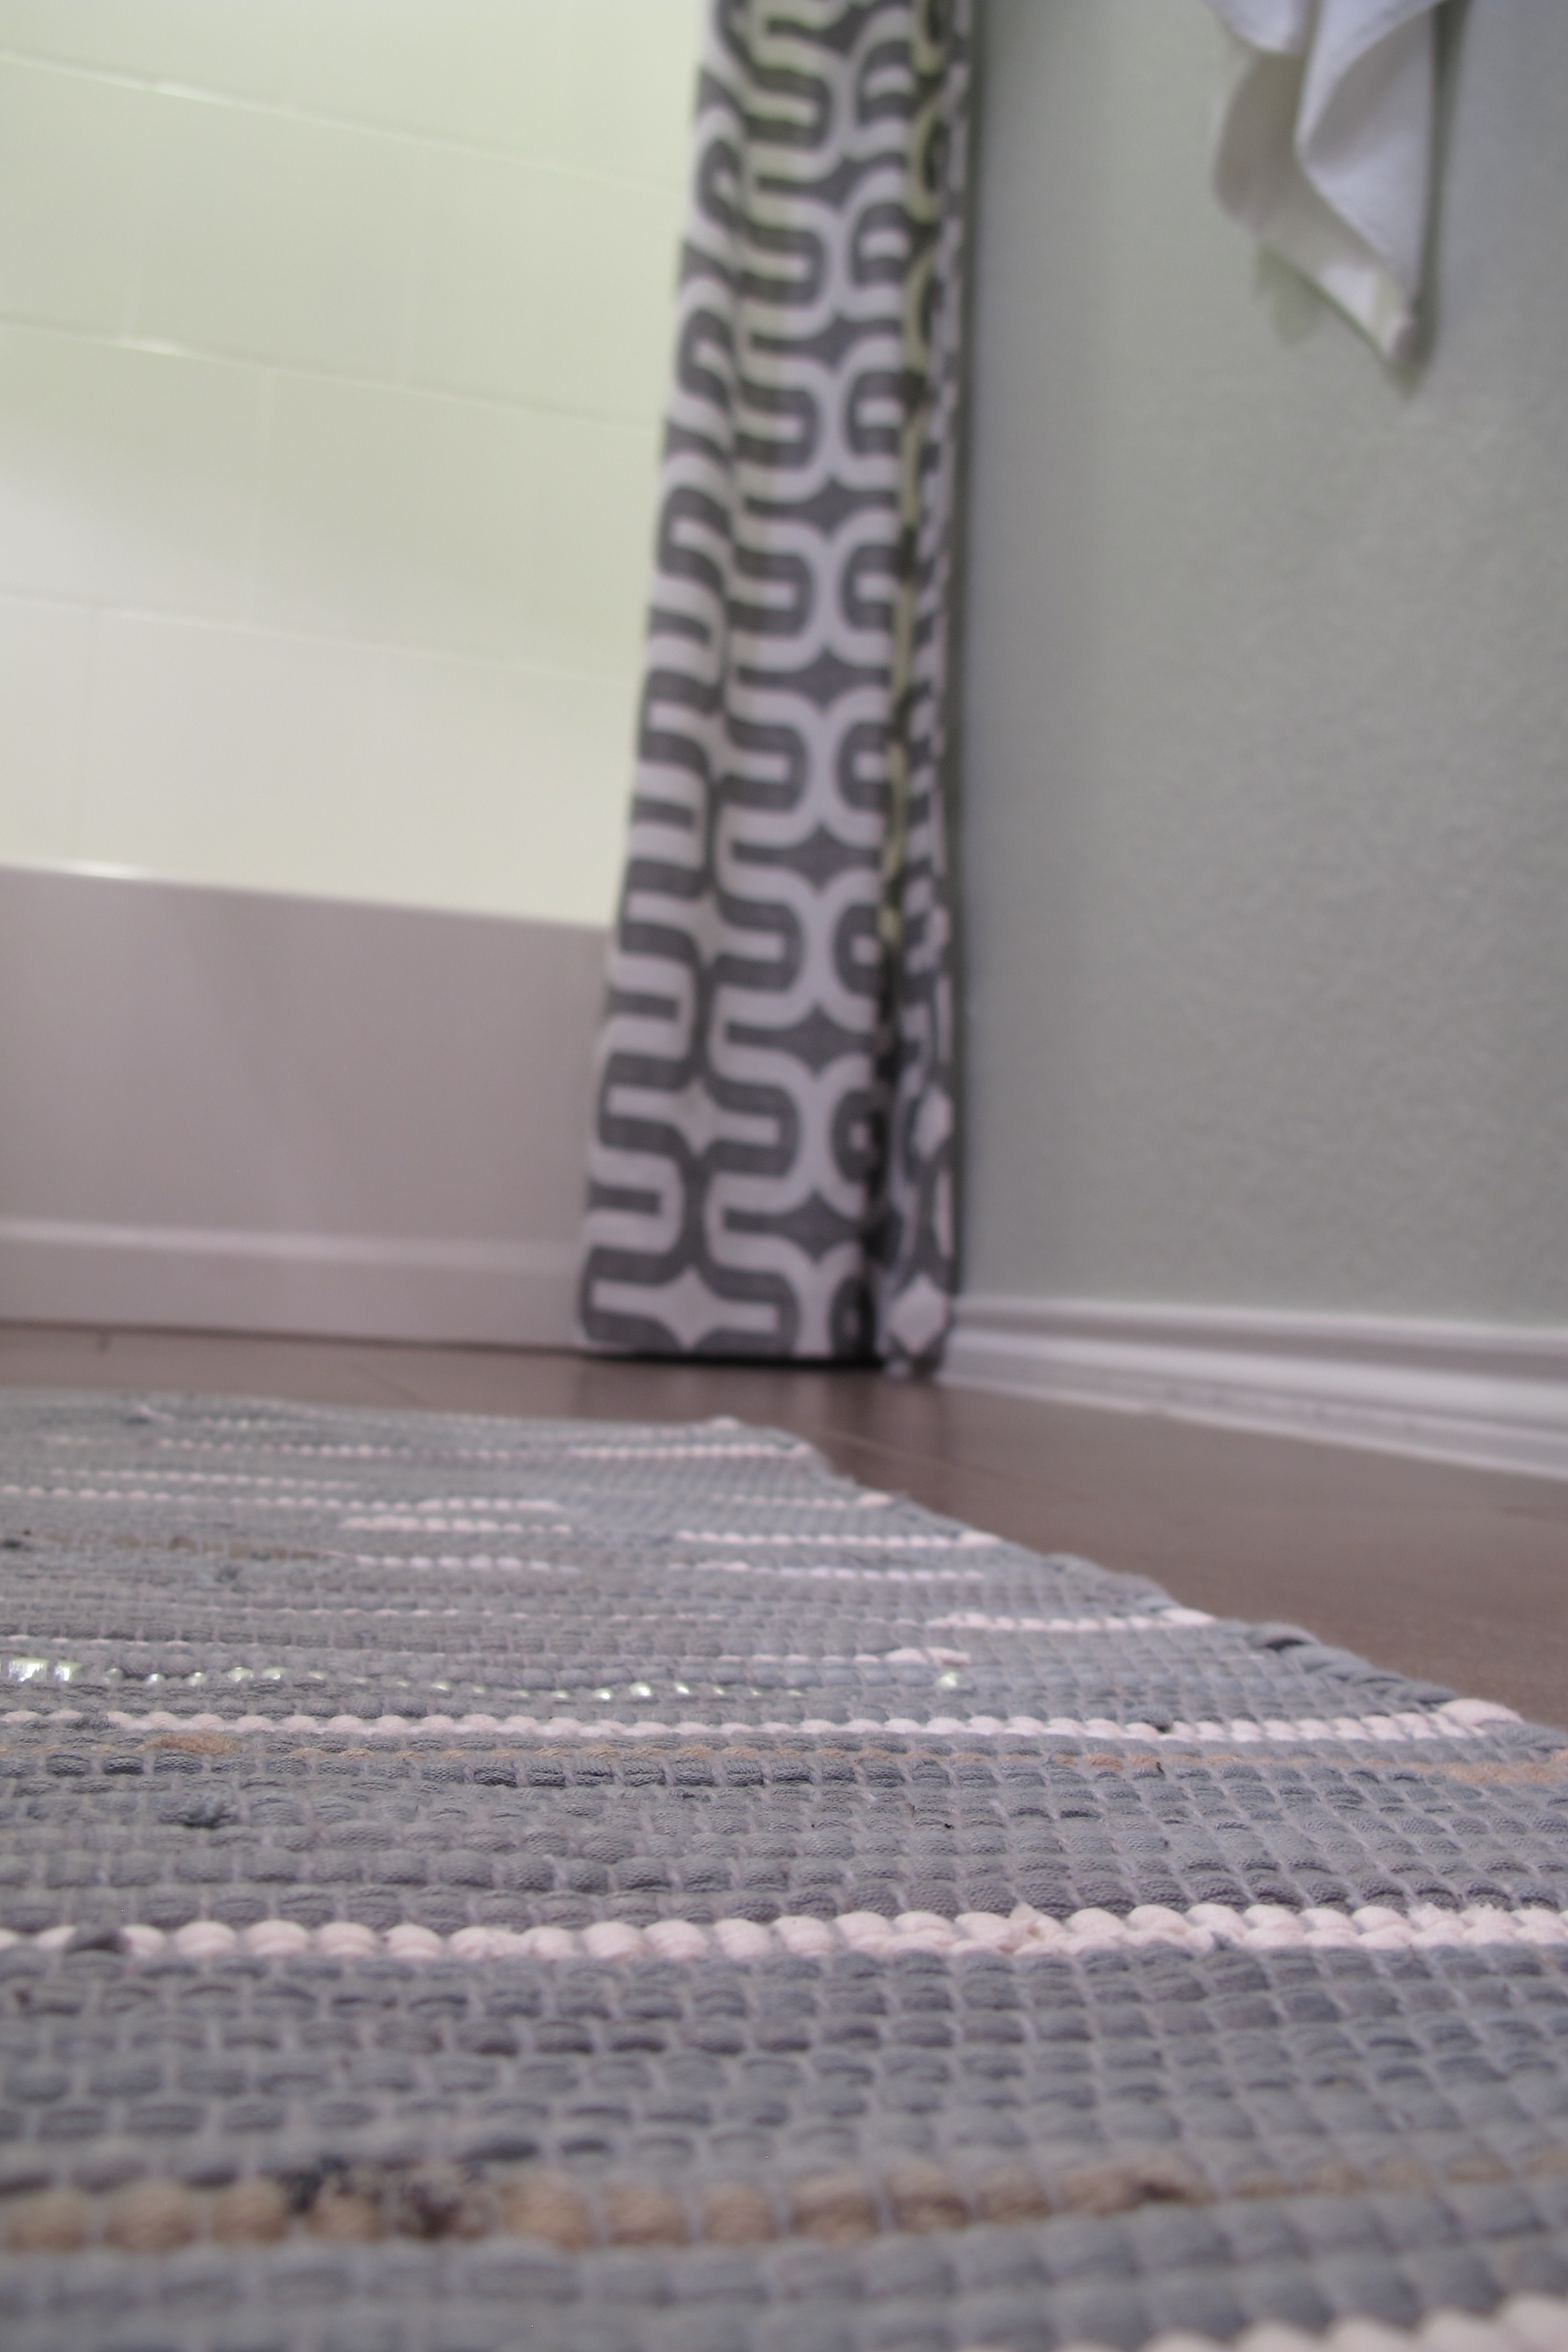
Way back in this post, I’d mentioned that I wanted a rug with a small scale pattern or texture to balance out the bold curtains. Well…

My lovely new friend was a clearance find at Target. It was one of those no-brainer moments where I locked eyes upon it, stated “Oh!” as I realized that it would be perfect, noted the price (under $7.50), possessively shoved it into my cart, and high-tailed it to the register to make it official. No hemming/hawing or thinking. Just instantaneous lust. And it’s perfect. And I love it.
Here’s a shot to give you some perspective as to where it is in the room…

One day I’d love to swap out our dumb, biscuit-colored countertop for a white marble top with an undermount sink (and, ahem! Bid adios to all other traces of biscuit in this bathroom along with it), but until then, I’m happy with the changes we’ve made.
Here’s an approximate breakdown of cost…
- Tile paint kit (2) – $50
- Barn light – Free (gift from my parents)
- Wood/Mirror frame materials – $29
- Wall paint – $28
- Fabric for shower curtain (6 yards) – $33 (after 40% off coupon)
- Grommets, thread, iron-on hem tape – $19 (after 2 40% off item coupons and and a 15% off total purchase)
- Faucet – $70
- Deck Plate – $14
- Grundtal Toilet roll dispenser – $6
- Grundtal rail, S hooks, & wire basket – $16
- Blecka wall hooks – $6
- Drawer handle – $2
- Toilet handle – $9
- Rug – $7.50
- Total cost of bathroom makeover: $292.50
Just for fun, I’ll leave you with a few before and after side-by-sides…


There are still some small tweaks that I’d like to work on (like adding something above the wire basket), but for now I’m pretty much calling it.
So now, it’s onto the next…. 🙂
Like what you see? Please share!!