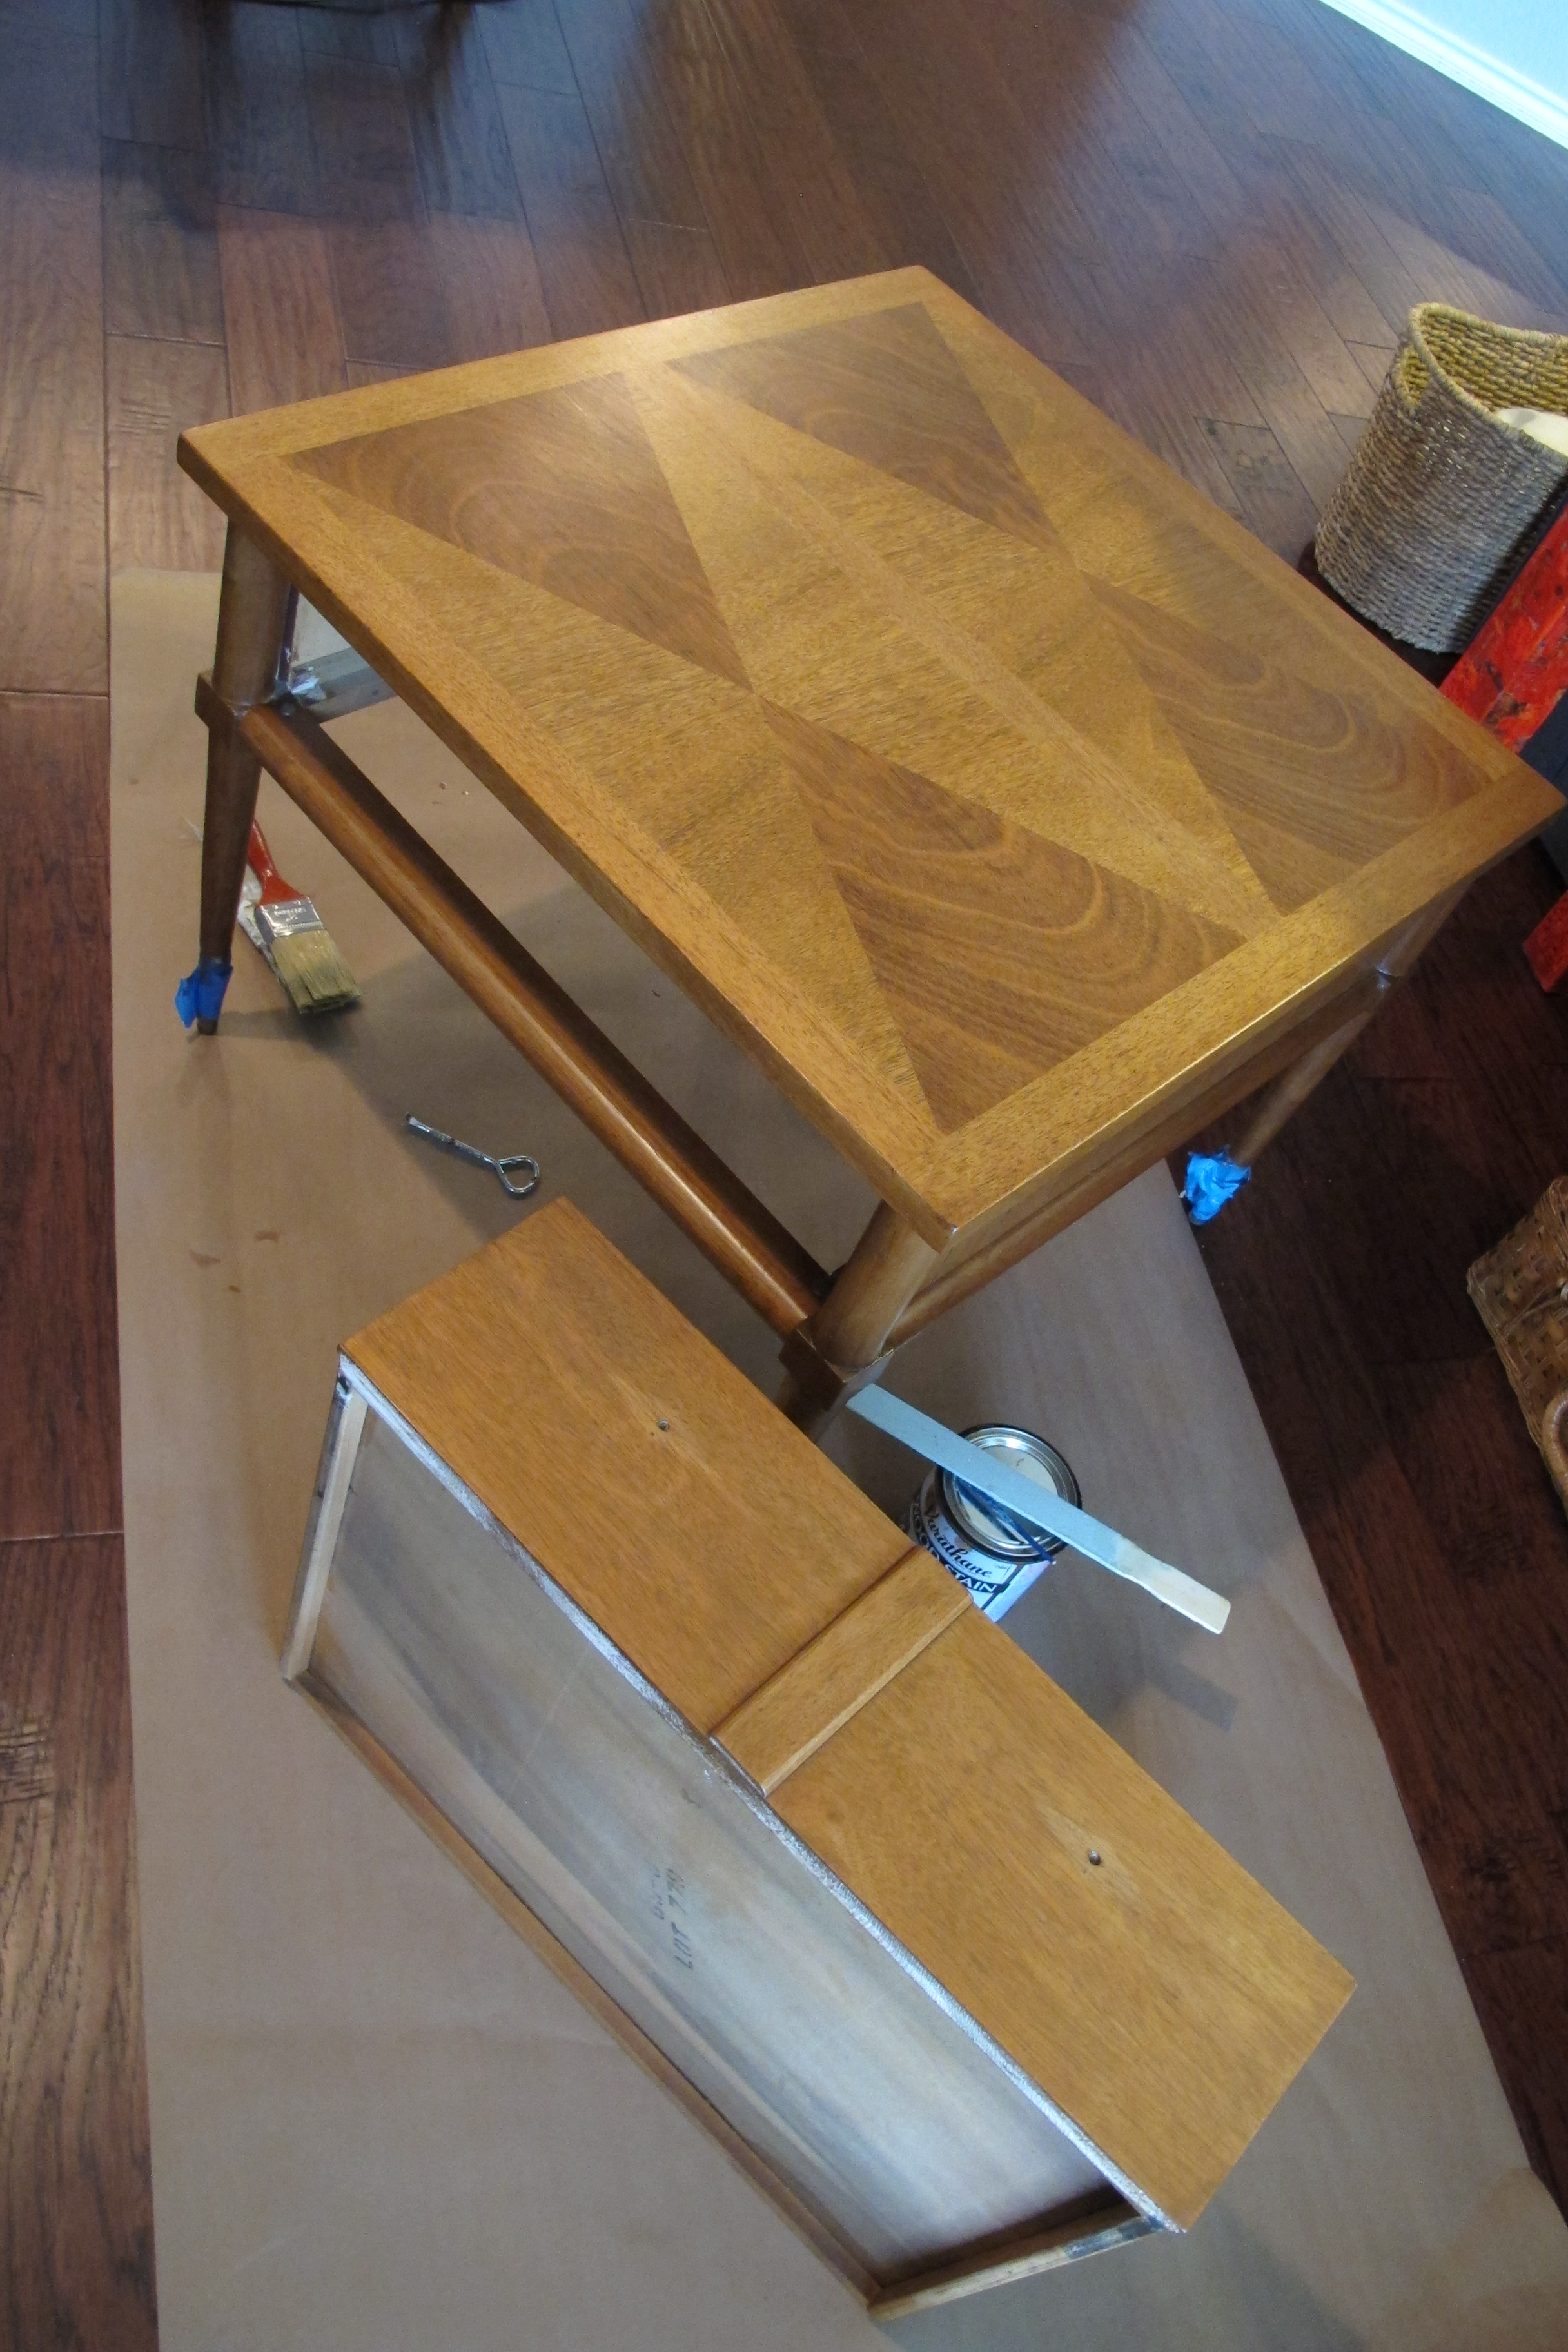
Last we left, we had a naked table…

It turned out so nicely after I stripped it, that I decided to try staining it. When it came to choosing a color, this was easy for me… I decided to try and match the original stain. I’m kind of a purist when it comes to these things. I mean, ugly 80’s furniture… Change that stuff UP. But a vintage, mid-century American of Martinsville table? I’m gonna try to keep it close to the original if given the option. I have to. No choice. It’s part of my nature. I love pieces like this to no end so if I have the option, I’m going original all the way.
The color I chose was Varathane’s Early American, which is also the color I stained our media cabinet.
I simply waxed on, waxed off applied it then wiped off the excess immediately. I chose not to let the stain sit, because even though it was morning, the temperature was creeping up. Thus, leaving it on any longer would’ve caused the stain to dry and become hard to remove. The speedy exposure ended up yielding the perfect color, though. So, happy accident. The color matched the original to a T. And I was ecstatic that the table took the stain so beautifully. Here’s the post-stain result…

It appears more orange in this picture than it is in real life. Seriously, it’s a dead-ringer for the original color. A few days later, I decided to apply the topcoat. Now, I’m going to foreshadow this post. This morning (after I’d completed the table), I received this comment on my stripper post from Beck at Beckwith’s Treasures, who refinishes this type of furniture frequently…
“…PLEASE do not put poly on this furniture!!! Use an oil finish like formbys tung oil…SOOOO simple to apply…”
And I started continued kicking myself. I’d used poly. And I DEFINITELY regretted it. When I tell ya’ll that I LOVE your advice and input, I mean it. This comment contained such great advice… I just wish I would’ve held off on finishing the table so I could actually have used it.
But let me start from the beginning… Ya see, we’ve hit triple-digit weather here in Texas and if this year is like most others, it’ll probably stay this way for some time. It’s always funny to me when bloggers from the northern cold-weather areas talk about about how they can’t spray paint and stuff in the winter… For us, it’s the summer months that pose a problem. Totally the opposite, though equally annoying. Painting, finishing, staining, or spray painting outdoors in the summer months is virtually impossible because the paint gets all gummy and nasty. Seriously, those temperature guidelines on the can are no joke. Believe me. I’ve tried to challenge them.
So, with this in mind, I knew I had to apply the topcoat indoors. I decided to try a water-based oil-modified polyurethane, since (at the time) I thought Poly was my only option…

I’d read that this particular version acts more like oil-based Poly but is water-based (ie: low odor, better for indoors when you can’t throw open a window without air-conditioning the neighborhood). I happened to have the satin finish on hand and thought that it might be nice to just have a mild sheen on the tables.
Now, to clarify, I’ve never used this product before. I bought it back when I white-washed our bathroom mirror, but never used it as it might have yellowed our white frame.
I read the can and followed the directions to a T: Clean dust off (I used tack cloth), apply a light coat with a high quality polyurethane brush, wait 2 hours.
The first coat made me very nervous. There were bubbles and brush marks in the finish and the area where that damage was turned a lighter tone than the rest of the top.
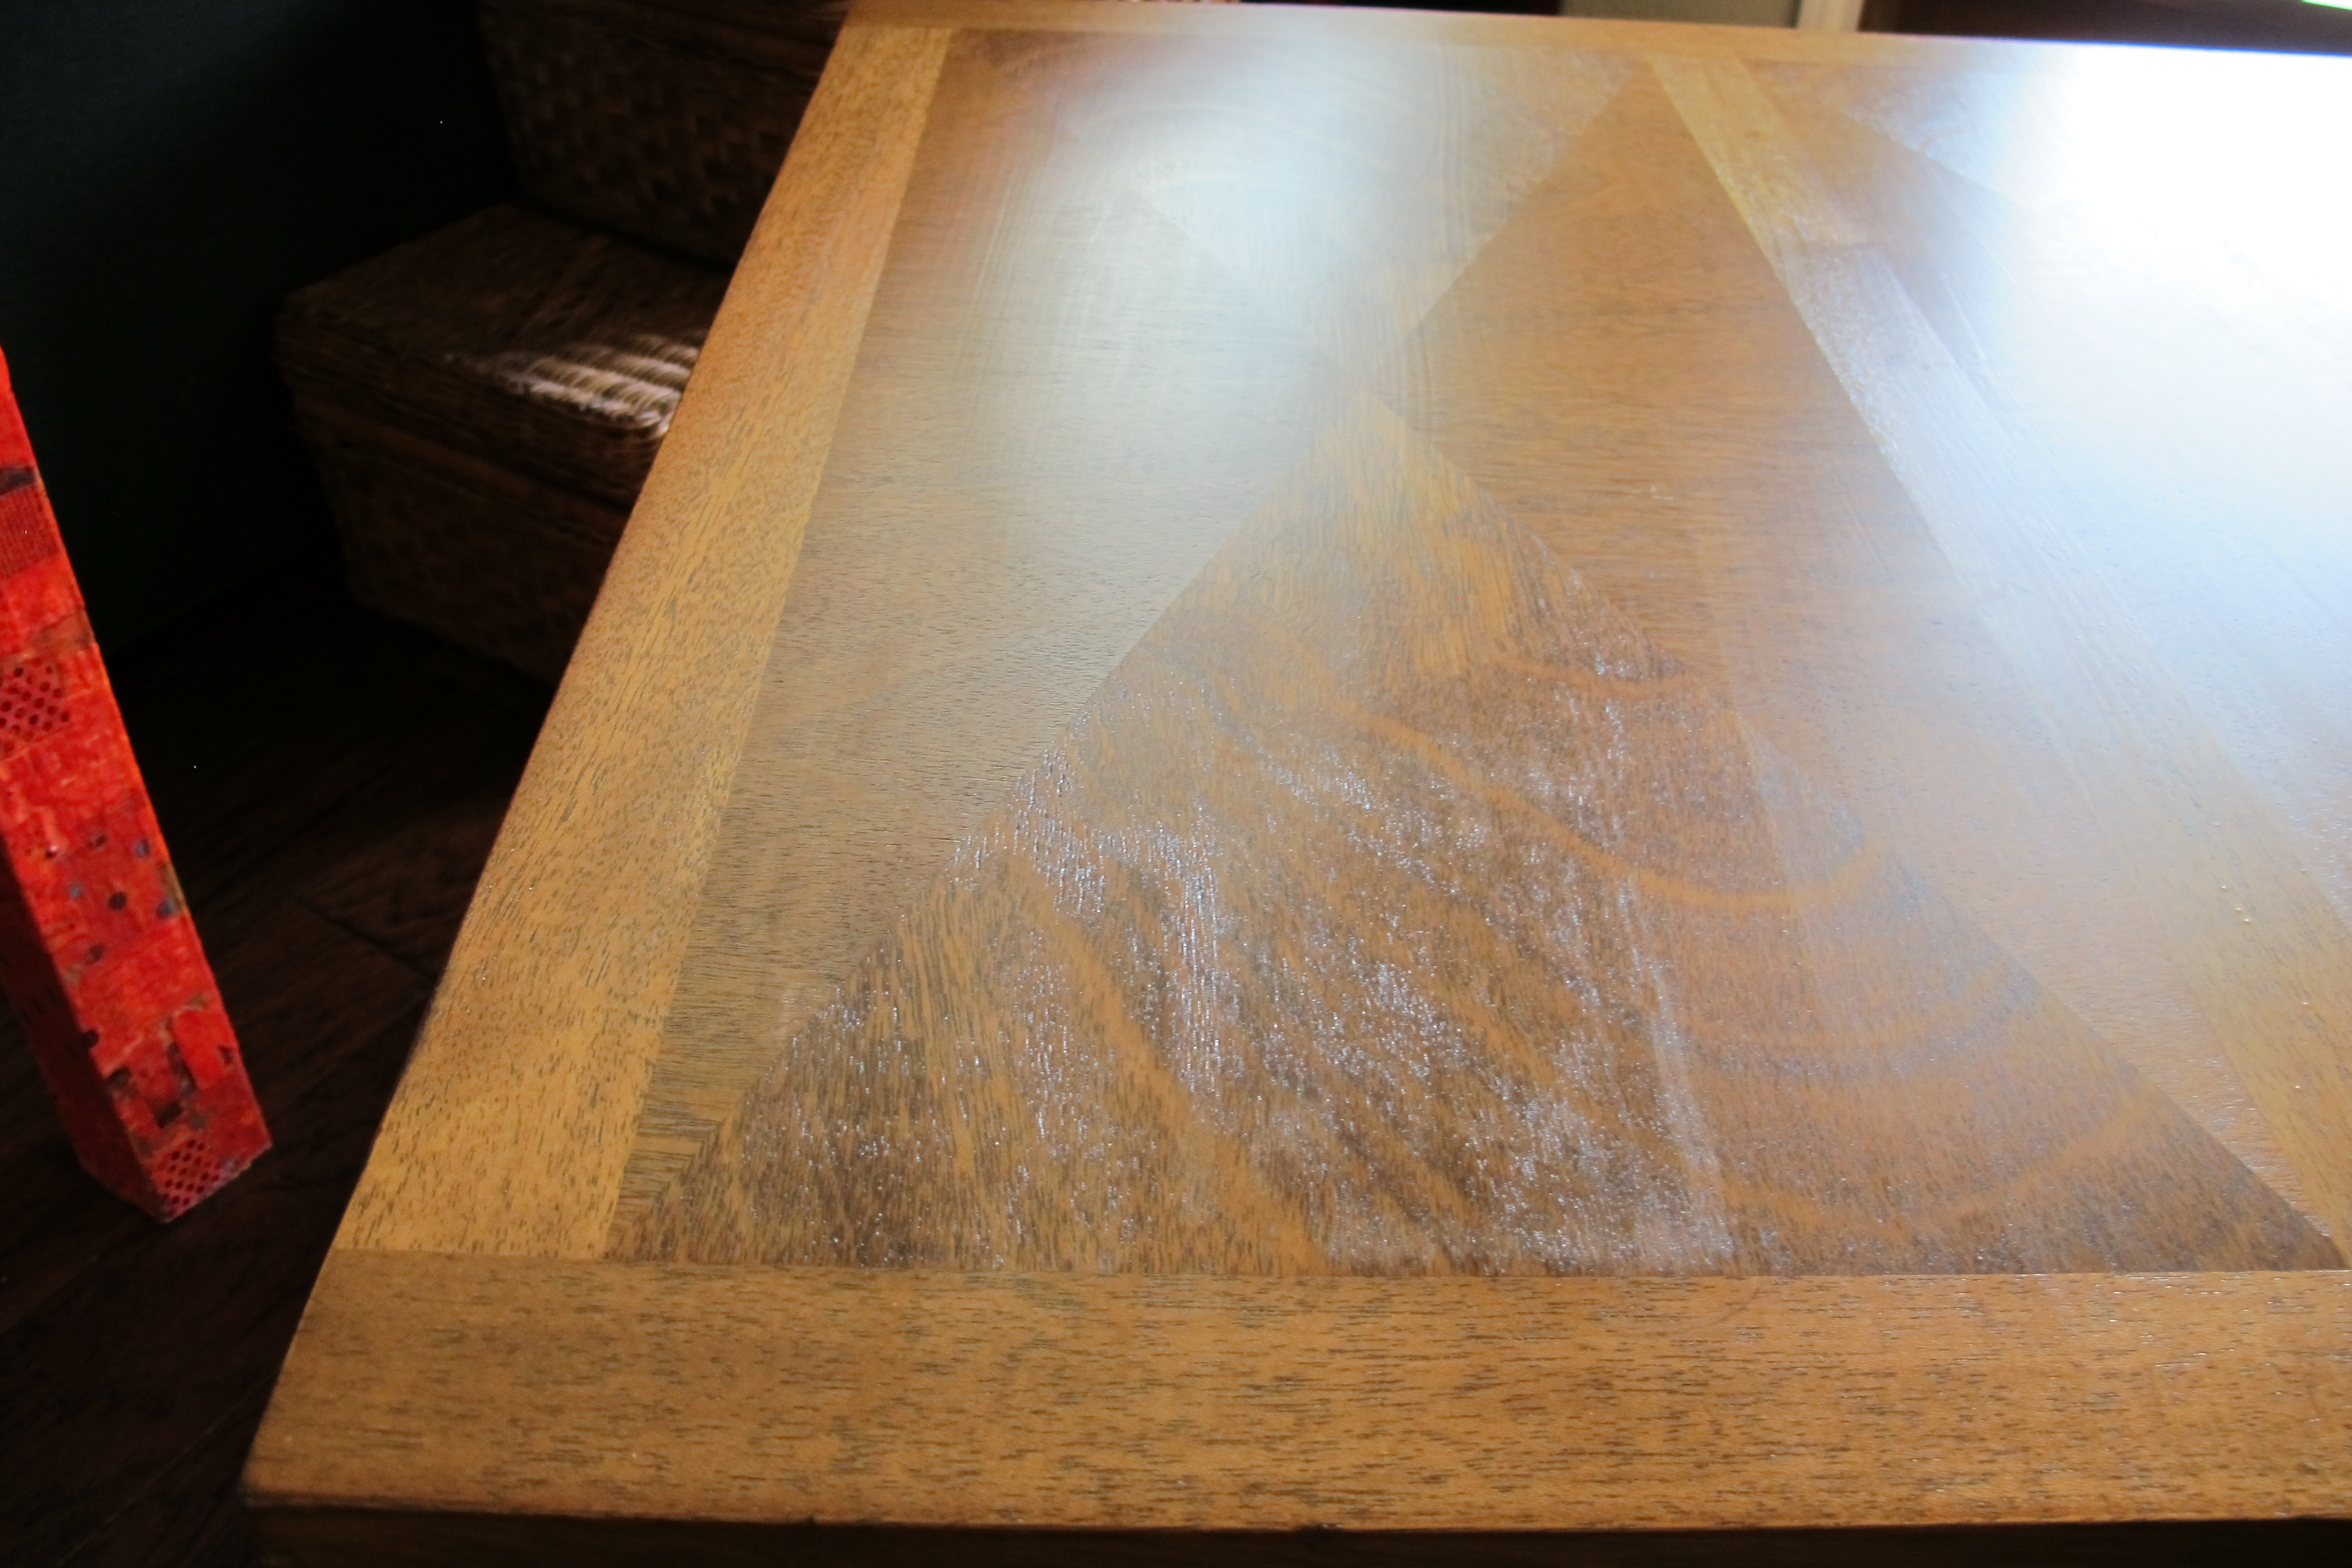


Before this project, I’d always only used oil-based poly and had never noticed brush strokes with it. Plus, its slow dry time allowed most of the bubbles to pop before the finish hardened. Knowing this, I was REALLY doubting my decision with the water-based poly at this point. Bubbles plus brushmarks after all the time I’d already invested in this table. Ugh. Heartbreaking. Though in all fairness… when it came to brush marks, I’d never applied ANY poly against the grain of the wood before. And the differing directions of the table top’s inlay basically forced me to do so in some areas.
Once the 2 hours of wait time passed, I lightly sanded with 220 grit sandpaper (paying closer attention to the bubbled areas) and applied a second coat. This coat was better, but some bubbles and brush strokes remained. And the finish almost looked like dried glue to me. Plastic-y. Cloudy. I wasn’t sure if the water-based version was to blame or the fact that it was a satin finish instead of semi-gloss.
Now, the heart was really sinking. To make matters worse, the top felt rough to the touch from the bubbles. So, I sanded again between coats, and added a third coat as the directions stated (hoping against hope that the third coat would be the magic cure-all). I used a foam brush this time to help eliminate brush strokes.
The third coat just made it worse. There are still brush strokes and bubbles. At this point I was ready to bust out the ugly-cry.
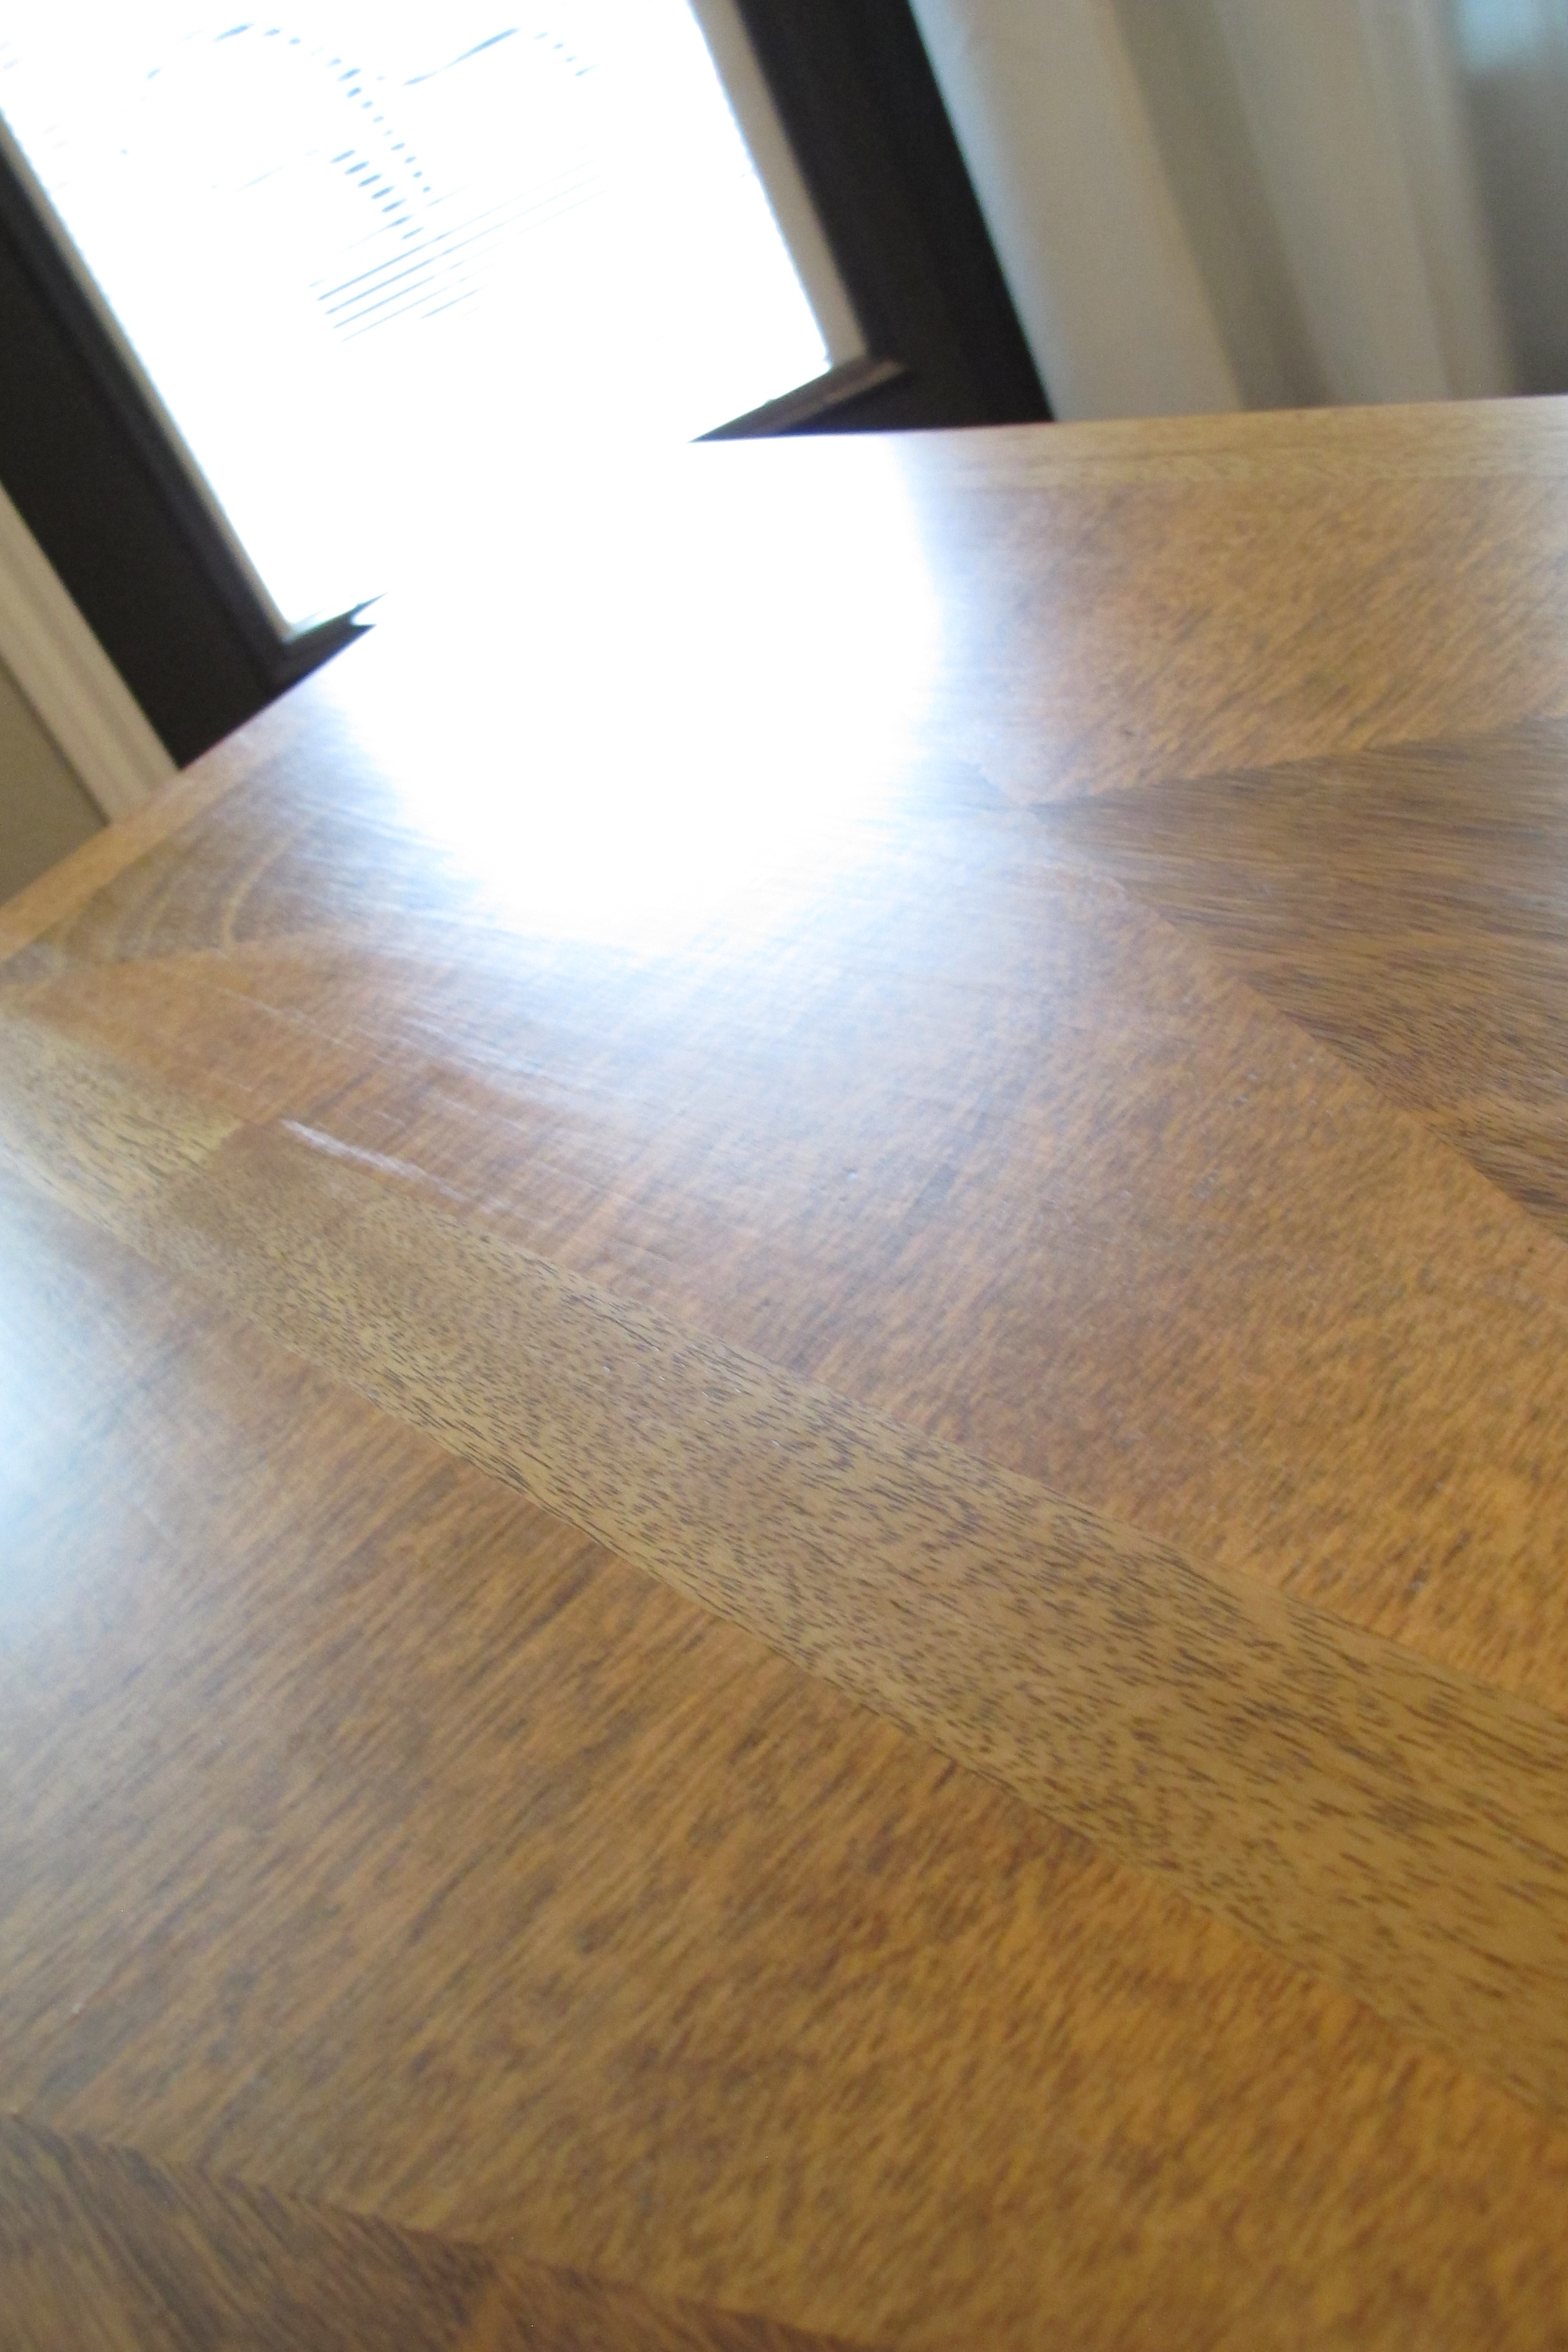

The finish remains rough, plastic-y to the touch. I’m SO disappointed after all the time I invested. I’m sure this product works great with the right project. THIS was not the right project. And I feel like, by not doing proper research before top coating I’ve ruined the integrity of the piece.
And now I’m not sure what to do…. Strip the table again and try oil? The problem is that I really can’t sand the top much without risking going through the veneer. Part of the advice in the aforementioned comment was to use acetone + laquer thinner to remove the finish. Would this prevent the need for sanding? I know that this is DIY. Things don’t go perfectly all the time. And it’s a learning experience. I mean, I learned how to use chemical stripper, and am now much more familiar with the differences in poly. Valuable knowledge acquired. Am I gonna give up on this table? No way. I mean, honestly, it looks okay (if you squint). Just not nearly as great as this gorgeous piece deserves.
I could still paint it, but this goes against every instinct I have since I now know how beautiful the wood is.
So, what are your thoughts? Any suggestions? If you know anyone who can offer advice on this, I’d really appreciate it if ya’ll would share my post with them. Thanks, guys!
Linked up at: Tatertots & Jello


Ugh I’m so sorry this happened Christina! I wouldn’t have hesitated to use Poly either. It’s been a while since I’ve used it though once I bought some Miss Mustard Seed Hemp Oil. I love the stuff. All natural and gives a great finish. I’m not sure where I would go from here. Maybe use a stripper to remove it all again instead of sanding? A lot of work though! I will definitely share this for you 🙂
Thanks, Bre! I’m so sad about this but will definitely check out the hemp oil. Thanks for sharing!
Oh Christina, how awful for you! I *wish* I had some helpful advice, but I’ll most definitely share for you! Here’s hoping someone else can help!!!!
I’m not sure about stripping the table again…I am brand new to all this so I hope someone can give you good advice there. I can say that I am a HUGE fan of Tung Oil. My dad uses it on the furniture he builds. My bookcase that he built me when I was about 16 needed some freshening up a couple years ago. A little Tung Oil action (ha!) and my bookcase looked brand new! No sanding–no stripping just put on a coat and it was beautiful! Give it a try on your next piece and see if you like it (or this one if someone can give good tips–your Father-in-Law might have a suggestion or two…).
Thanks, Stephanie! This will definitely be used in my next attempt. 🙂
Christina….this is exactly why I refuse to use poly products, especially on MCM furniture…or any stained furniture for that matter…just too much room for error! And then all your hard work seems wasted. I do use spray on poly over chalk paint because I don’t like wax…but it is usually on small projects and just enough to seal the paint.. I ALWAYS use oil finishes on stained for reasons I enumerate on my site….and I have never regretted it. On to your problem…first, do not sand these veneered pieces….maybe a tad but then use chemical strippers before you hit “raw wood.” the veneers are just too thin and you risk sanding through them! I strip, then lightly sand with steel wool only. I do not know if the acetone/varnish remover mixture will strip poly, but sadly I am going to suggest that you strip it back to the raw wood, then apply an oil finish. Formbys has a poly/paint stripper but it’s not cheap and I have never used it. Most oil finishes on the market today (tung, teak, hemp,etc) are a mixture and are all pretty identical in makeup, give or take. I just prefer Formbys, but that is a personal preference….I do know the application process is pretty “idiot proof” and it makes it super simple to “fix” scratches in the future. You can leave the poly on these tables, but they really are treasures and seriously worth your time and effort to redo….once stripped you can apply the tung oil finish inside….low odor and if you “sand” between coats with a symmetric pad rather than steel wool the “dust” is minimal. I know this is probably not what you want to hear, but for these tables and the results I know you want, it is your best option!!!! If it makes you feel any better I have a solid walnut dresser i used poly on years ago and I will be stripping and oiling it…someday! It has scratches in the poly that I can’t “repair”! If I had oiled it I could sand with steel wool and just wipe on a new coat of oil….grrrr!
Thanks so much! I figured this would be the case. And I agree that they’re totally worth the time and effort. I really appreciate your advice and will post the results once they’re finished. 🙂
BTW, use a toothbrush to get in the corners and grooves. Just dip it in the stripper mixture or mineral spirits and scrub away. Bristles are soft enough they won’t do damage, but will get the crud out!!!
Go for re-stripping. Since painting is your fall-back position, can’t hurt to try re-stripping and RINSING WITH MINERAL SPIRITS. Keep singing the “I have confidence” song from the Sound of Music and it will turn out fine!
Christina…in honor of your great “I CAN DO THIS” attitude, I will be posting a tutorial on stripping wood furniture Sunday night. Believe it or not you inspired me to FINALLY strip an antique dining table that has been sitting in my dining room for several weeks! Great opportunity to share and hopefully inspire you to keep your chin up and keep on keeping on 😉
Yay!!! That’s so awesome!!! I can’t wait to see how it turns out! In return, I’ll tell you that I stripped the table again yesterday (which was made WAY easier by using a toothbrush in the grooves and crevices… SUCH a great tip! Thanks!) , and per your advice, went out and bought some Formby’s Tung Oil. I haven’t used it yet, but will post the results when I’m done. I can’t wait to see the stuff in action. 🙂
Just for you! Hope it helps! http://beckwithstreasures.com/journal/2014/8/1/iab5y86utp73lyuejsppltwh78h4tw
Apply the tung oil finish with one of the sponge pads they sell with the stains and stuff…I make my own out of foam and athletic socks…cheaper. Just pour the finish on the tables or on the sponge and wipe away….kind of “wax on” and then wipe it with the grain. Let it dry over night, then hit it with 0000 steel wood, tack cloth carefully, and then put on another coat of tung oil finish. Repeat this process until the “sheen” of the finish is uniform. I usually put 3 coats on legs and at least 3-4 on the top. It is a “process” but one you will really be pleased with in the end. BTW, you can apply the tung oil inside…pretty low odor! Check out the link in this post to the coffee table…it gives a good tutorial on applying the finish.
When you are “spring cleaning” just rub the top down with 0000 steel wool, tack, and wipe on another coat. I do this when I start seeing the finish “dull” or get a bunch of little scratches from use (okay, it’s the fricking cats and grandkids 😉 Good luck…can’t wait to see how these turn out! YOU CAN DO IT!!!
Thanks so much!!! This is SO helpful! I’ve applied 2 coats so far, but have just been using a lint-free cloth. I’ll look into the staining pads. I can’t wait to check out your post! 🙂
The lint free cloth works fine….I just use sponges because it gives me more control…but I just put another coat on one of my Lane tables in my office and used a cloth! No biggy! I am a “creature of habit” and so I usually use what I have always used…OCD a little? lol!
Can’t wait to see pictures of your tables! BTW, does it not feel like wiping melted butter on the tables. I seriously get a thrill out of wiping the oil on the wood…it just looks sooooo pretty! I’m weird….I know!
Haha! I completely understand. It’s so fun to see the wood come to life!