That’s right, folks! Madness, I tell you!!!
So, in order to really review the changes that’ve gone down as of late, let’s look back at the journey that our dining room has taken up to this point. Because I like journeys. And progress. Progress is good. So, when I revisit a journey it makes me feel like I’ve accomplished something even though I’m not done yet. It’s like giving myself a pep talk. I guess that’s what this blog really is, huh? One giant pep talk. Plus, it’s fun. And I like it. I like to blog. I like a lot of things today. It’s a good day. Wow. #patonback
(*coughcough*) Anyways. Moving on… when we purchased the house, the space looked like this, complete with beige carpeting that was just BEGGING for stains…

So, we changed out the carpet for ebony laminate and plopped our furniture down on moving day…
…and added a rug, curtains and shelves…
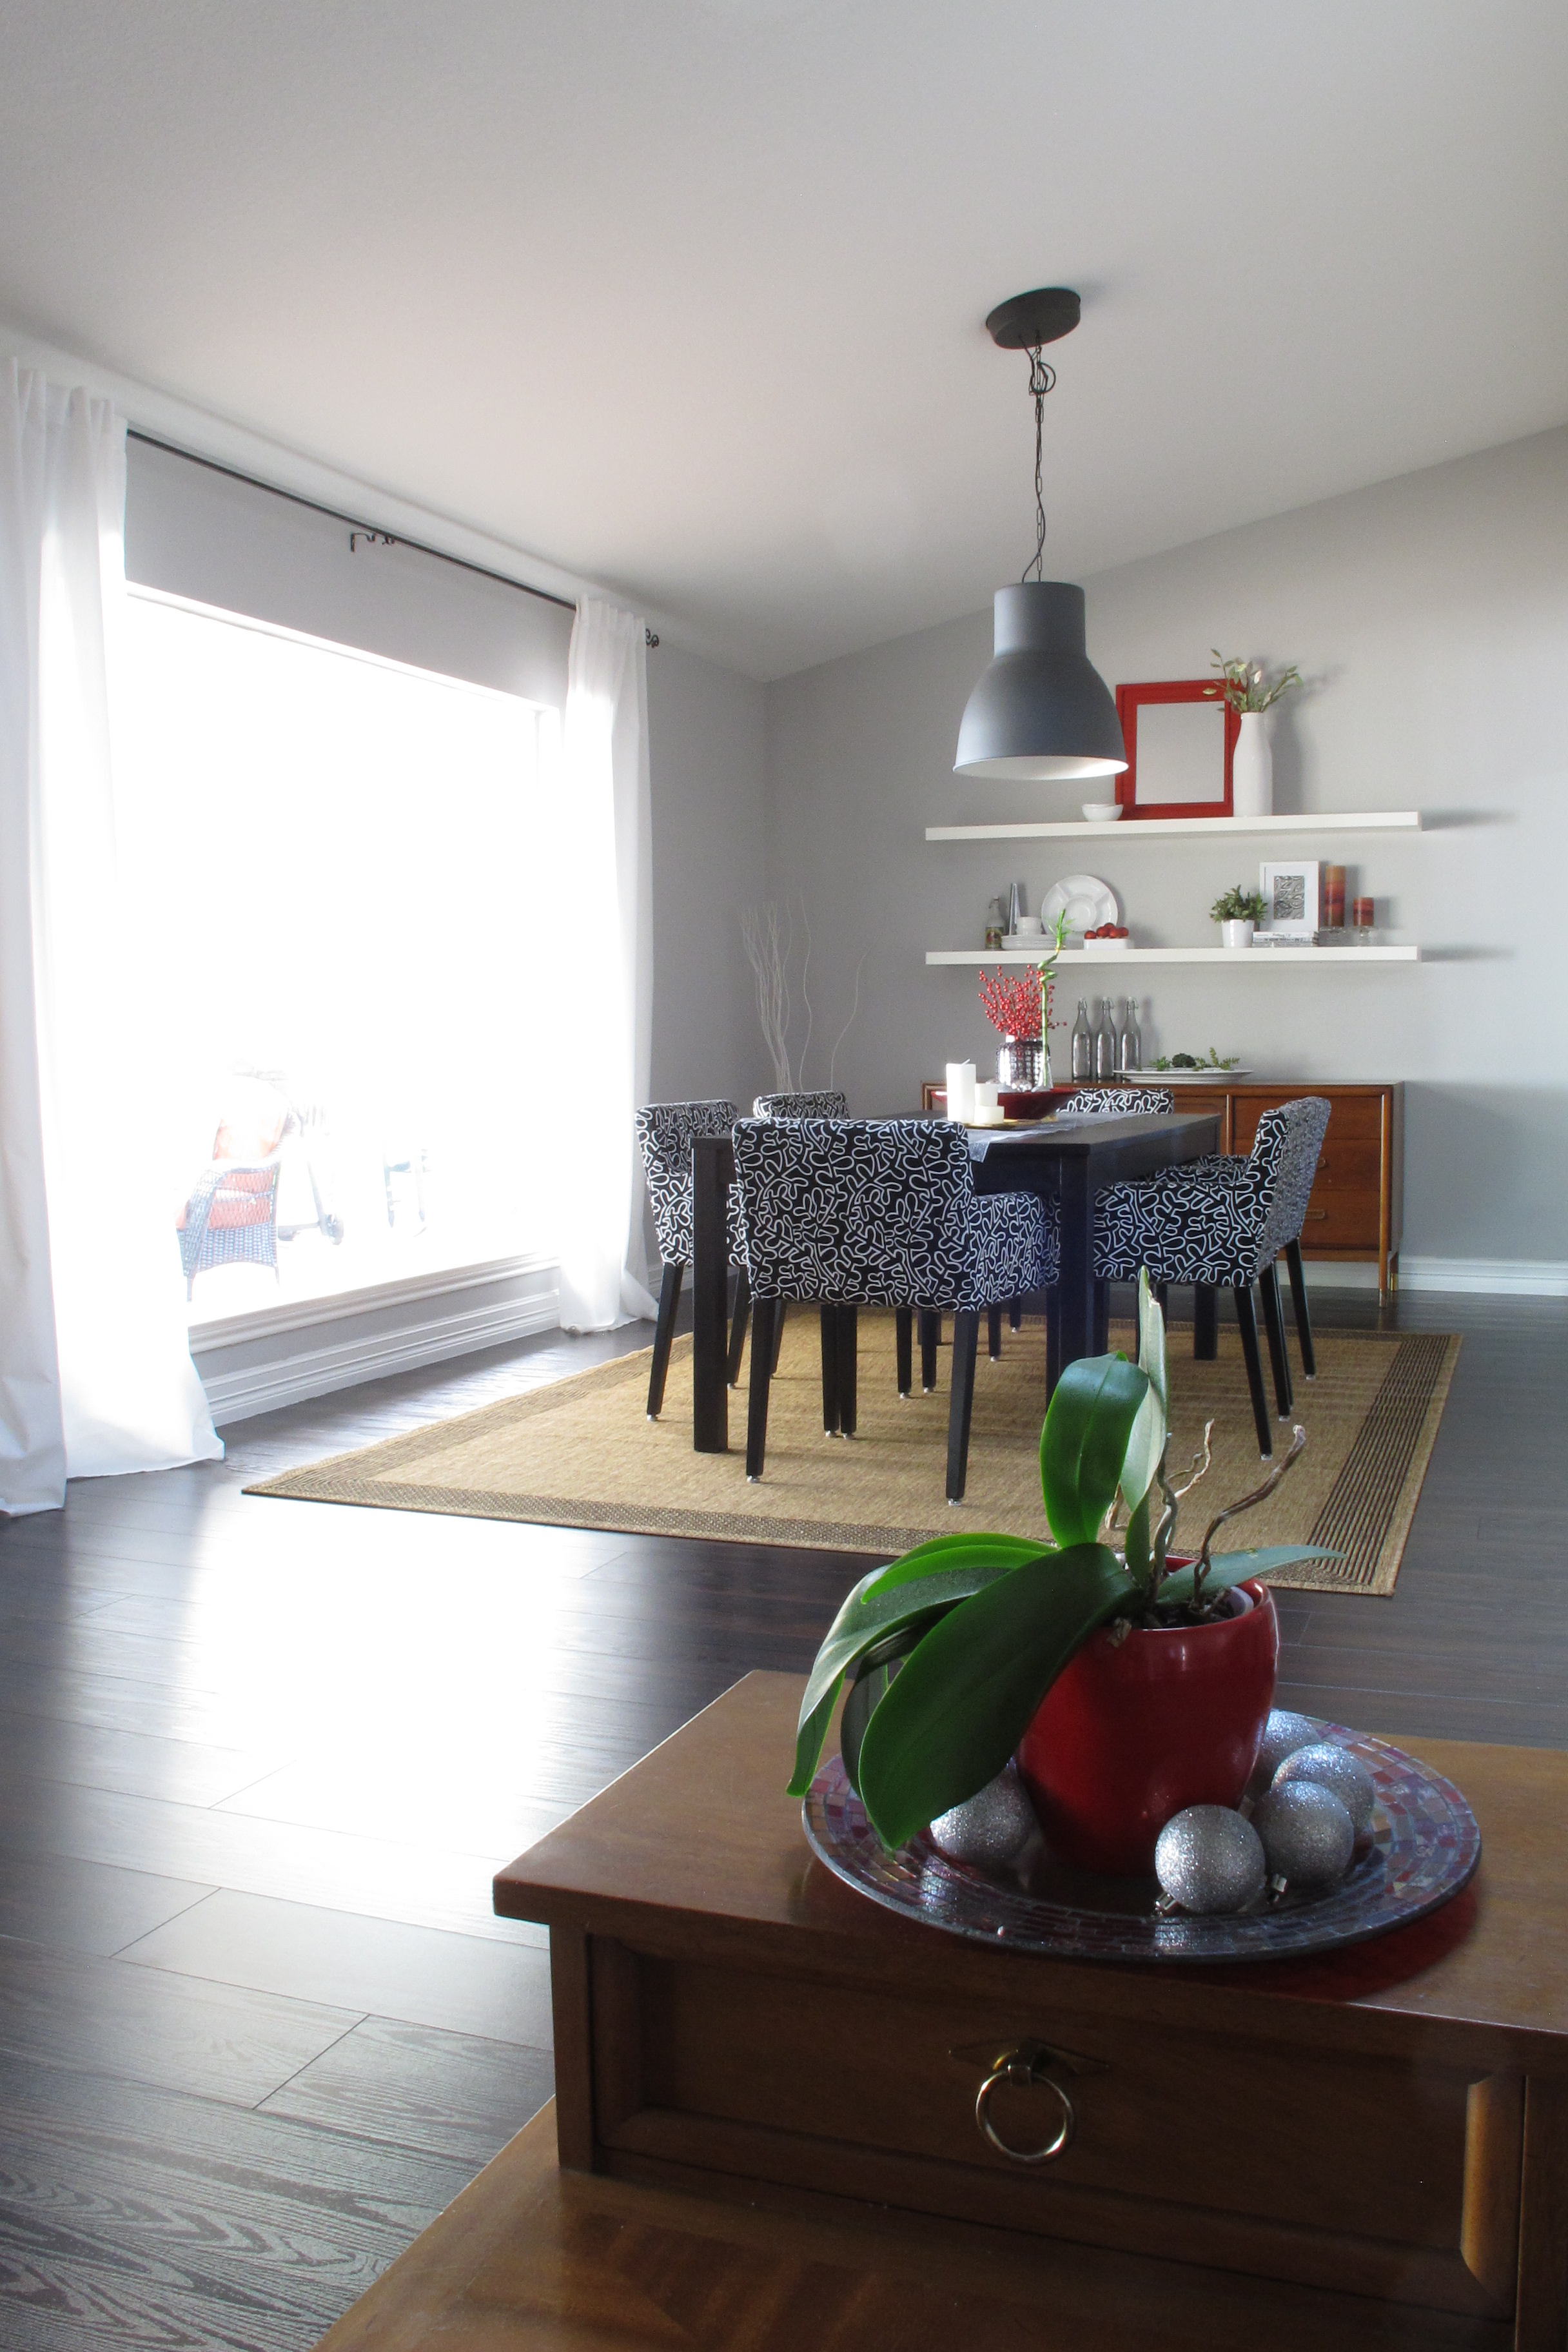
I liked the space well enough like this, but it just wasn’t right. Something just rubbed me the wrong way. Annoyed me. Made me twitch. After much deliberation, I realized as much as I loved the rug, I couldn’t help but feel that it was competing with Drex (my beloved mid-century buffet) and our awesome 70’s stone fireplace. Ya know, the two pieces that really should’ve been stealing the show to begin with. There was just a lot of brown happening. Too much. I thought that maybe painting the table white would help change up the tone of the room and allow the rug to work in the space. So, I did that…

The process was pretty simple… I cleaned the table really well, wiped it down with deglosser, then painted it with a coat of Zinsser shellac primer followed by 3 thin, even coats of Sherwin Williams Proclassic Extra White in Semi-gloss.
Once the paint had cured, I tried the rug again…

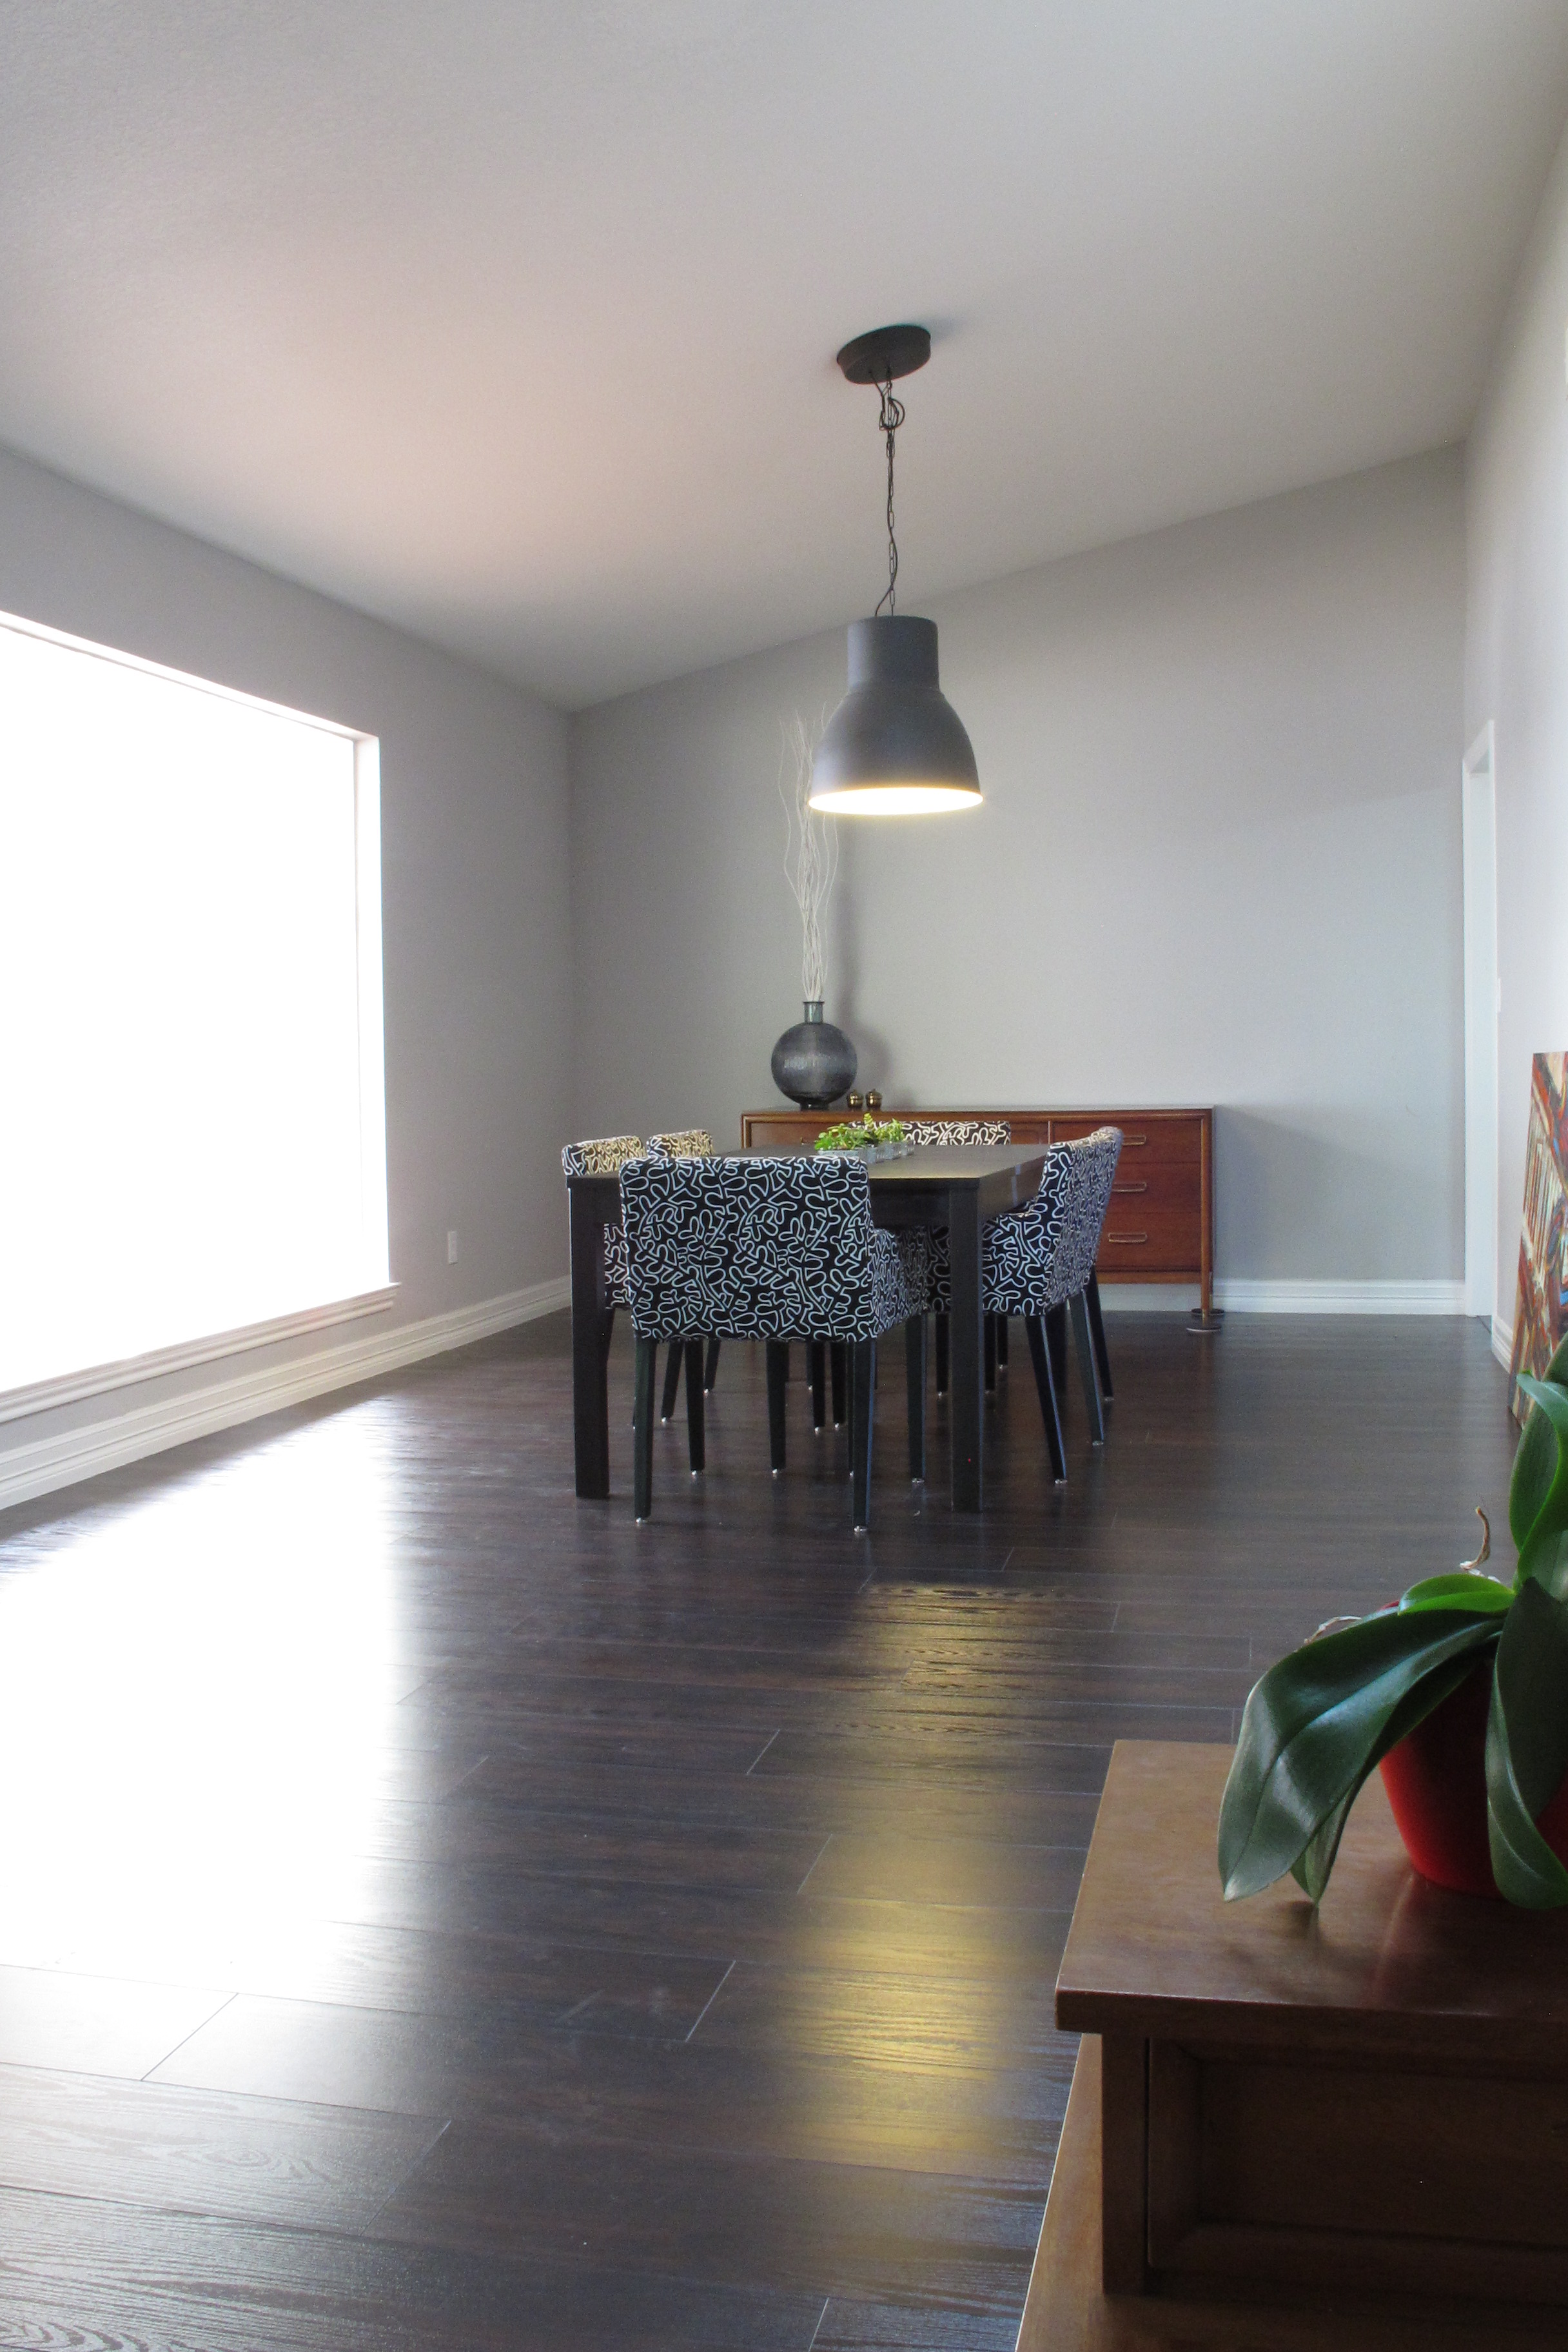
But I just couldn’t do it. The white table didn’t take away from the orangey-brown tone of the rug at all. And I was having trouble envisioning the space without it. So, we removed the rug…

(Excuse the red chairs in the corner… I tried them in the space, but they didn’t work.)
Once the rug was gone, something still bugged me. And I was having trouble imagining the space with a different rug. The ideas just stopped. And that was when I realized that I needed to simplify further. The chair covers. Although I really loved them, the busy pattern really limited the other elements that I could add to the space. I needed something more neutral and simple.
So, I visited Ikea and picked up six of these deep grey covers….

I switched them out once I got home, and now the space looks like this…

(Note: I’ll be ironing them soon)

You guys. I finally feel like I’m onto something here. Things are jiving. I love how the cool grey tone of the covers makes the gorgeous wood of Drex pop….

And the subtle texture of the woven slipcovers add interest and depth without being too overwhelming…

And they allow the fireplace to shine from this direction….

(Now to paint those darn built-ins… Oh,yes.)
I feel like the room has been cleansed. It has a whole fresh new outlook (like me today, apparently). 😉 Now, I have a much clearer idea of what else the space needs in terms of a rug and other accessories. This clarity of thought is also bleeding into the living area as well. Now I have a much better idea of where to go decor-wise. Sometimes you just gotta strip to figure it out (wait…).
So, anyways, this is kind of how things go for me when it comes to decorating. Trial and error. I live with things for a while to see how I like them, change things up until elements start clicking. I think sometimes in order to figure things out, you just have to clear the space. Cleanse the palate if you will, to get a fresh perspective. More often than not, my first decor move doesn’t work, but it gives me a good base to work off of. And that’s all part of the fun.
So, with that, I hope you all have a great weekend! Tell me your thoughts on this… Do you ever think a room will go in one direction, only to strip it down and go another? How do you handle that?


