A Little Christmas Project Nostalgia

Hey Ya’ll!  We’re decorating the new pad for Christmas today and I’m totally stoked about it, too.   It’ll be a day full of decorating in our pajamas while watching Elf and eating cookies.  Living the dream, people.  Plus, the fact that we’re in our new house just MAKES IT for me.   I’ve always thought that this house would be great for the holidays and this was unexpectedly confirmed when my Aunt Terry walked into our living room for the first time and stated (with zero prompting) “This is a great Christmas house.”  BAM!  That’s right.  It’s not just me!!!

Anyways, being the nostalgic sap that I am, I decided to cruise through some of my Christmas posts from last year for inspiration.   Since this is a new house with different decor needs, looking back at old projects helps me visually inventory what I already own in one fell swoop (and provides me with ideas for new ways use these items in our new home).  So, in case these may benefit ya’ll as well, here are a few snippets…

Our Christmas trees.

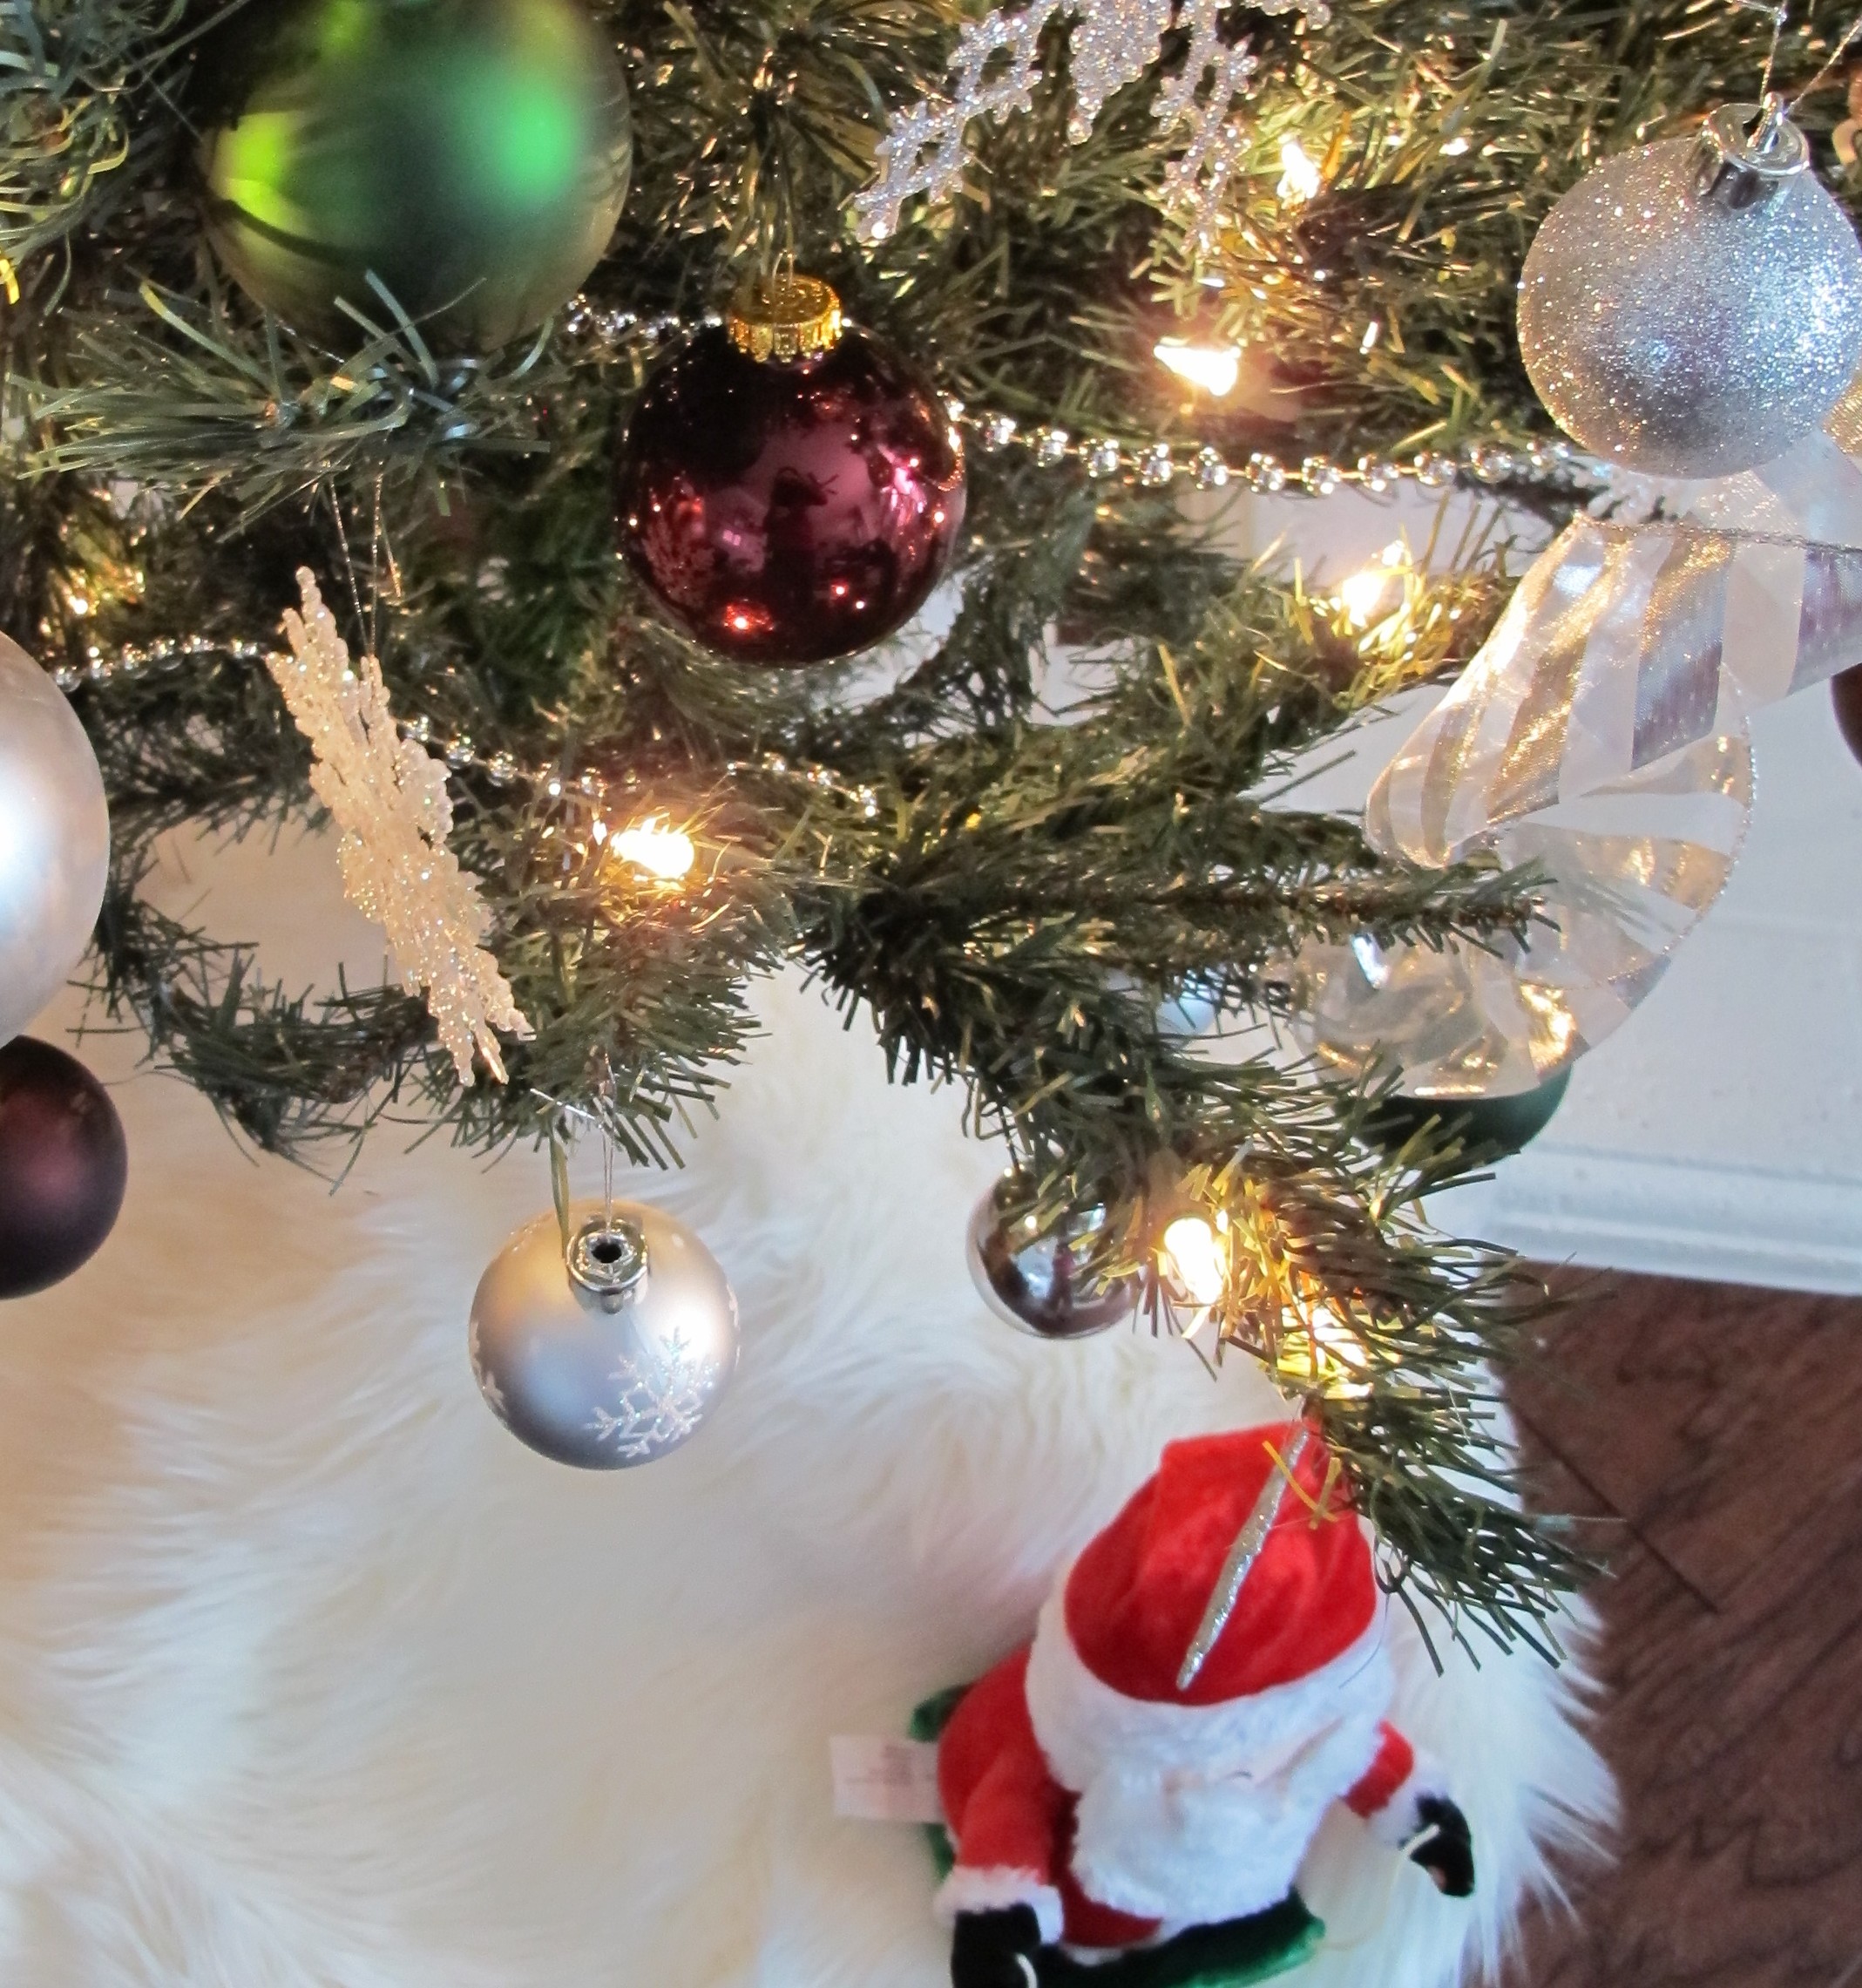
For our larger tree, I stuck to a silver, burgundy and green theme last year.  Lots of glittery snowflakes, garland and wire ribbon.   In lieu of a tree skirt, I just used faux sheepskin rugs.  I love that look.  It’s like a little snow mound beneath the tree.

Our “Charlie Brown Tree” is a simple silver tree that I purchased on clearance from Walmart years ago (Humph… that cord makes me twitchy.  Just try to ignore it.  Or tell me you don’t see it to make me feel better.) …

IMG_2758


IMG_2754

I stuck him in this painted basket for a bit of style, then added some stockings and wood ornaments with burlap bows for style.   These guys adorned our hallway nook in our last house, but need a new locale and look for this house.   Hmmm…. Wheels are turning…

Adding pizzaz with free Christmas Printables

IMG_2701

This was one of my favorites.  It was free, easy and added a touch of whimsy to our Christmas decor.   I ended up using four different printables throughout the house.  I still have them and will likely reuse them again.   See the other printables that I utilized here.

Christmas centerpiece ideas, PLUS, creating inexpensive snowflake window hangings...

IMG_2783

IMG_2801

A few simple, cheapo purchases lead to a sophisticated “winter wonderland” feel.   The window hangings tied in perfectly to the trees and centerpiece and really were the icing on the cake!  At least I think so.  😉

Some quick, low-maintenance outdoor decor...

IMG_2786


IMG_2881

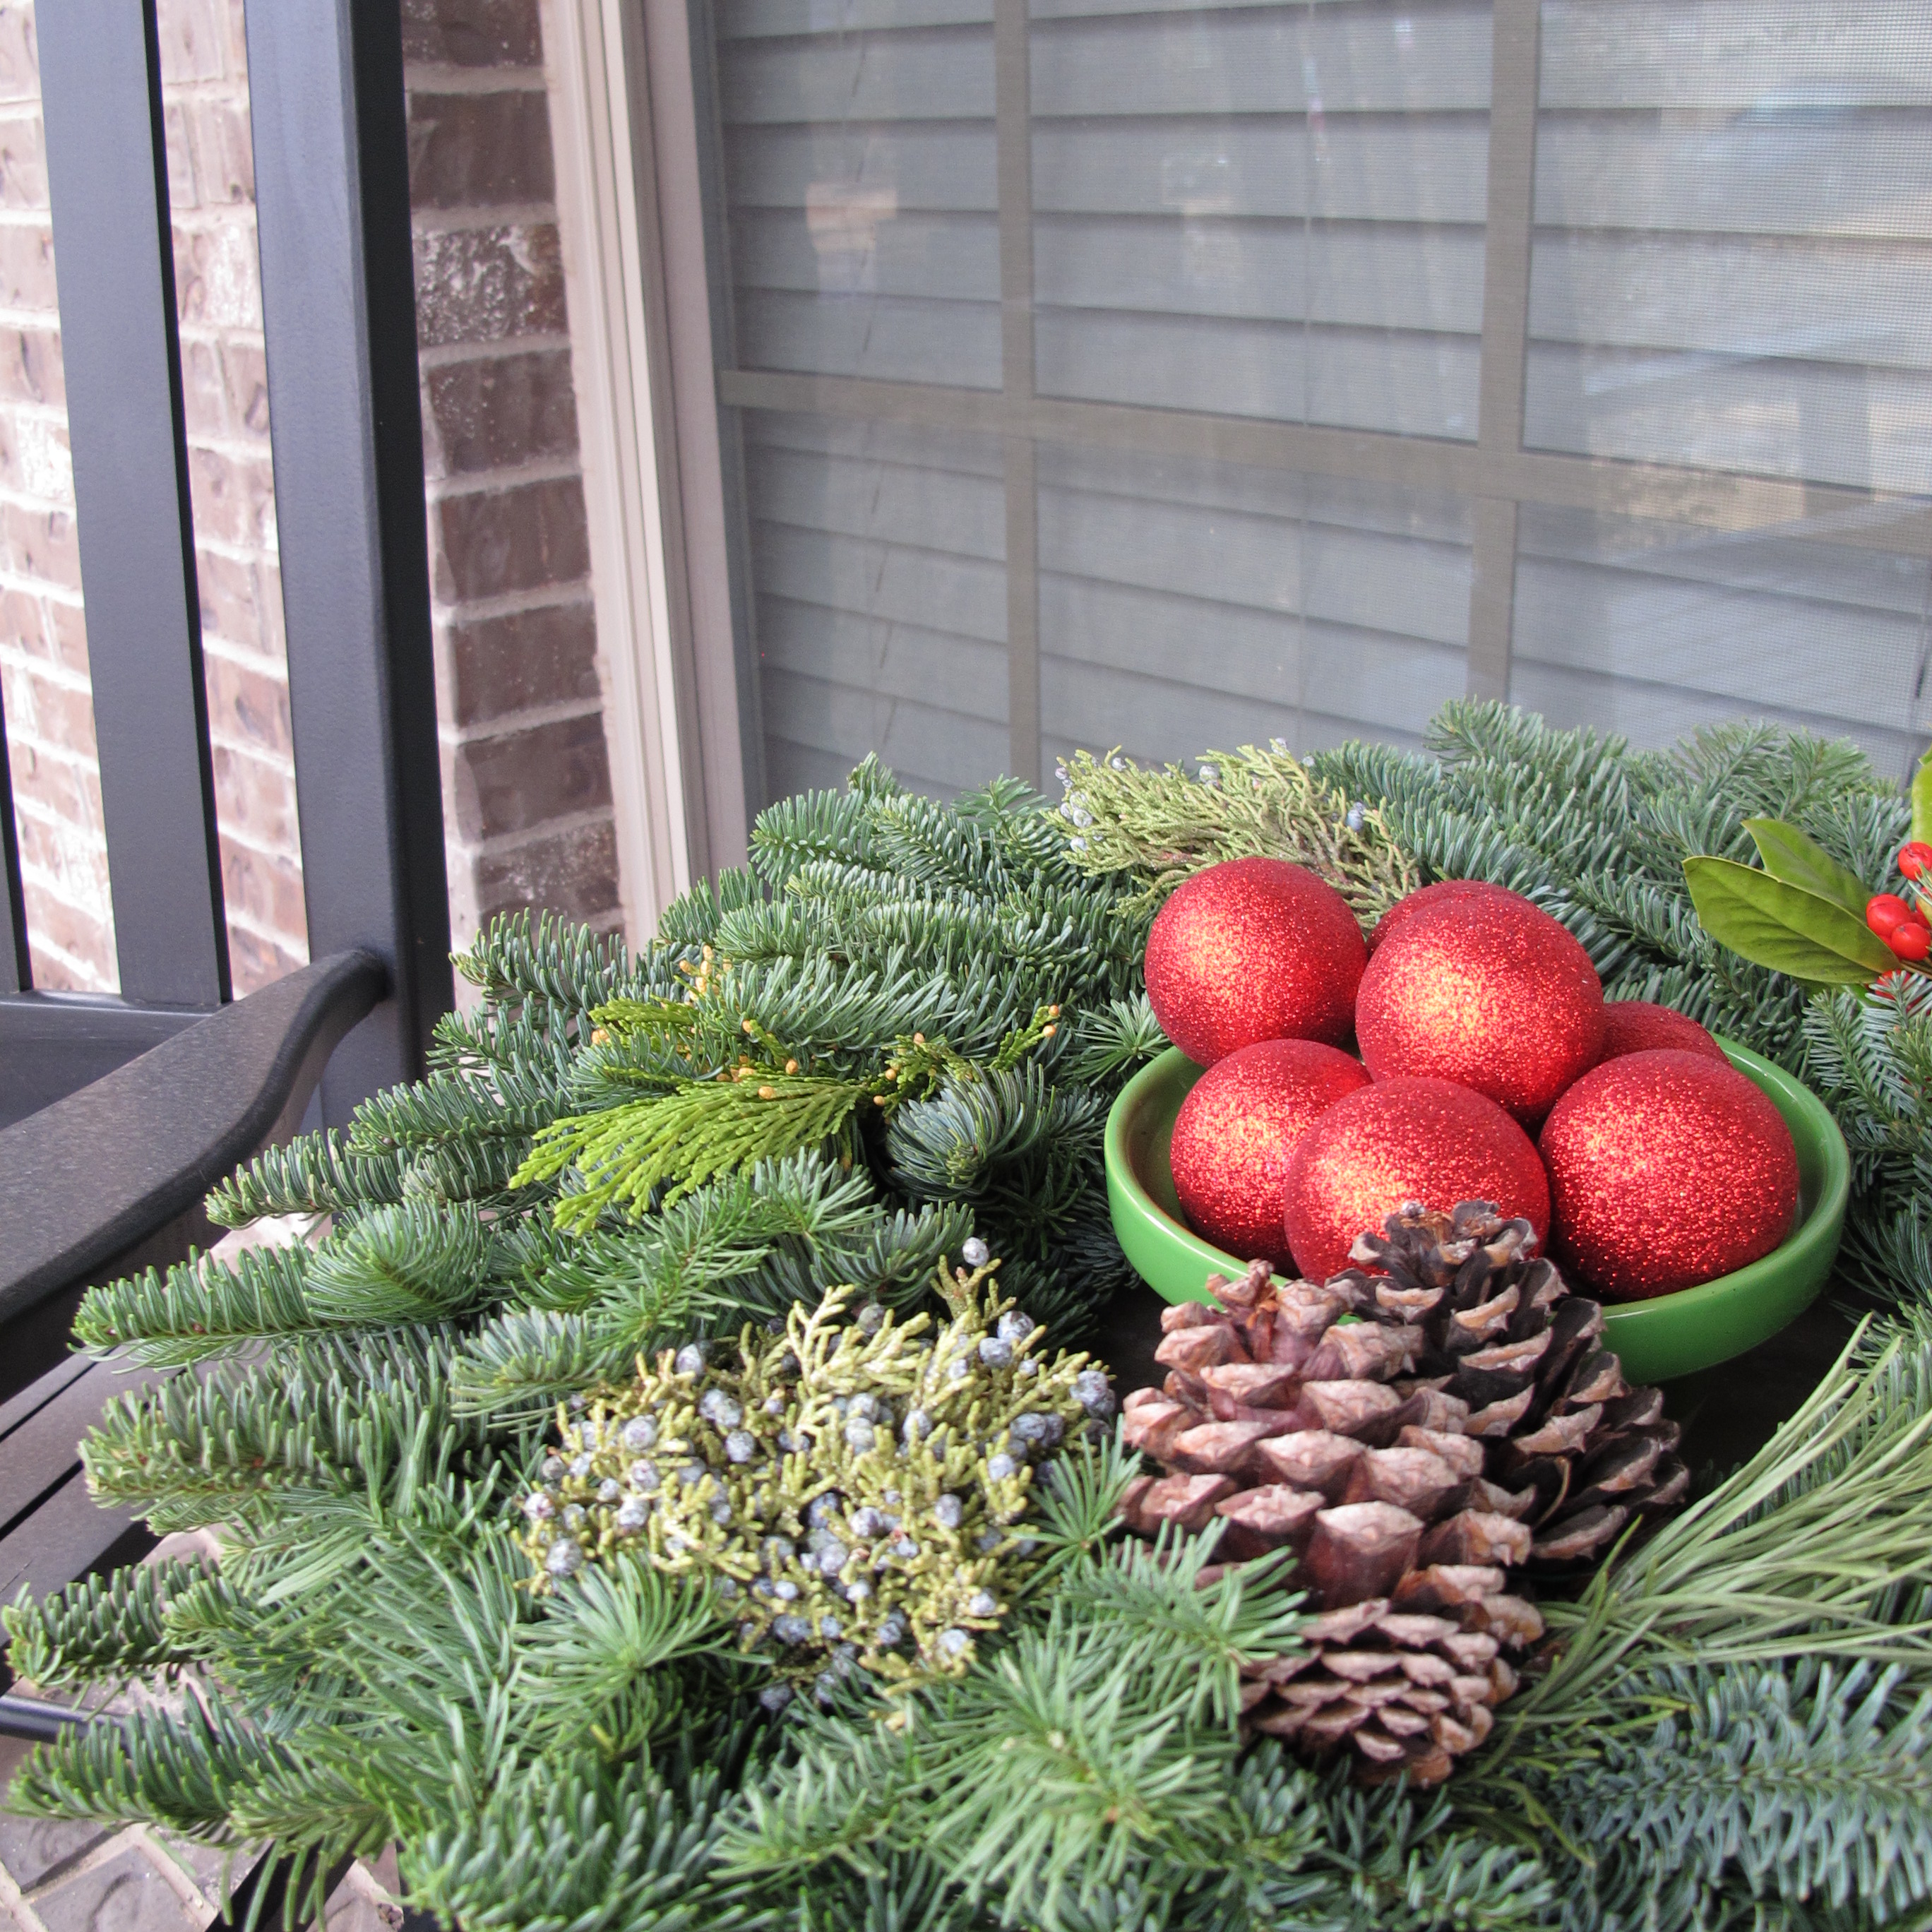
I reused my DIY frame wreath and jazzed it up with a few simple tweaks.  Plus, I used a gorgeous live wreath in a non-traditional way to add a little Christmas spirit to the seating area on our covered porch.

And lastly, this isn’t Christmas decor necessarily, but since gift ideas are always a good thing, here’s how I created simple busts of Lucas on burlap for gifts.  We gave one to each of the grandparents last year…

IMG_2877

So, now that I’m officially in the Christmas spirit, I’m gonna go get my decorating on.   Ya’ll have a great weekend!!  Let’s start this holiday season off right!  🙂

TDC Before and After

Lucas got a brand new(ish) bed!

I’ve literally been talking about getting Lucas a new bed for years now.  YEARS!  The bed that we’ve been using for him was a hand-me-down gifted to us from Joey’s grandfather.  It was a simple metal bed frame with a trundle bed beneath.  No headboard or footboard.  Useful for sure and much appreciated, but very basic….

As functional as his bed has been, I’v been craving something a bit more stylish to help set the tone for his room. A good, chunky “boy bed”.

Back when we were in the process of buying our house, my uncle graciously offered up an old bedroom set that was previously used by my cousin Bryan. It was a simple, solid wood set including bed, dresser, and nightstand. For free. Um, Sold!

We didn’t need the dresser or nightstand in Lucas’s room, so we’re utilizing them in other parts of the house. But the bed, oh the bed. It was exactly what I wanted for him in terms of style and simplicity. The only issue was the oaky tone that didn’t quite jive with my plan for his bedroom….

I was originally planning to use Polyshades to darken the wood tone.  I’d assumed that the pieces were oiled or finished with something that would prevent stain from penetrating without prep.  But, after a little experimentation, I realized that the wood readily accepted the stain WITHOUT a stitch of prep work!!!  Total miracle, right??? (Insert victory dance, circa the Snoopy dance from A Charlie Brown Christmas.).  So, with that, I proceeded to apply 2 coats of Minwax Ebony stain that I had on hand….

I left about 12 hours between coats to ensure that the first coat was dry, thus allowing the second coat to fully penetrate the wood. Then, I applied two coats of my newest obsession tung oil following these steps. The result was a beautiful, ebony stain with a luscious, natural looking gloss. I really love that the tung oil lends a beautiful finish without any drips or brush marks.  And it’s basically foolproof!!  If you can wax-on you can achieve a beautiful finish. We’re total BFFs now.  Me and tung oil.  Picture us twirling in a field of daisies.

Anyhoo, the bed didn’t come with hardware, so we purchased some corresponding bolts and washers from Lowes.  Then, we assembled the bed and proceeded to bask in its glow of awesomeness…

I’m ecstatic about how well the bed coordinates with his dresser.   In these pics, the dresser appears a bit more red-toned due to the lighting, but in person, the two pieces coordinate perfectly….

A little before and after bid-ness…

REAAAALLLYYY Before:

232323232-fp83232-uqcshlukaxroqdfv33-3=ot-2487=7;-=;69=XROQDF-267-787735255ot1lsi

Before the bed (after we changed the carpet and painted)…

And now…

Sorry about the insane glare in these shots… I’m planning to retake them in better lighting soon and post them to Our House tour page, so keep an eye out for that.

Another view…  Before

After:

The bed is a total game-changer for this room.  It’s streamlined and masculine with bonus storage beneath!  It gives the space so much style and function. Plus, the bed is lower than his last, which means he no longer needs a step-stool to get in it. I’m changing out the wood drawer handles beneath the bed for stainless knobs to mesh better with the other furniture in his room, so I’ll post a little update once that’s done.  Now that the main-players of the room are in place, I can focus on wall-art, his desk area, adding curtains and otherwise fine-tuning the space to bring it full circle…. And the fun can REALLY begin!!!!  (Insert crazy cackle) 

TDC Before and After