Transforming a Breadbox into Toilet Paper Storage

Hello, friends!!  So, remember this guy??

IMG_4639

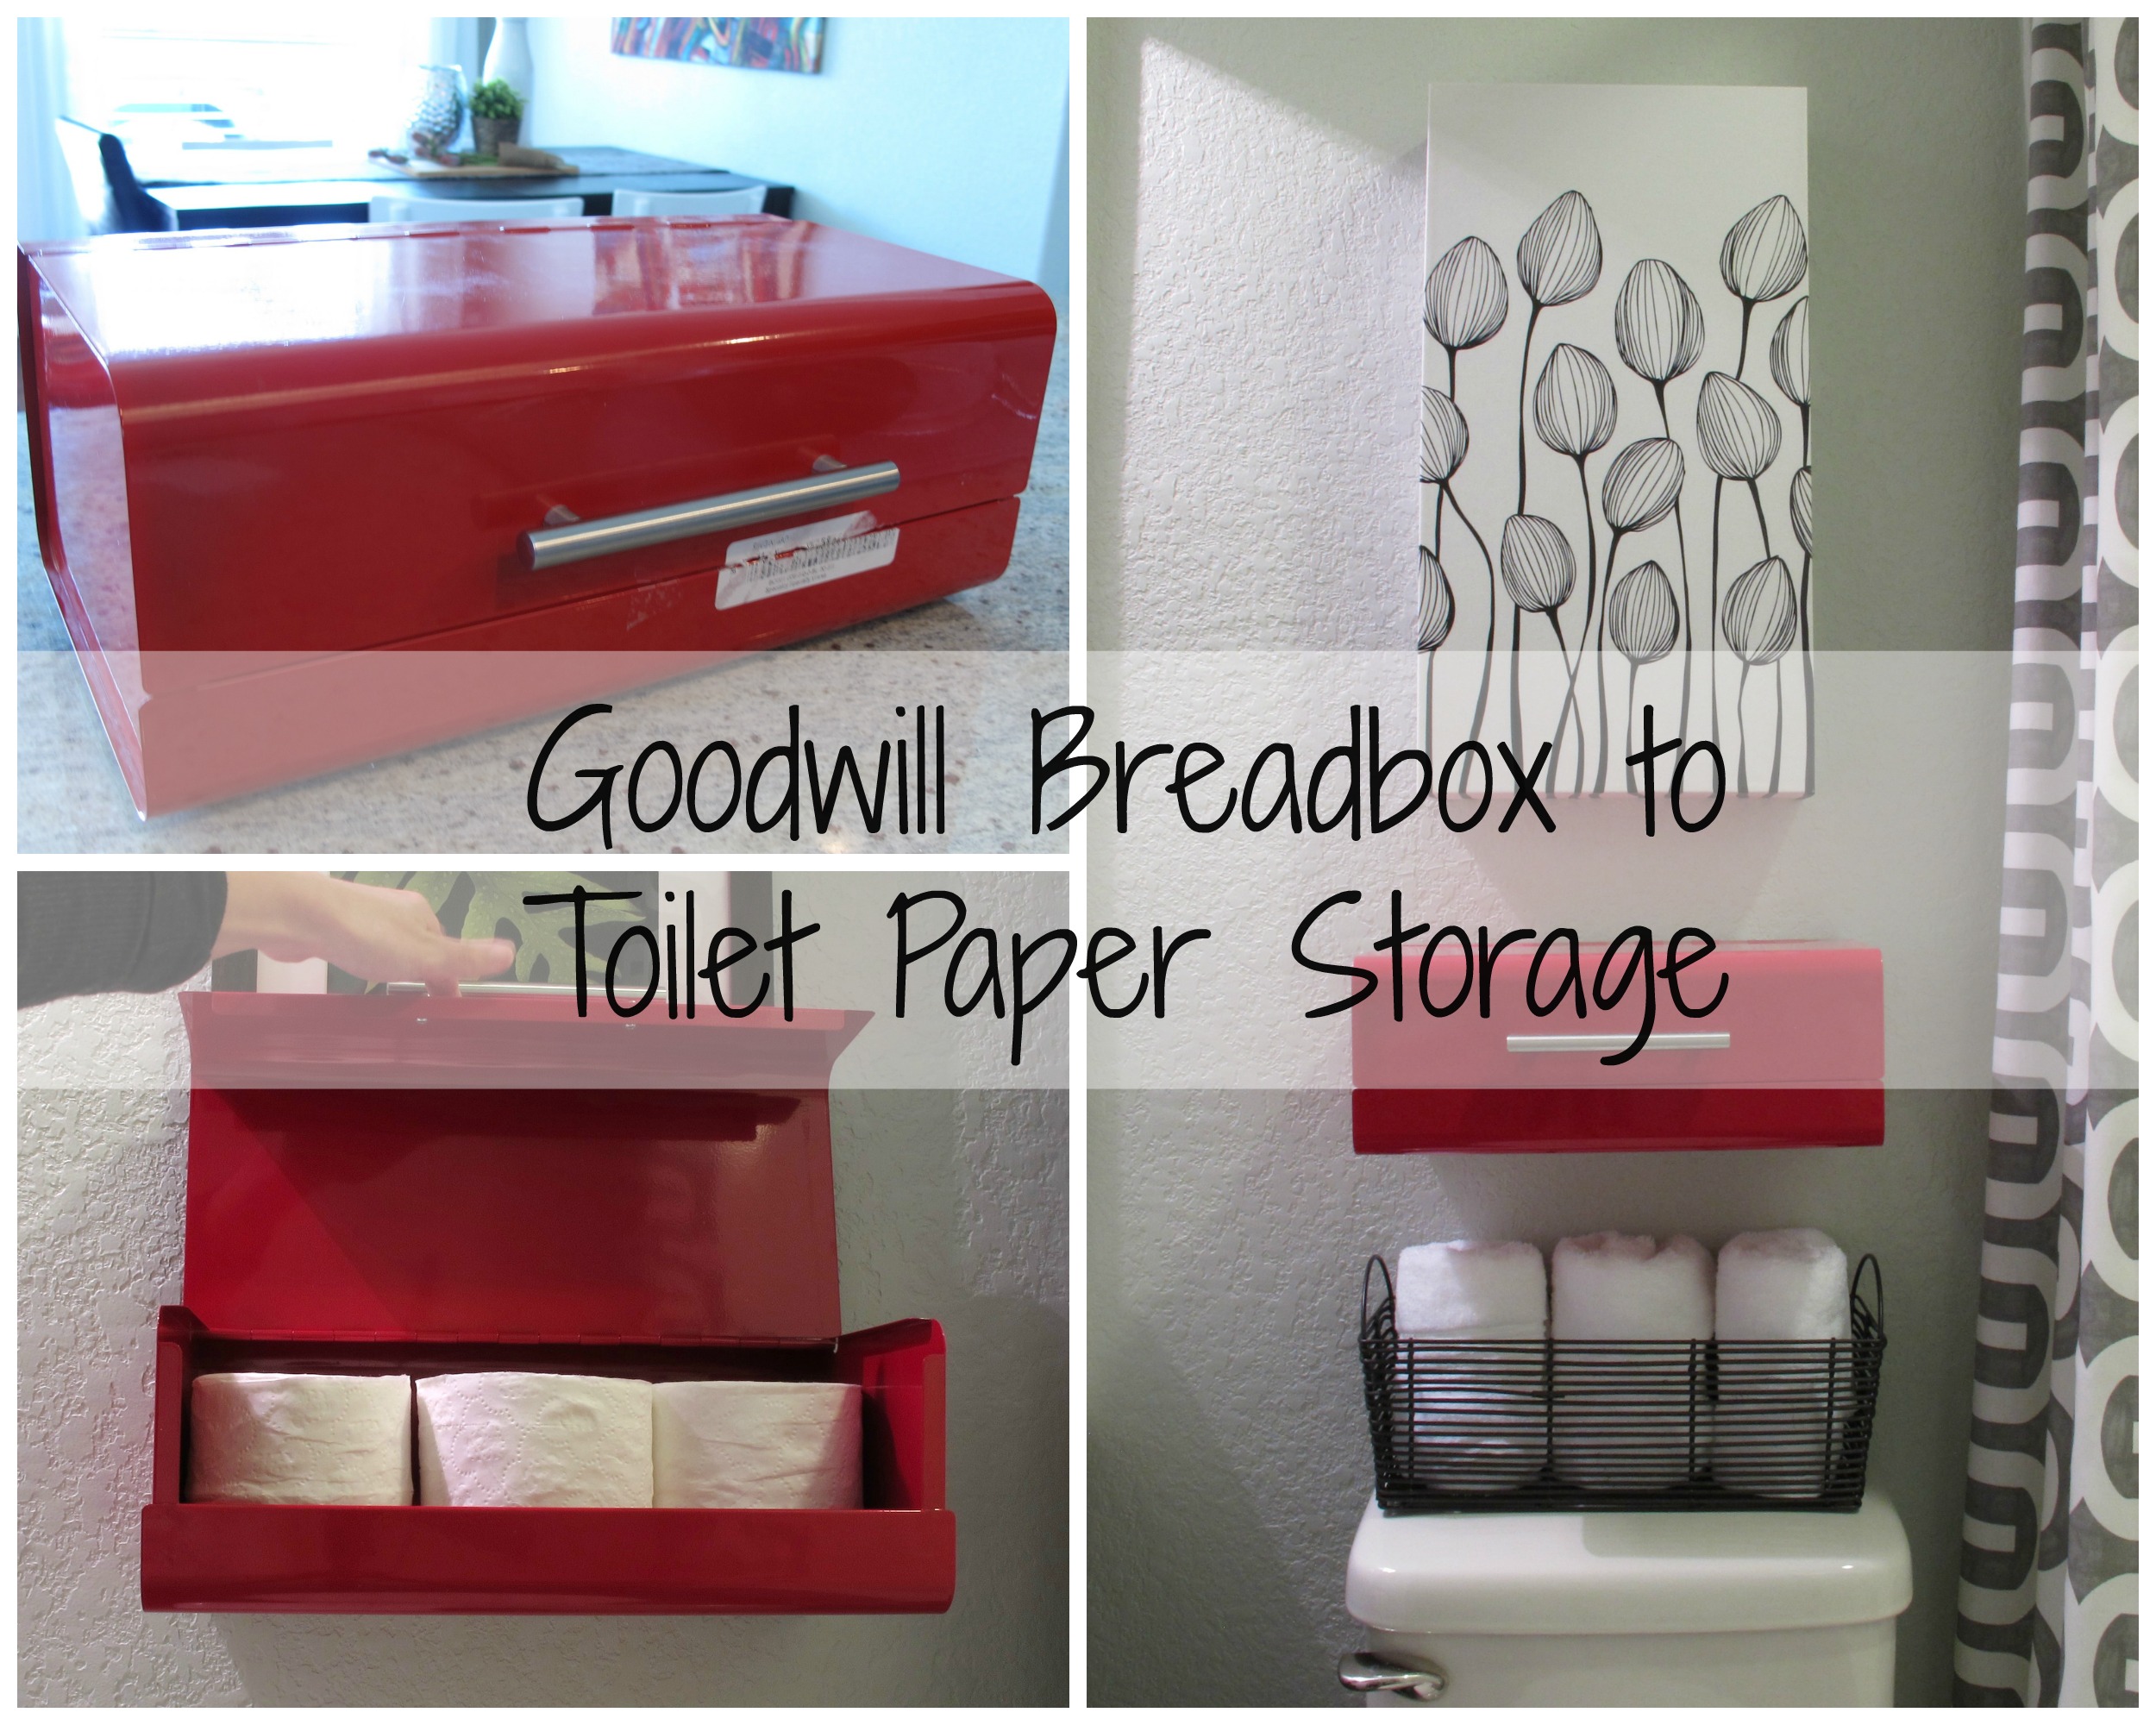
He’s our Goodwill breadbox turned toilet paper holder from our bathroom makeover.  I’ve been meaning to write a post about how he came to be for a while now, but for whatever reason, I’m just now getting to it (and also, I sort of forgot.  Sorry.)  🙂

It all started when I found this breadbox at Goodwill about six months ago for eight bucks…

IMG_4291

I had no idea what I was gonna do with it at the time that I purchased it.  And once I got it home, I still had no idea, so the cheapo in me berated my inner-self for wasting the money (I know… this is how cheap I really am).

Anyhoo, as I was working on styling our guest bathroom, I searched the house for pops of red and came across this badboy, shoved way into the back of No Mans Land (aka: our spare room).  And I realized that it would be perfect storage for above the toilet.   Retro, bright red, unique.  Oh, yes.  I was all in.

The actual mounting of the breadbox was pretty straight forward.   Joey did most of it.  We simply located the studs with a stud-finder.

Then, I held the breadbox up to the wall while he marked the stud locations on the inside of the breadbox to determine where the holes needed to be drilled…

IMG_4506

Next, he removed the breadbox’s door to keep it from becoming damaged, and drilled four holes into the back of the breadbox.  Good drill bits were key here as the metal was pretty challenging to drill through.   We stacked the box on top of a piece of scrap wood covered by a rag to avoid damaging our floors and/or the finish on the breadbox.  He started by drilling through the inside…

IMG_4551

Then, went back through the holes on the outside with a slightly larger drill bit to make the hole clean…

IMG_4550

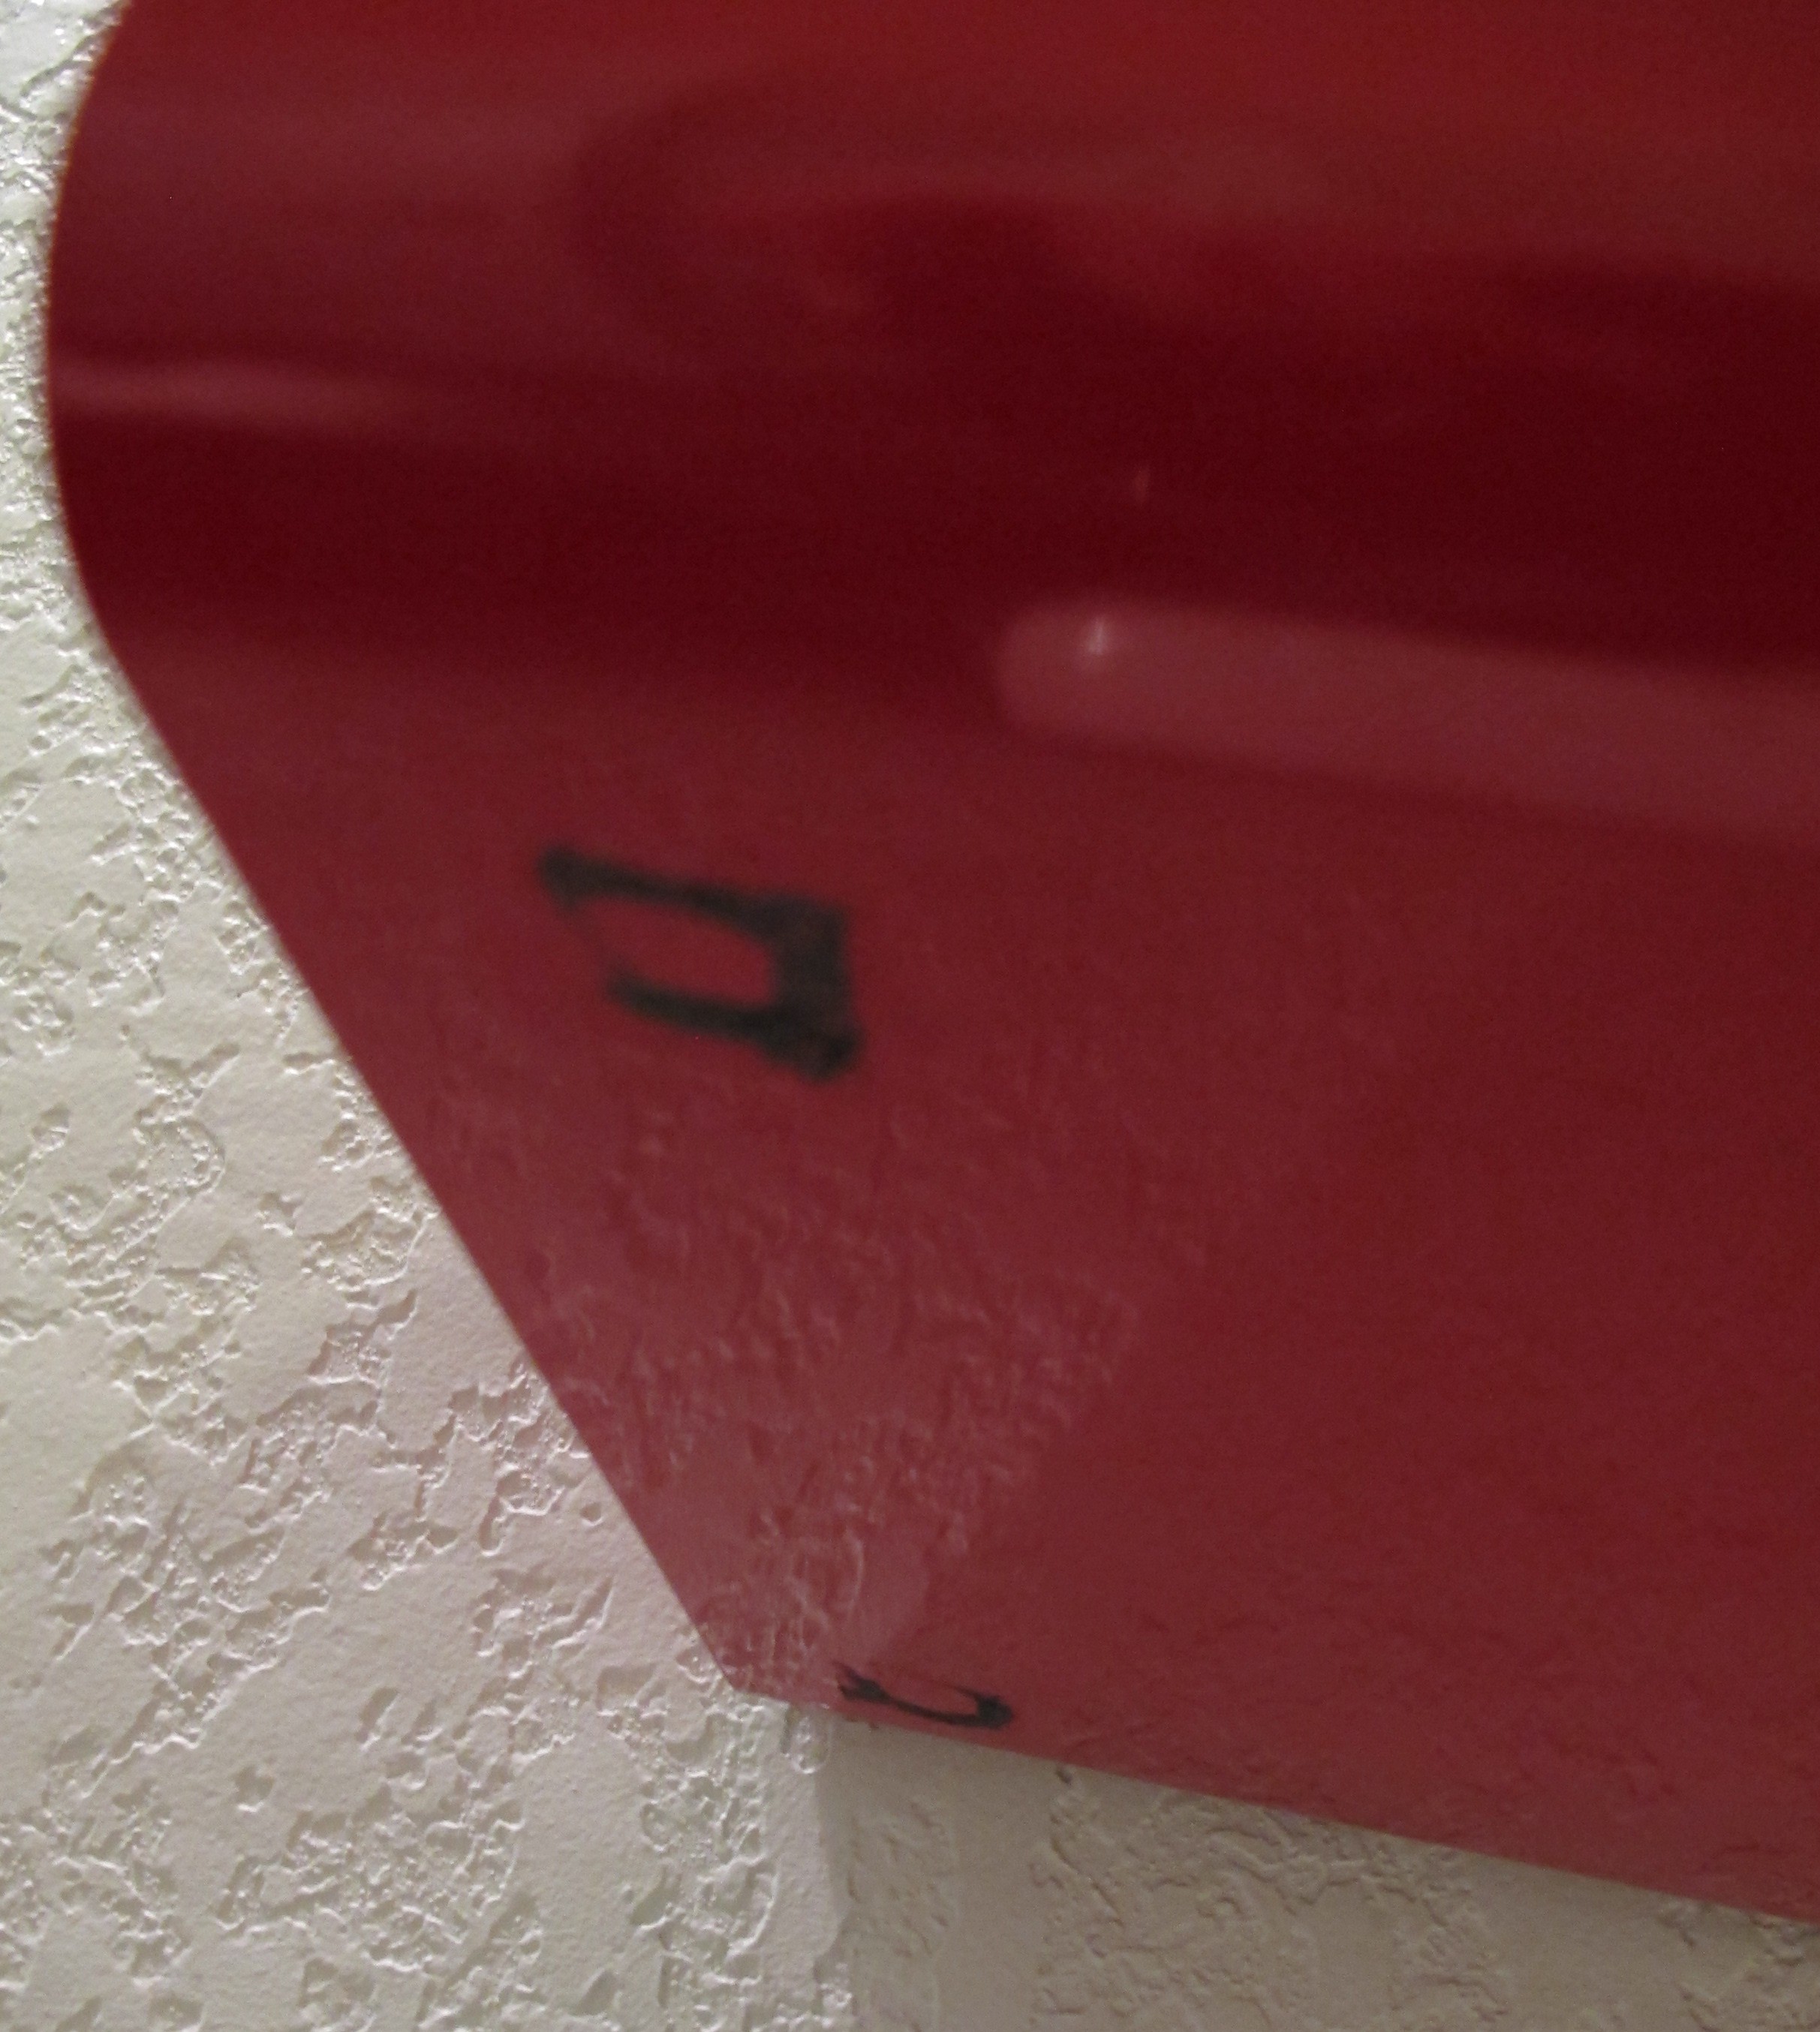
Once the holes were drilled, he held the box up along the wall again, and I marked the hole locations on the wall with a sharpie…

  IMG_4554

Yep. I totally just showed you a dot on the wall.  You are welcome. 😉  At this point, Joey reattached the top…IMG_4557


Then, used heavy duty anchors, and screwed the box to the wall using screws and washers…

IMG_4555

The inside of the box looked like this…

IMG_4561

And we were left with this…

IMG_4563

Which is when I realized that we should’ve removed the rubber feet.   They made the box scream “Hey you!  I’m a random breadbox screwed to the wall!”.   So, I set about removing them.   They were glued on pretty securely, so Joey suggested that I heat the glue up with a hairdryer…

IMG_4571

Which I did.   I heated up the feet and carefully pried them off with a razor.   It was pretty slow going, but I got them all off eventually.  And was left with this residue…

IMG_4572

I gently scraped the areas smooth with my razor, but little black smudges were still left behind.   So, I busted out the red craft paint and touched up the black…

IMG_4578

The paint is still wet here, but once it dried it blended right in.   I’ve mentioned before that I’m a detail-person.   It drives me bananas when a project of mine looks haphazard.  So, when I say that I can’t tell that these spots ever existed, I mean it.   It was totally serendipitous that the red craft paint that I had on hand matched the breadbox to a T.

And here he is today (after some post-reveal styling)…

IMG_5199 3

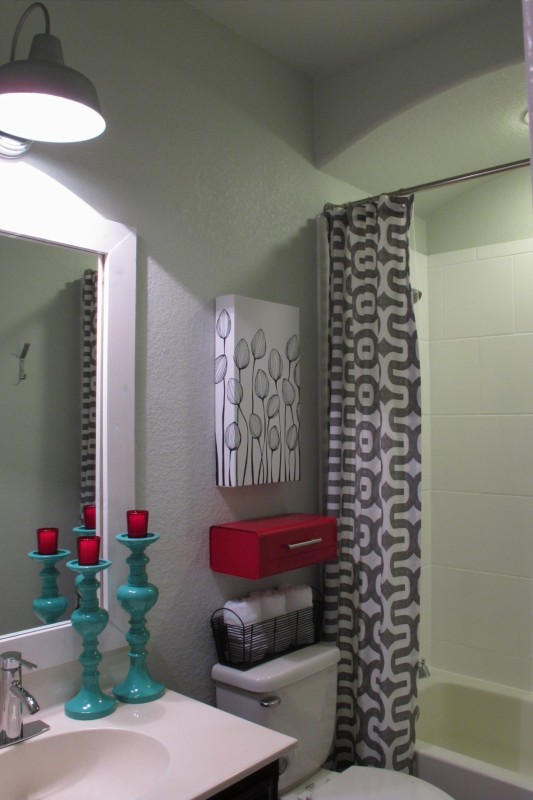
Not bad for eight bucks and a bit of elbow grease.   And, BONUS, one less thing is now littering No Man’s Land.   Good deal!


PicMonkey Collage2

For more of our bathroom makeover check out this post and this post  (the latter contains links to all the rest of our bathroom makeover).

TDC Before and After

Linking it up at Tator Tots and Jello: Link Party Palooza!

Why I should never get bored…

Ummmm…

Yeah. So, I was bored.

Joey was sleeping. Lucas was playing.  And I decided to fill the time by cleaning the guest bath. So, I innocently went to retrieve our cleaning products, when somehow I ended up with a razor in my hand.  I walked into the bathroom, turned toward the vanity, and *accidentally* slashed the silicone caulk repeatedly around the perimeter of the side-splash with my razor. Oopsie!!  Then, my putty knife *coincidentally* was shoved with brute strength behind the side-splash multiple times until the adhesive was sliced through and the side-splash was severed from it’s main body.  Whoops!  My bad.  I’m so clumsy!

You see, my hatred for this slab of stone had been brewing for a while.  Much like our toilet handle, I’ve despised this pointless, extraneous….. appendage, of sorts…for a LONG time.  Now, I have nothing against side-splashes in general.  I think they’re fine.   But, THIS side-splash??  For one, it was yellower than the rest of the vanity top (which as you know, I’m not a fan of). Then, to make matters worse, the builder used white caulk to trim it out which made it appear even MORE yellow. Plus, when you looked at the bathroom from this direction….

IMG_4713

… It was just a big yellow distraction. So, yes. It’s fair to say that a small, rectangular piece of stone has driven me nuts from the getgo.  And I just.couldn’t.take.it.anymore.

Once I’d broken the stone free, I had a bit of damage to contend with. I started by scraping the excess silicone off the wall….

IMG_5121


Then, this bead along the counter…

IMG_5122

…was the pits.  I’ll tell ya, silicone caulk has some major staying power. It took a boat-load of elbow grease, putty knife, razor, kitchen knife and my fingernail to get it all off.  But, I finally did it (along with a little victory dance and a small amount of “In your face, caulk!”).

Next, I spackled the three areas of drywall that were damaged. I’ve mentioned this before, but with our textured walls, I like to apply spackle with my finger since it’s easier to match the texture…

IMG_5125

Once that was complete, I vacuumed up the mess and caulked the gap between the counter and wall. I was sure to use paintable caulk with silicone, so that I could paint over it if needed.

IMG_5129

IMG_5130

After waiting the allotted dry time for the spackle and caulk, I touched up
the wall with some leftover Ante Meridian paint.  Which left this….

IMG_5171

SO, much better than this….

IMG_4713

Looks less builder-ish and distracting to me now.  Thank goodness!  I love how my attention is now drawn more to the mirror than the side-splash. And really, this project didn’t take a ton of time.  The most time-consuming part was removing the silicone caulk and that maybe took 30 minutes.

So, anyways… This is gonna be a week full of of guest bathroom tweaks. I’m happy to say that I’ve been pretty productive in this room.  It seems that removing that dreaded side-splash has opened the floodgates of inspiration (Ifeellikeagreetingcard).

I mean, you didn’t think I was actually done with our guest bath did ya? (Wink! Wink!) 😉

It turns out that rooms in my world are never finished. That’s the whole beauty of it.  Having lived with our guest bath makeover for a while has triggered new ideas for tweaks to help cozy up the room and better fit the feel that I was originally striving for. So, I guess our bathroom reveal is now a jumping off point for new projects. So fun!!! So, stay tuned!! 🙂