I love how one awesome find has the potential to trigger that giant metaphorical ball to start arollin’. This happens to me a lot. I’ll just stare at a space for a while and do absolutely nothing to it. Then, out of nowhere, I’ll purchase one item that leads to a much more finished space in no time flat.
Last, we spoke about our dining room it looked like this….
We’d changed out the light carpet for ebony laminate, and basically plopped down our stuff on moving day. A good start for sure, but the room needed a large dose of softening. STAT. I’d discussed my plan for the space in this post, which was as follows…
- Paint table white
- Hang white curtains high and wide
- Add a large, natural woven rug
- Hang Ikea floating shelves above Drex
And thanks to that one teeny (well, super large) item, our plan now looks like this:
- Paint table white
Hang white curtains high and wideAdd a large, natural woven rugHang Ikea floating shelves above Drex
…which happened all in one day.
See, I stopped by Lowe’s one fateful morning and saw this fantastic indoor/outdoor woven rug with a simple black striped border. The border was the kicker for me. I didn’t even know I wanted a border until I saw it. Then, I knew. Must.have.border. The durable indoor/outdoor quality made it ideal for a dining space what with accidental spills, crumbs, etc. Plus, the quality was nice… it didn’t look or feel cheap to me. And the price tag was FABul-oooouuusss!!!

$118 for an almost 8×10 rug!!!!! And I had a 10% off coupon!! I took him home and tried him out, which (warning!) may cause spontaneous hanging of curtains. And requests for already-busy husbands to stop what they’re doing to hang floating shelves….

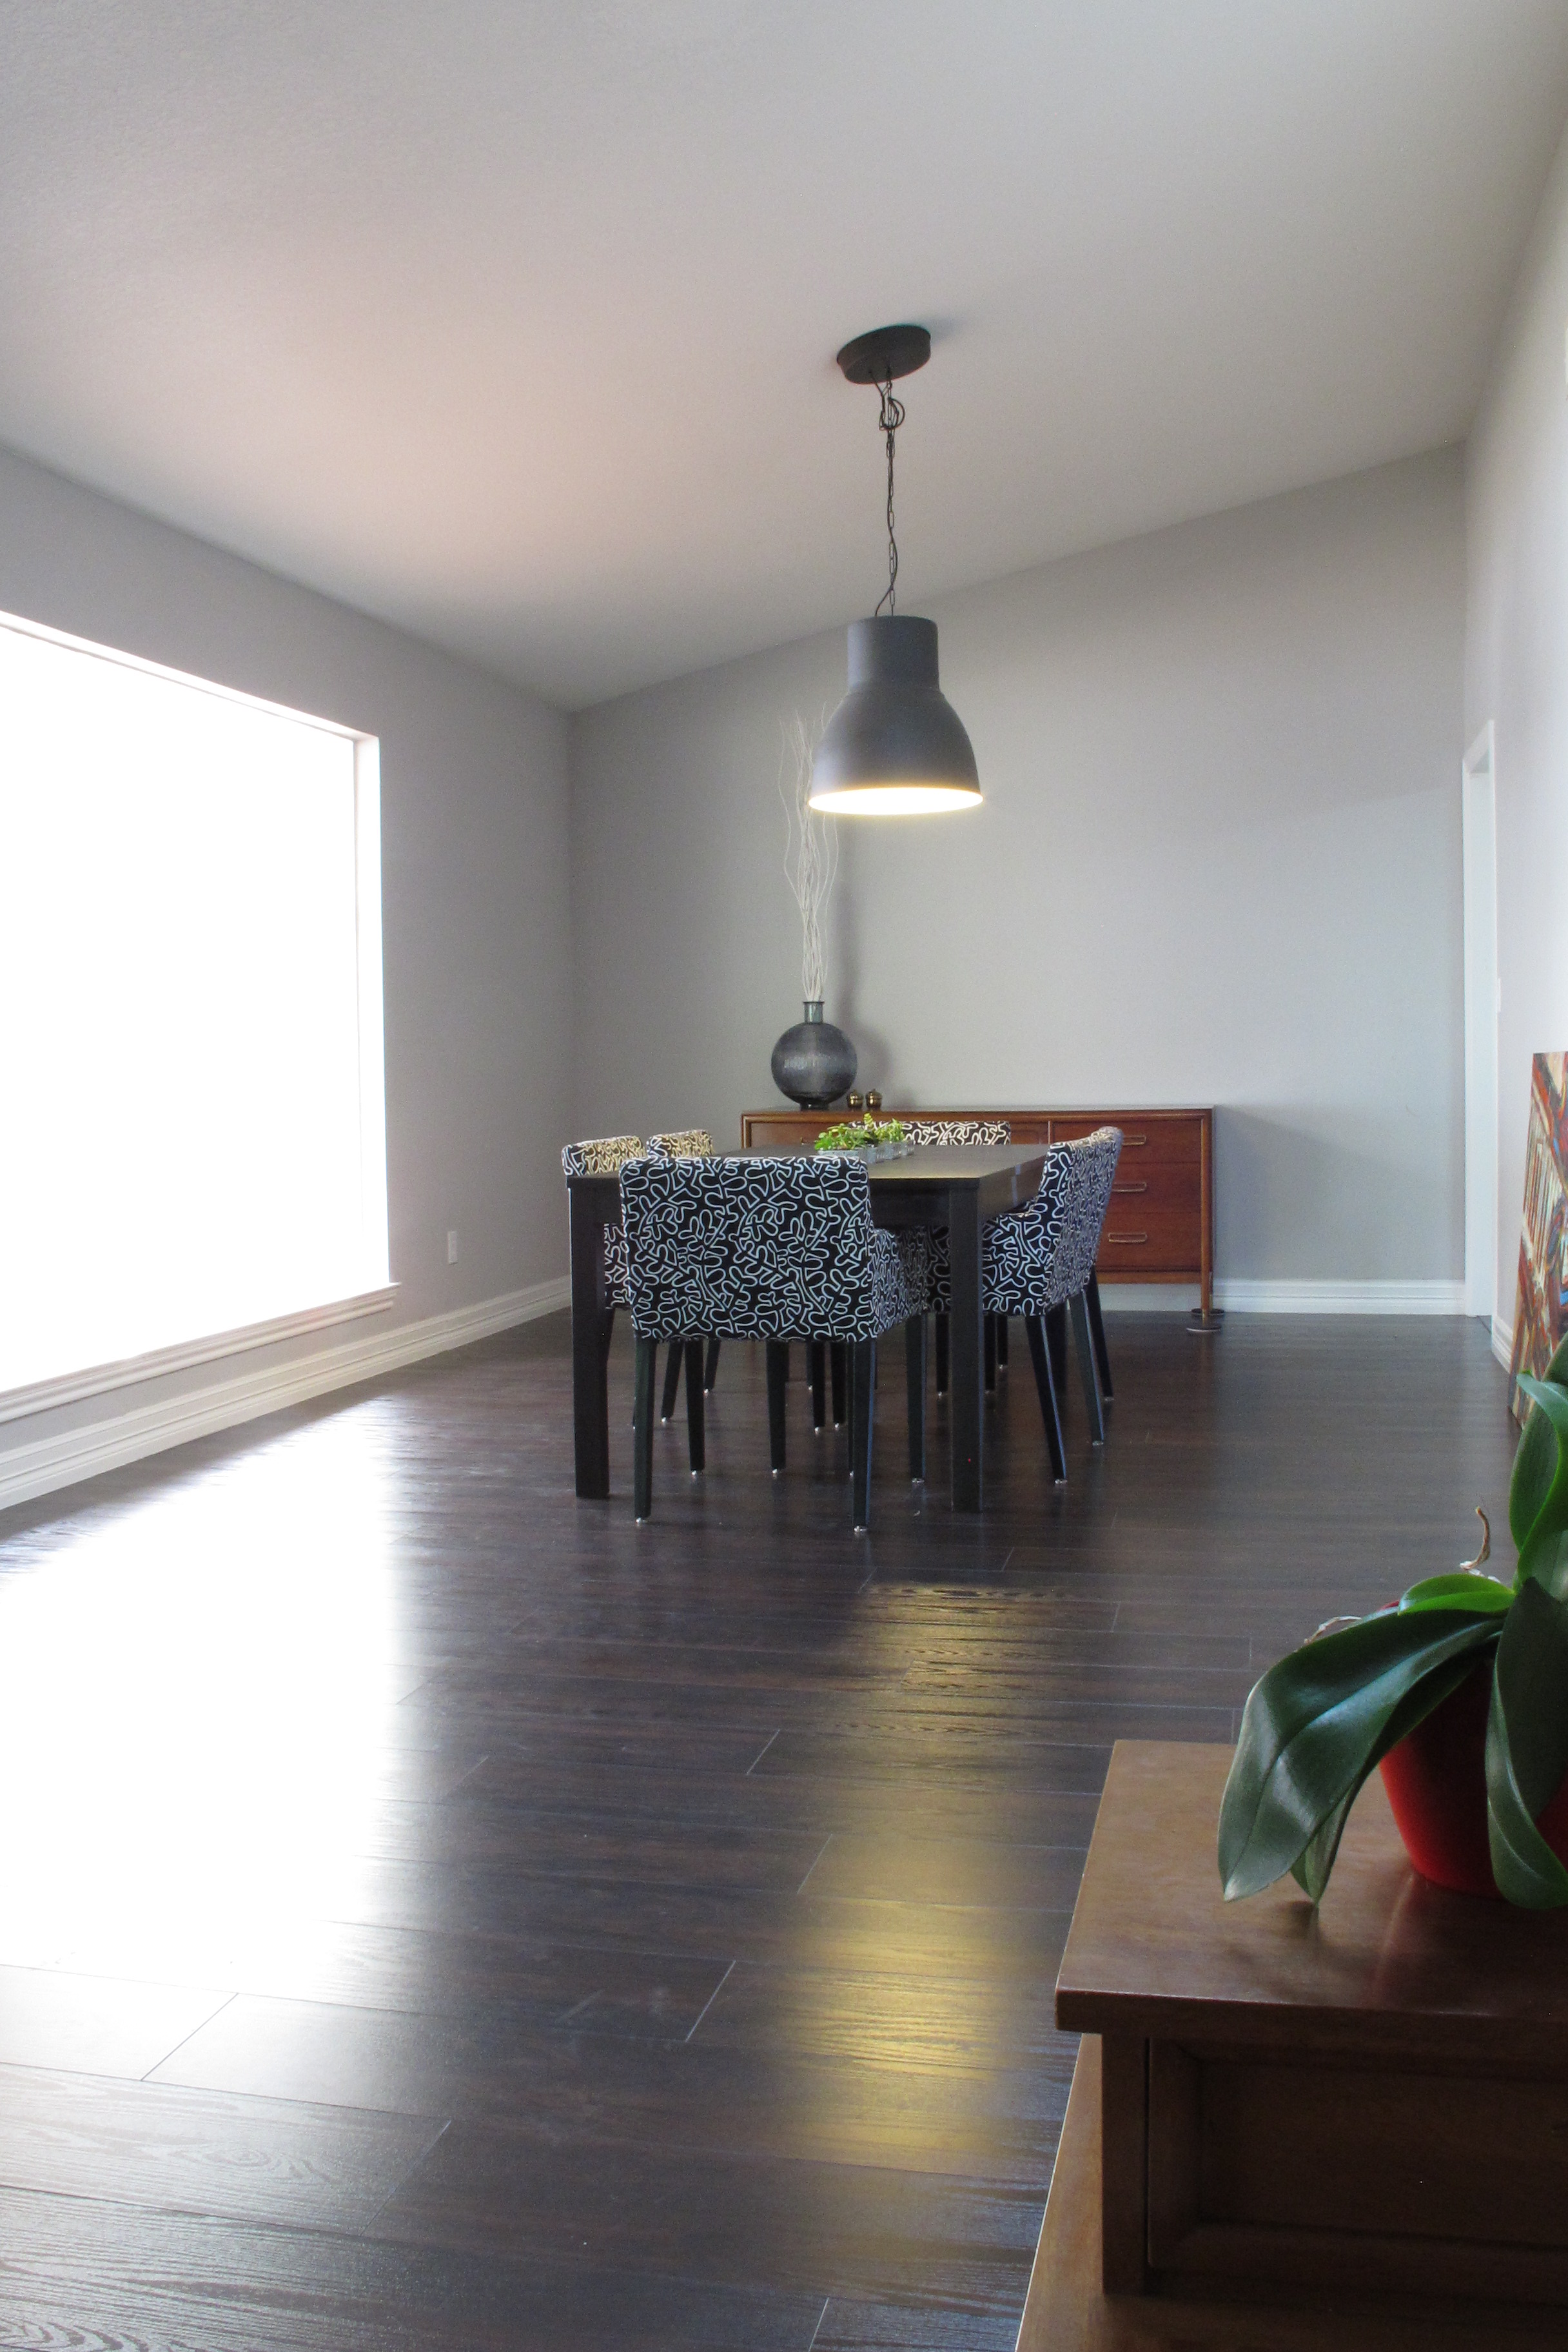
Which left us here…


RIGHT???!!! So much better!!! I love the texture provided by the rug, and the height of the curtains makes the room seem grand.
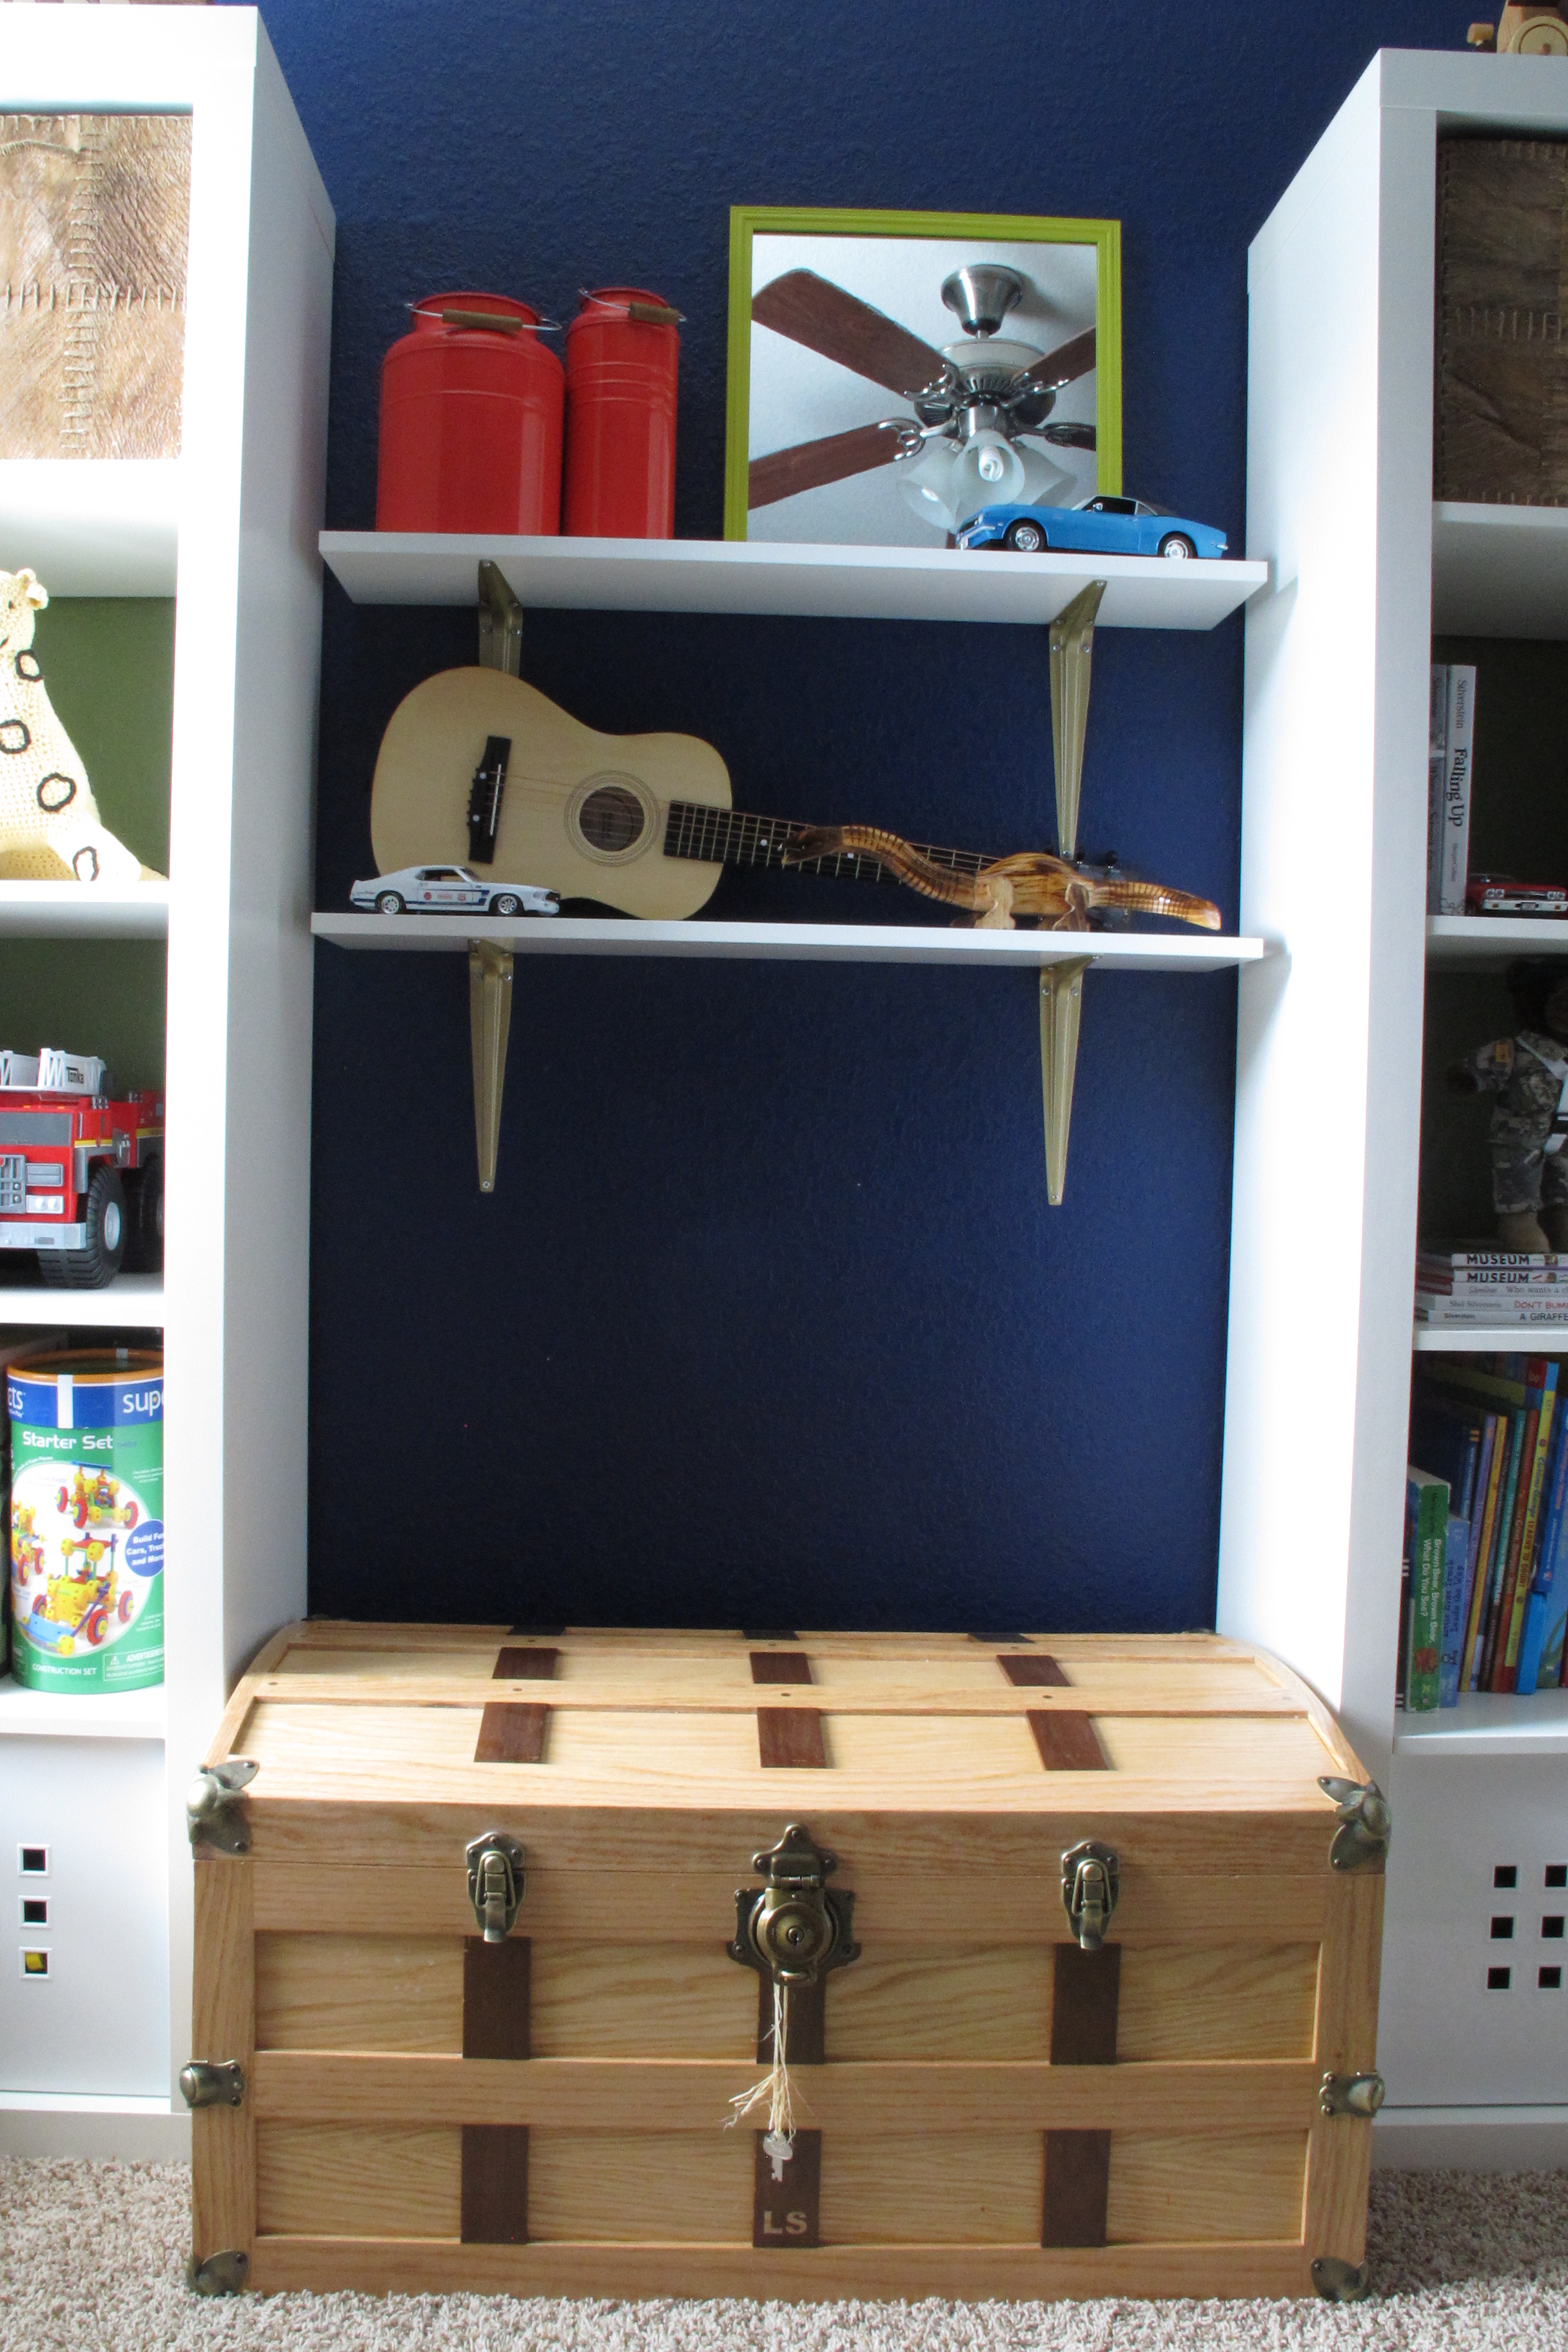
For anyone wondering about the specifics for hang brackets and shelves, I generally follow these processes….
Curtain rod brackets: I measure 3 inches down from the ceiling and drill my holes for the brackets. This allows enough space for the curtains to be hung without crowding the ceiling. Now, if my curtains aren’t long enough to allow for this, I hang them as high as possible while still allowing them to graze the floor.
Shelves: This is a tricky one. I eyeball placement depending on the space, but I ALWAYS tape out the potential locations with painters tape first (as shown three pics up). I use a tape measure to measure out the exact length of my shelf on the wall, then I apply my tape from one mark to the other using a level to ensure that my tape is level and straight (basically, I hold my level with one hand and guide my tape with the other). Note: This is WAY easier to do with two people. But, I’m impatient and Joey wasn’t home. I always end up doing this when he’s not home for some reason. These shelves ended up being about 18″ apart and I think they’re perfect for this space.
Next up will be styling the shelves and painting the dining table white. Bamboo blinds beneath the curtain rod are also a possibility if I can find the right color. I also need to hem the curtains.
It’s funny that even though there’s still more to do, I feel like this space completely skipped crawling and went straight to walking in the span of a day. Of course, like I said, it’s nowhere near done yet, but it’s getting closer by the minute. And it’s definitely a far cry from this…

And although this is a totally dark picture (it was dusk), I have to show you our view from the breakfast nook through the dining space…

I friggin’ love this house.