Hey guys! Long time no blog!
As mentioned in my last post, we spent the past week on a much needed vacation in Mexico. Joey and I traveled sans kiddo for our first real vacation in five years (HUGE thanks to our amazing parents for wrangling Lucas for us in our absence). I’m sure it goes without saying that the vacation was just what the doctor ordered. I mean, laying on the beach at an all-inclusive just can’t be bad no matter how ya slice it. The original plan was for us to return on Thursday and for me to post on Friday. Unfortunately (or fortunately?), my plan was quickly (or not so quickly) derailed after we spent eight hours at the Cancun airport due to delays only to have our flight home cancelled. So, we ended up having to spend an extra night in Mexico. At first we were pretty irate and so disappointed that we wouldn’t be smooshing Lucas’s face with kisses until the following day. Then, they announced that the airline was taking our entire flight to spend the night at the resort we had just come from. Which was amazing. Seriously, I can’t recommend the Dreams Riviera Cancun enough if you’re looking for a place to go. We were delivered to the hotel around 7:30 pm, so we still had time for dinner before bedtime, which ended up being a fun meal spent with some cool new friends whom we would have never met had our flight not been cancelled. So, in the end, it was okay. Here is a little sneak peak…

And in case you’re wondering where Lucas gets his silly picture-posing skills, please allow me to enlighten you…


This is what’s known as “pulling a Joey”. When we were dating, I was once forced to frame a picture of him biting my head. It was the most serious pic I could find at the time. He is handsome, though, no? 😉
Anyhoo, we are now back, safe and sound. Woo-hoo! So, onward!
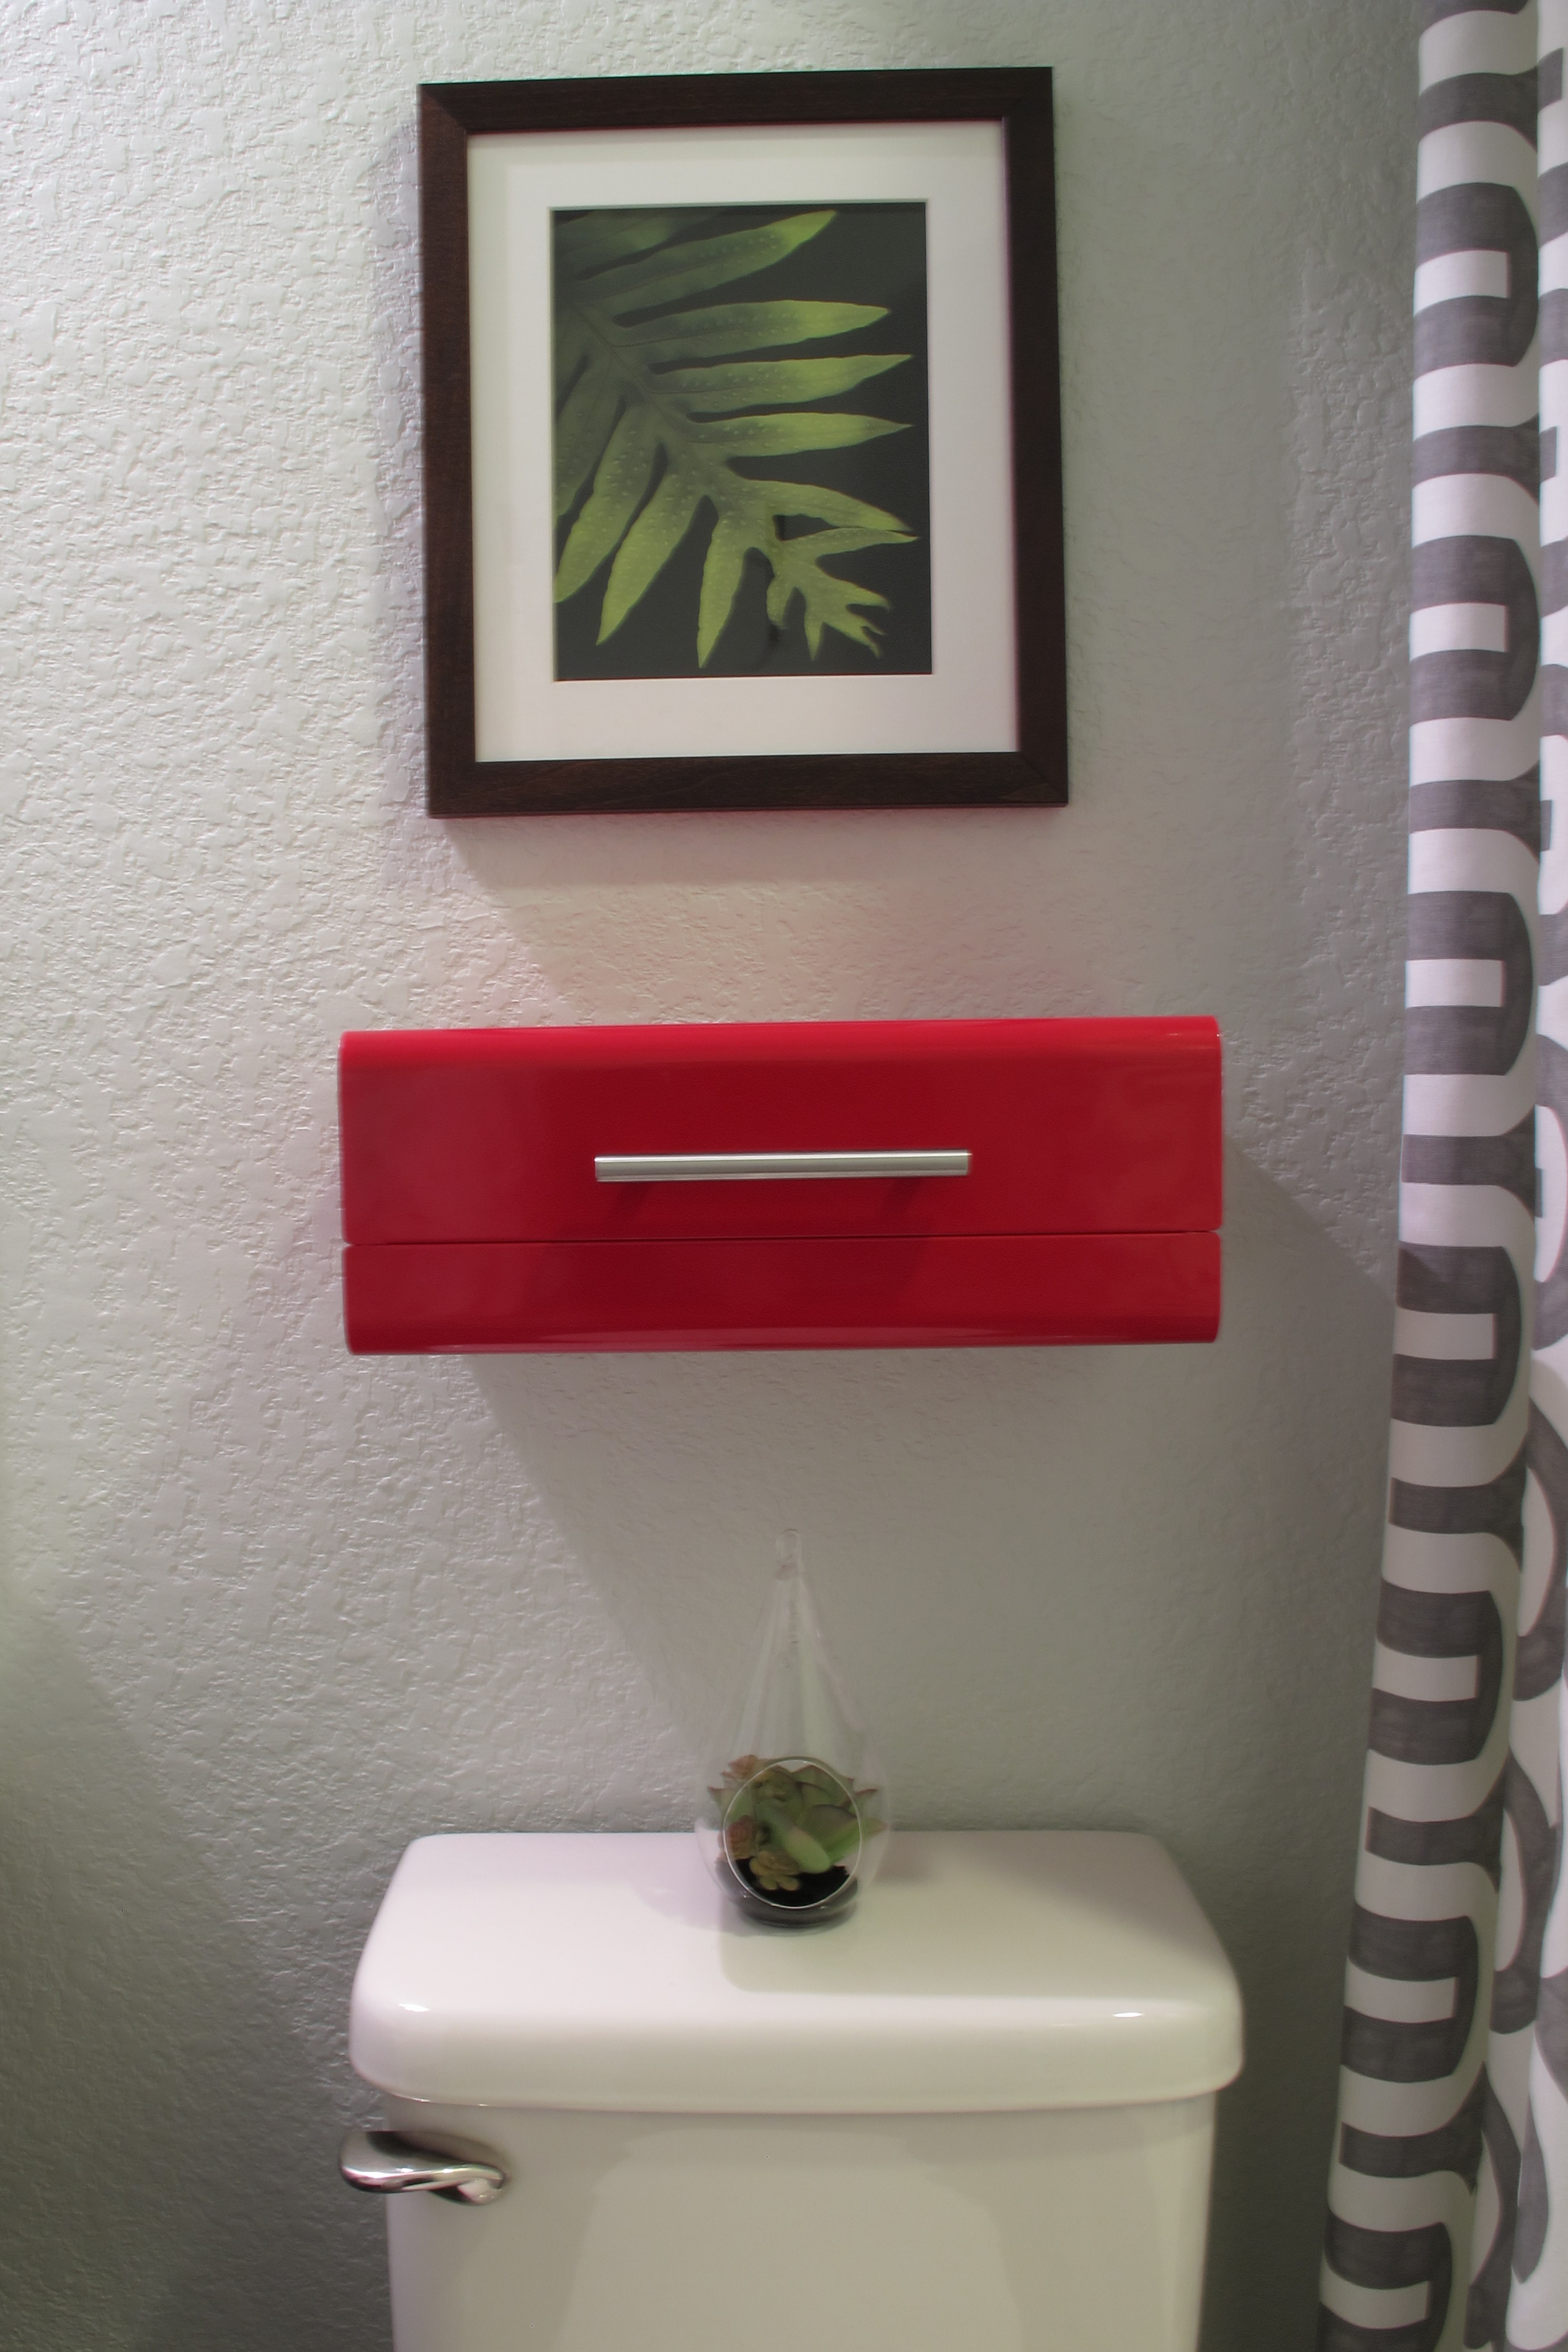
And today we’re talkin’ trays….
Yep. Not sure if you’ve noticed, but I’ve developed a thing for trays somewhere along the way. I can’t help it. They’re so useable. “It looks cluttered”. Put it on a tray. “It looks lost”. Put it on a tray, “Needs more style”. Put it on a tray. “Needs more function”. Put it on a tray. Really… wine, coffee, and trays could solve the worlds problems. Just sayin’.
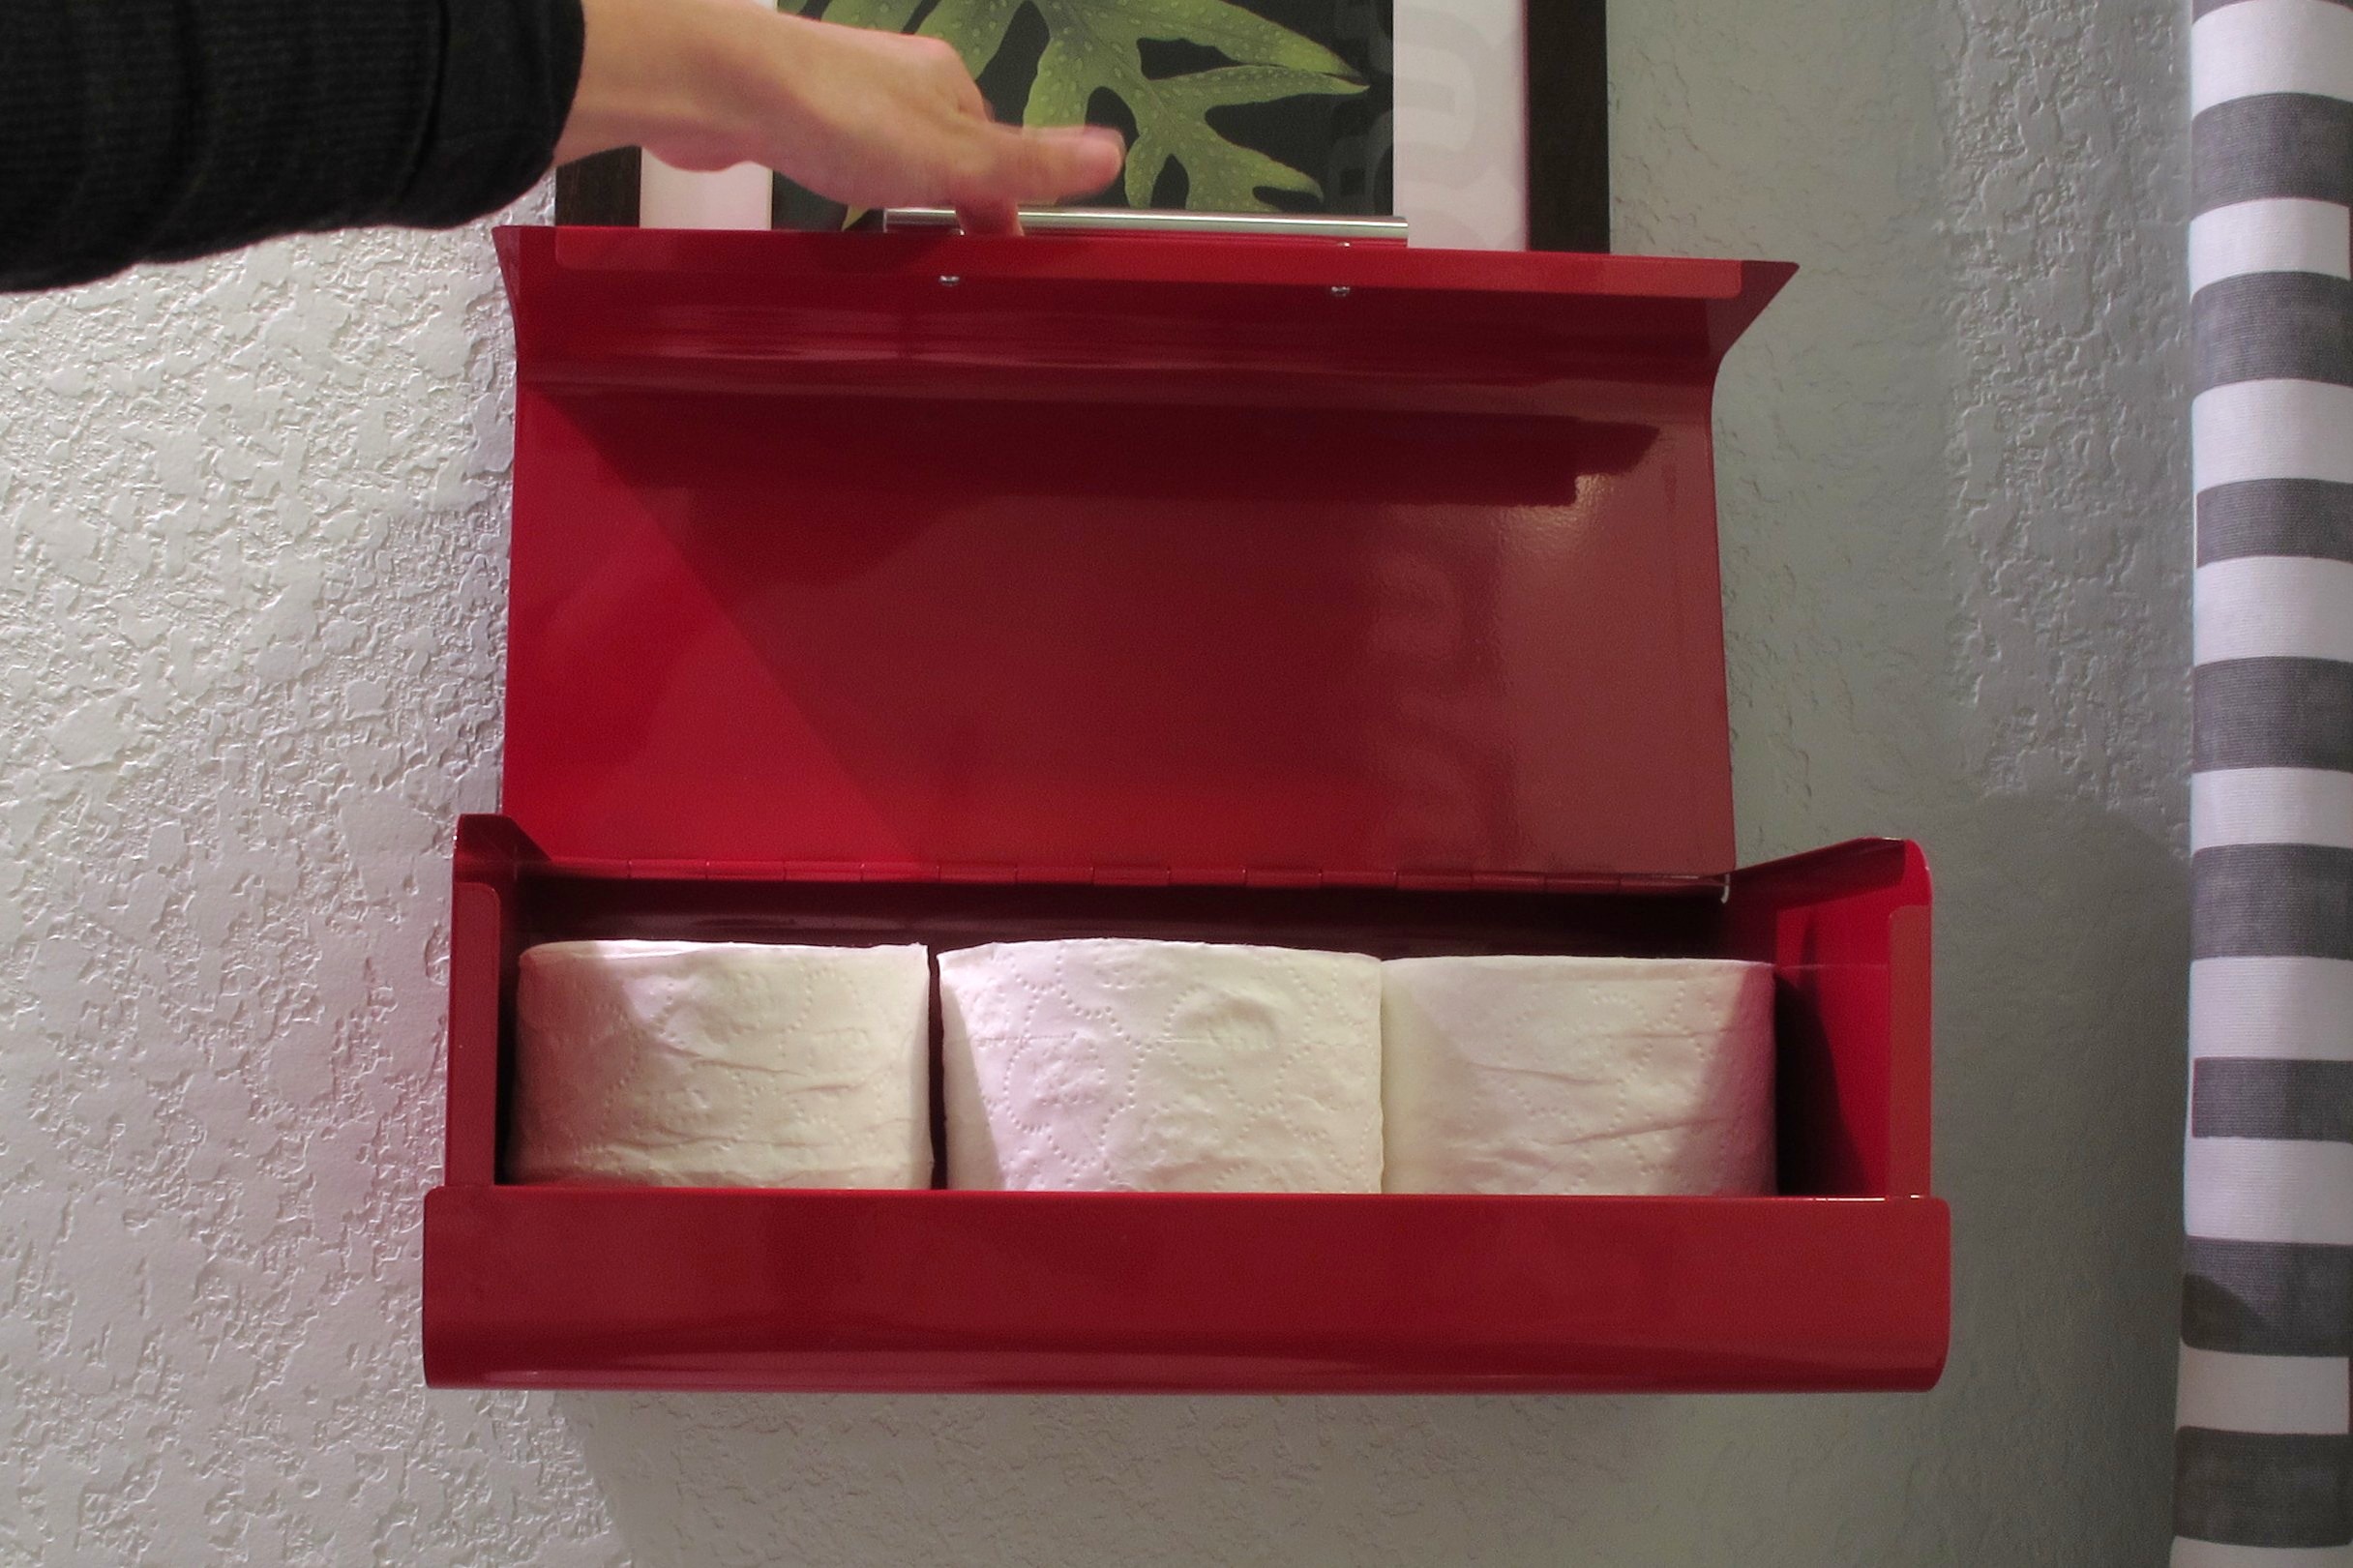
I currently have a few trays going right now. Like here…

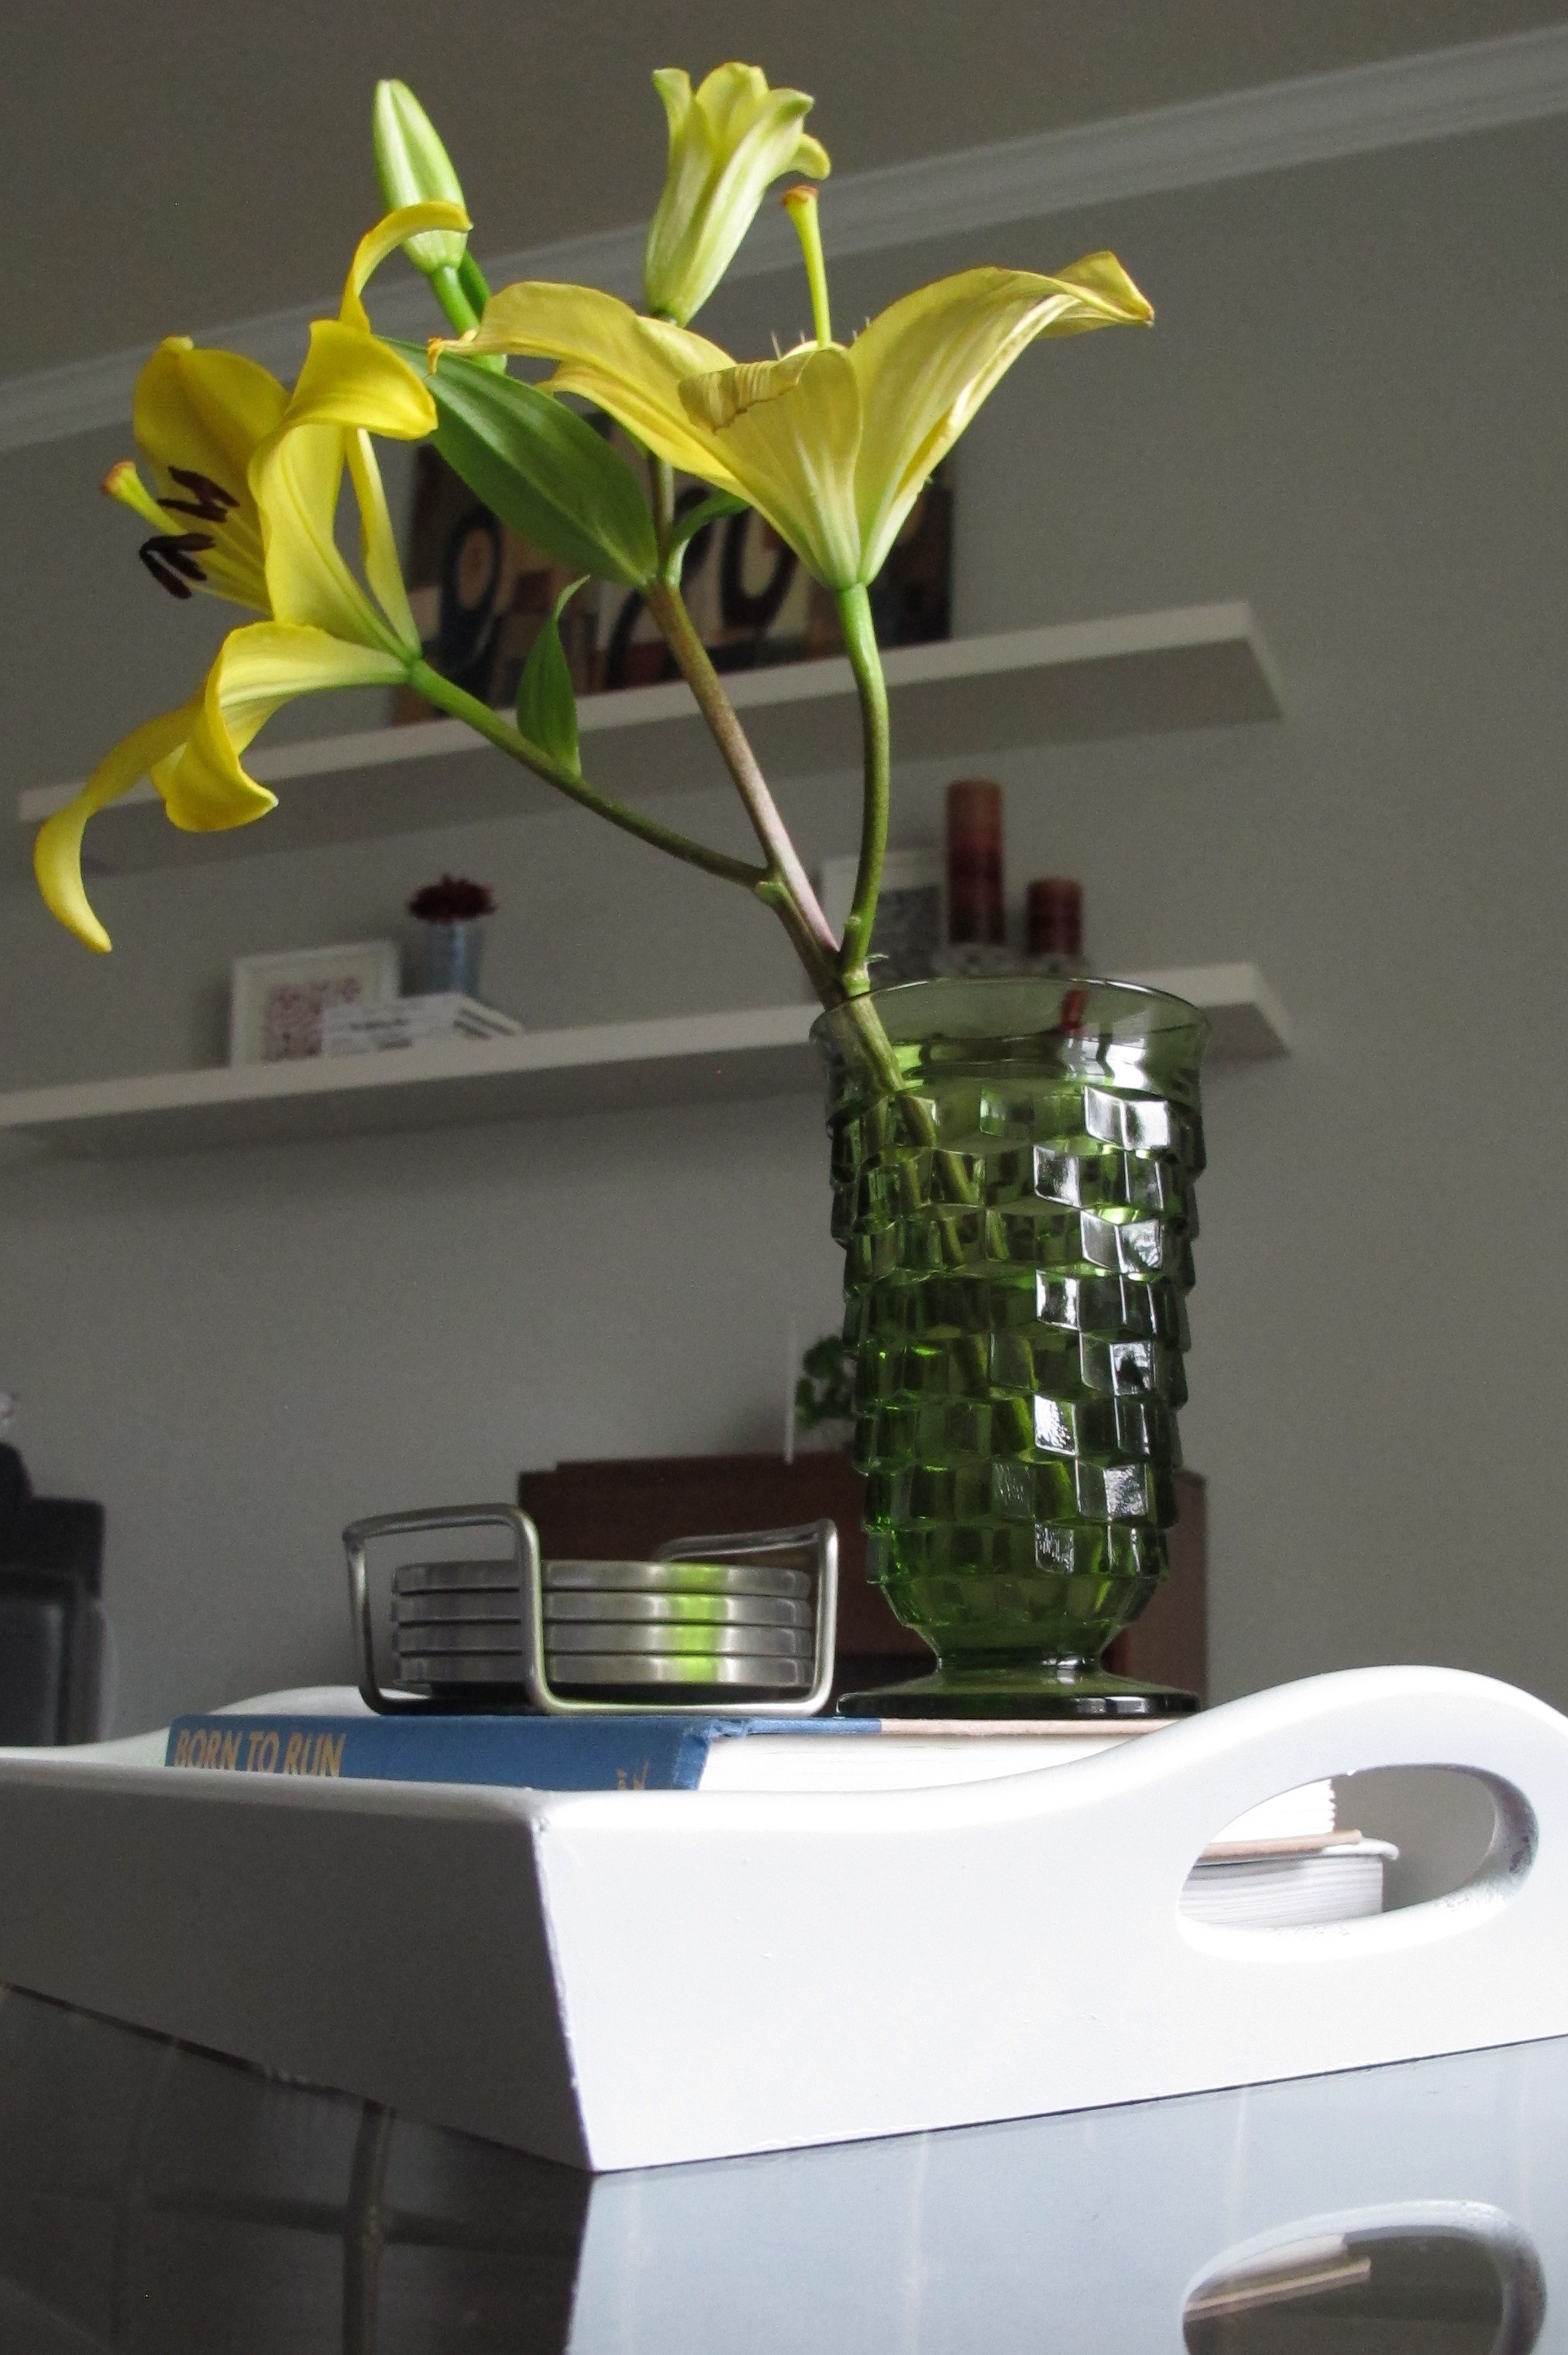
(actually there are two in this pic… can you spot ’em?) And here we have the tray that I altered with a bit of fabric and Mod Podge….

And now two more have come into my possession. I visited a few thrift stores several weeks ago and finished off the day spending a grand total of $4.15 (plus tax) for both of these beauties. This one was $3.15…

And I paid a whopping dollar for this hot pink, preteen gem…

I know. They’re not much to look at now, but just wait… Spray-paint swoops in at lightning speed and saves the day (Somebody get that can a cape!). Anyways, this gal got the oil-rubbed bronze treatment….

Aaaand she is a teeny-bopper no more….


She’s now rustic and textural.
Then, my holiday-spirited guy got a coat of classic white spray-paint for versatility, along with a good caulking along the seams…


(It was windy and a losing battle when I caulked, which is why the seam looks dusty. It cleaned up perfectly in the end.) Anyways, I’m pretty sure that white trays are the gift that keeps on giving. They can be used anywhere to add a smidge of class and style since they pretty much go with everything. For example…


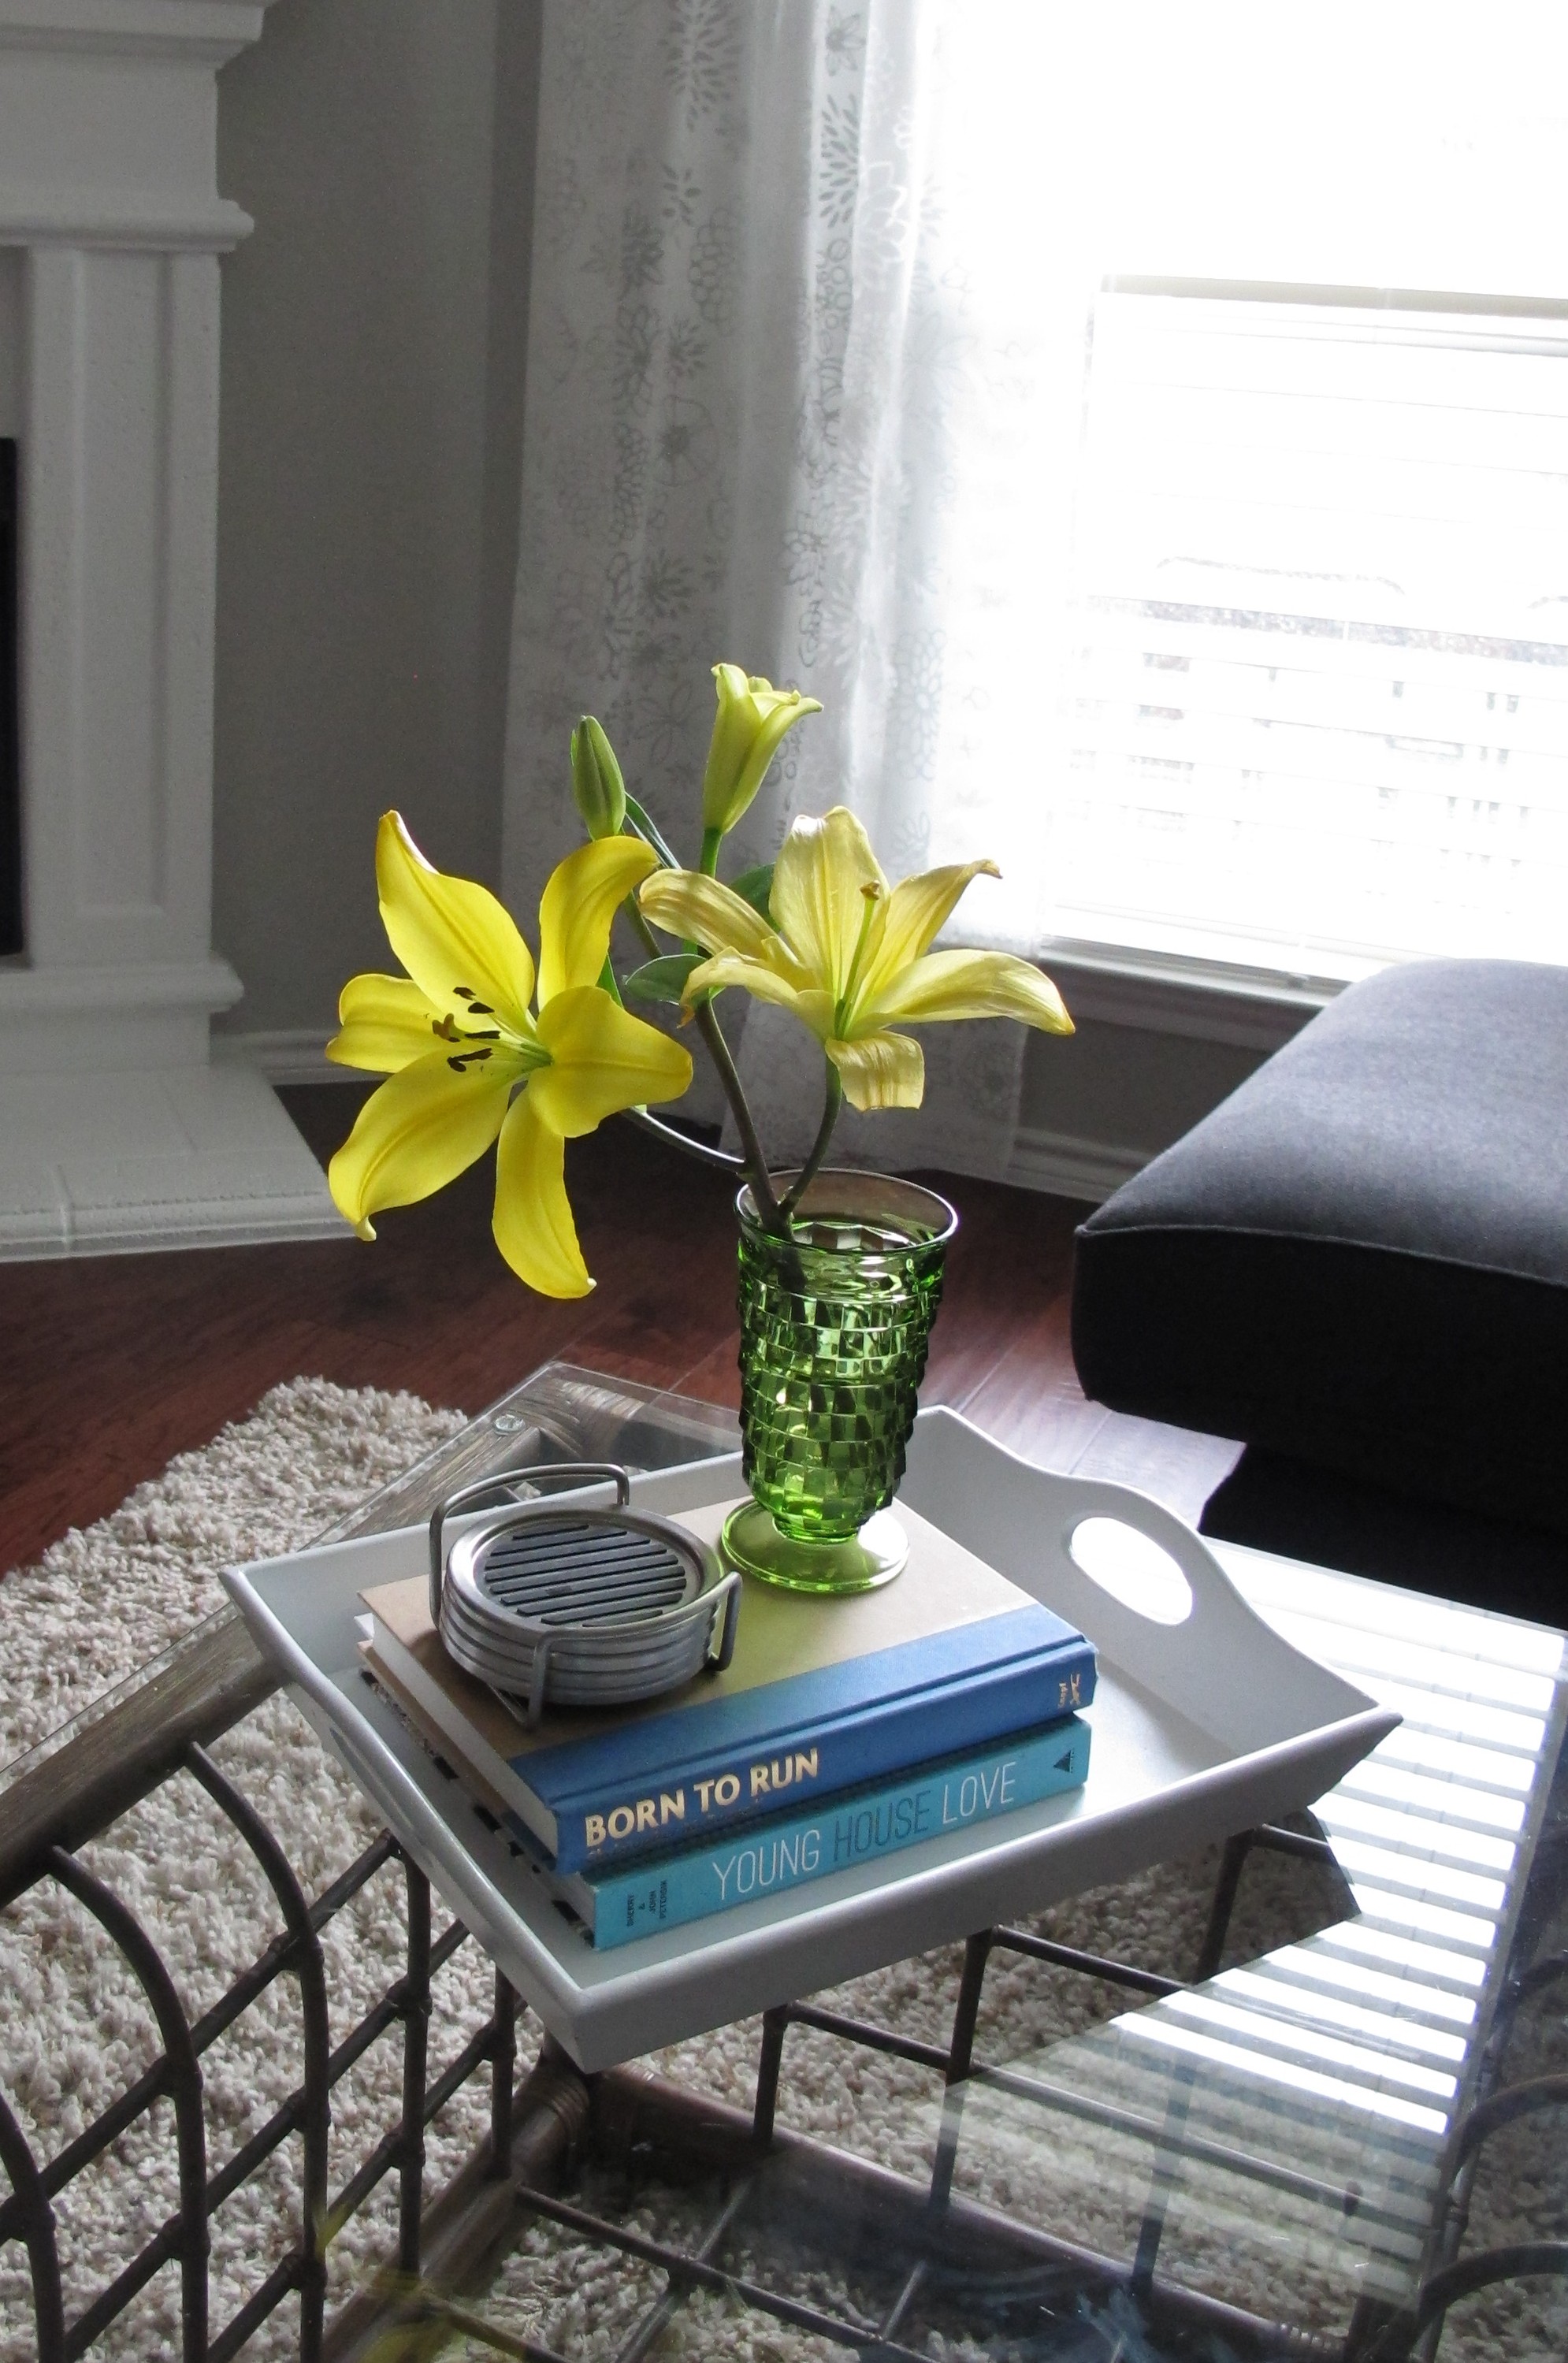
So, what do ya think? Not bad for just over $12 total, eh? It was $4.15 for the trays and 8 bucks for the oil-rubbed bronze spray paint (of which I still have a bunch left). The white spray-paint I already had. And now I have two more tray-loves to add to my repertoire. Oh, how I love trays.