Howdy, guys! It’s that time again! What time???

Monthly DIY Challenge time! Woot!
For those who don’t know, this is a monthly challenge that I participate in along with some other mighty talented bloggers. We’re simply assigned a theme (or an item) and must make something with it. Easy peasy. And this month’s theme was….

The dollar store!
I’ll admit, I was pretty excited about this one. Not only is the dollar store close to my penny-pinching heart, the possibilities are endless! So, I headed right around the corner to our local 99 Cents Only store and got going. After corralling the aisles for a while and being pretty impressed with their selection of plants (which ranged from $1.99-2.99), I decided to personalize some planters for these sweet viney guys…

Aren’t they charming?
I’m totally picturing them channeling the pansies from Alice in Wonderland right now (The cartoon, not the creepy Johnny Depp version. Seriously, though… doesn’t Johnny Depp make creepy look good? Just sayin’. 😉 )
Now, I must profess that there is imminent danger when shopping at the 99 Cents Only store. You will end up buying much more than you planned on. It happens to me every time. And this trip was especially dangerous since I literally circled the store four times, just making sure that I didn’t miss anything. And I missed nothing. Trust me. This was halfway through shopping… 
I literally got all of the plants that I needed for my covered back patio for under 20 bucks. It was magical.
Anyways, what I ended up choosing for planters were these glass candle vases, which I purchased for (you guessed it!) 99 cents each!
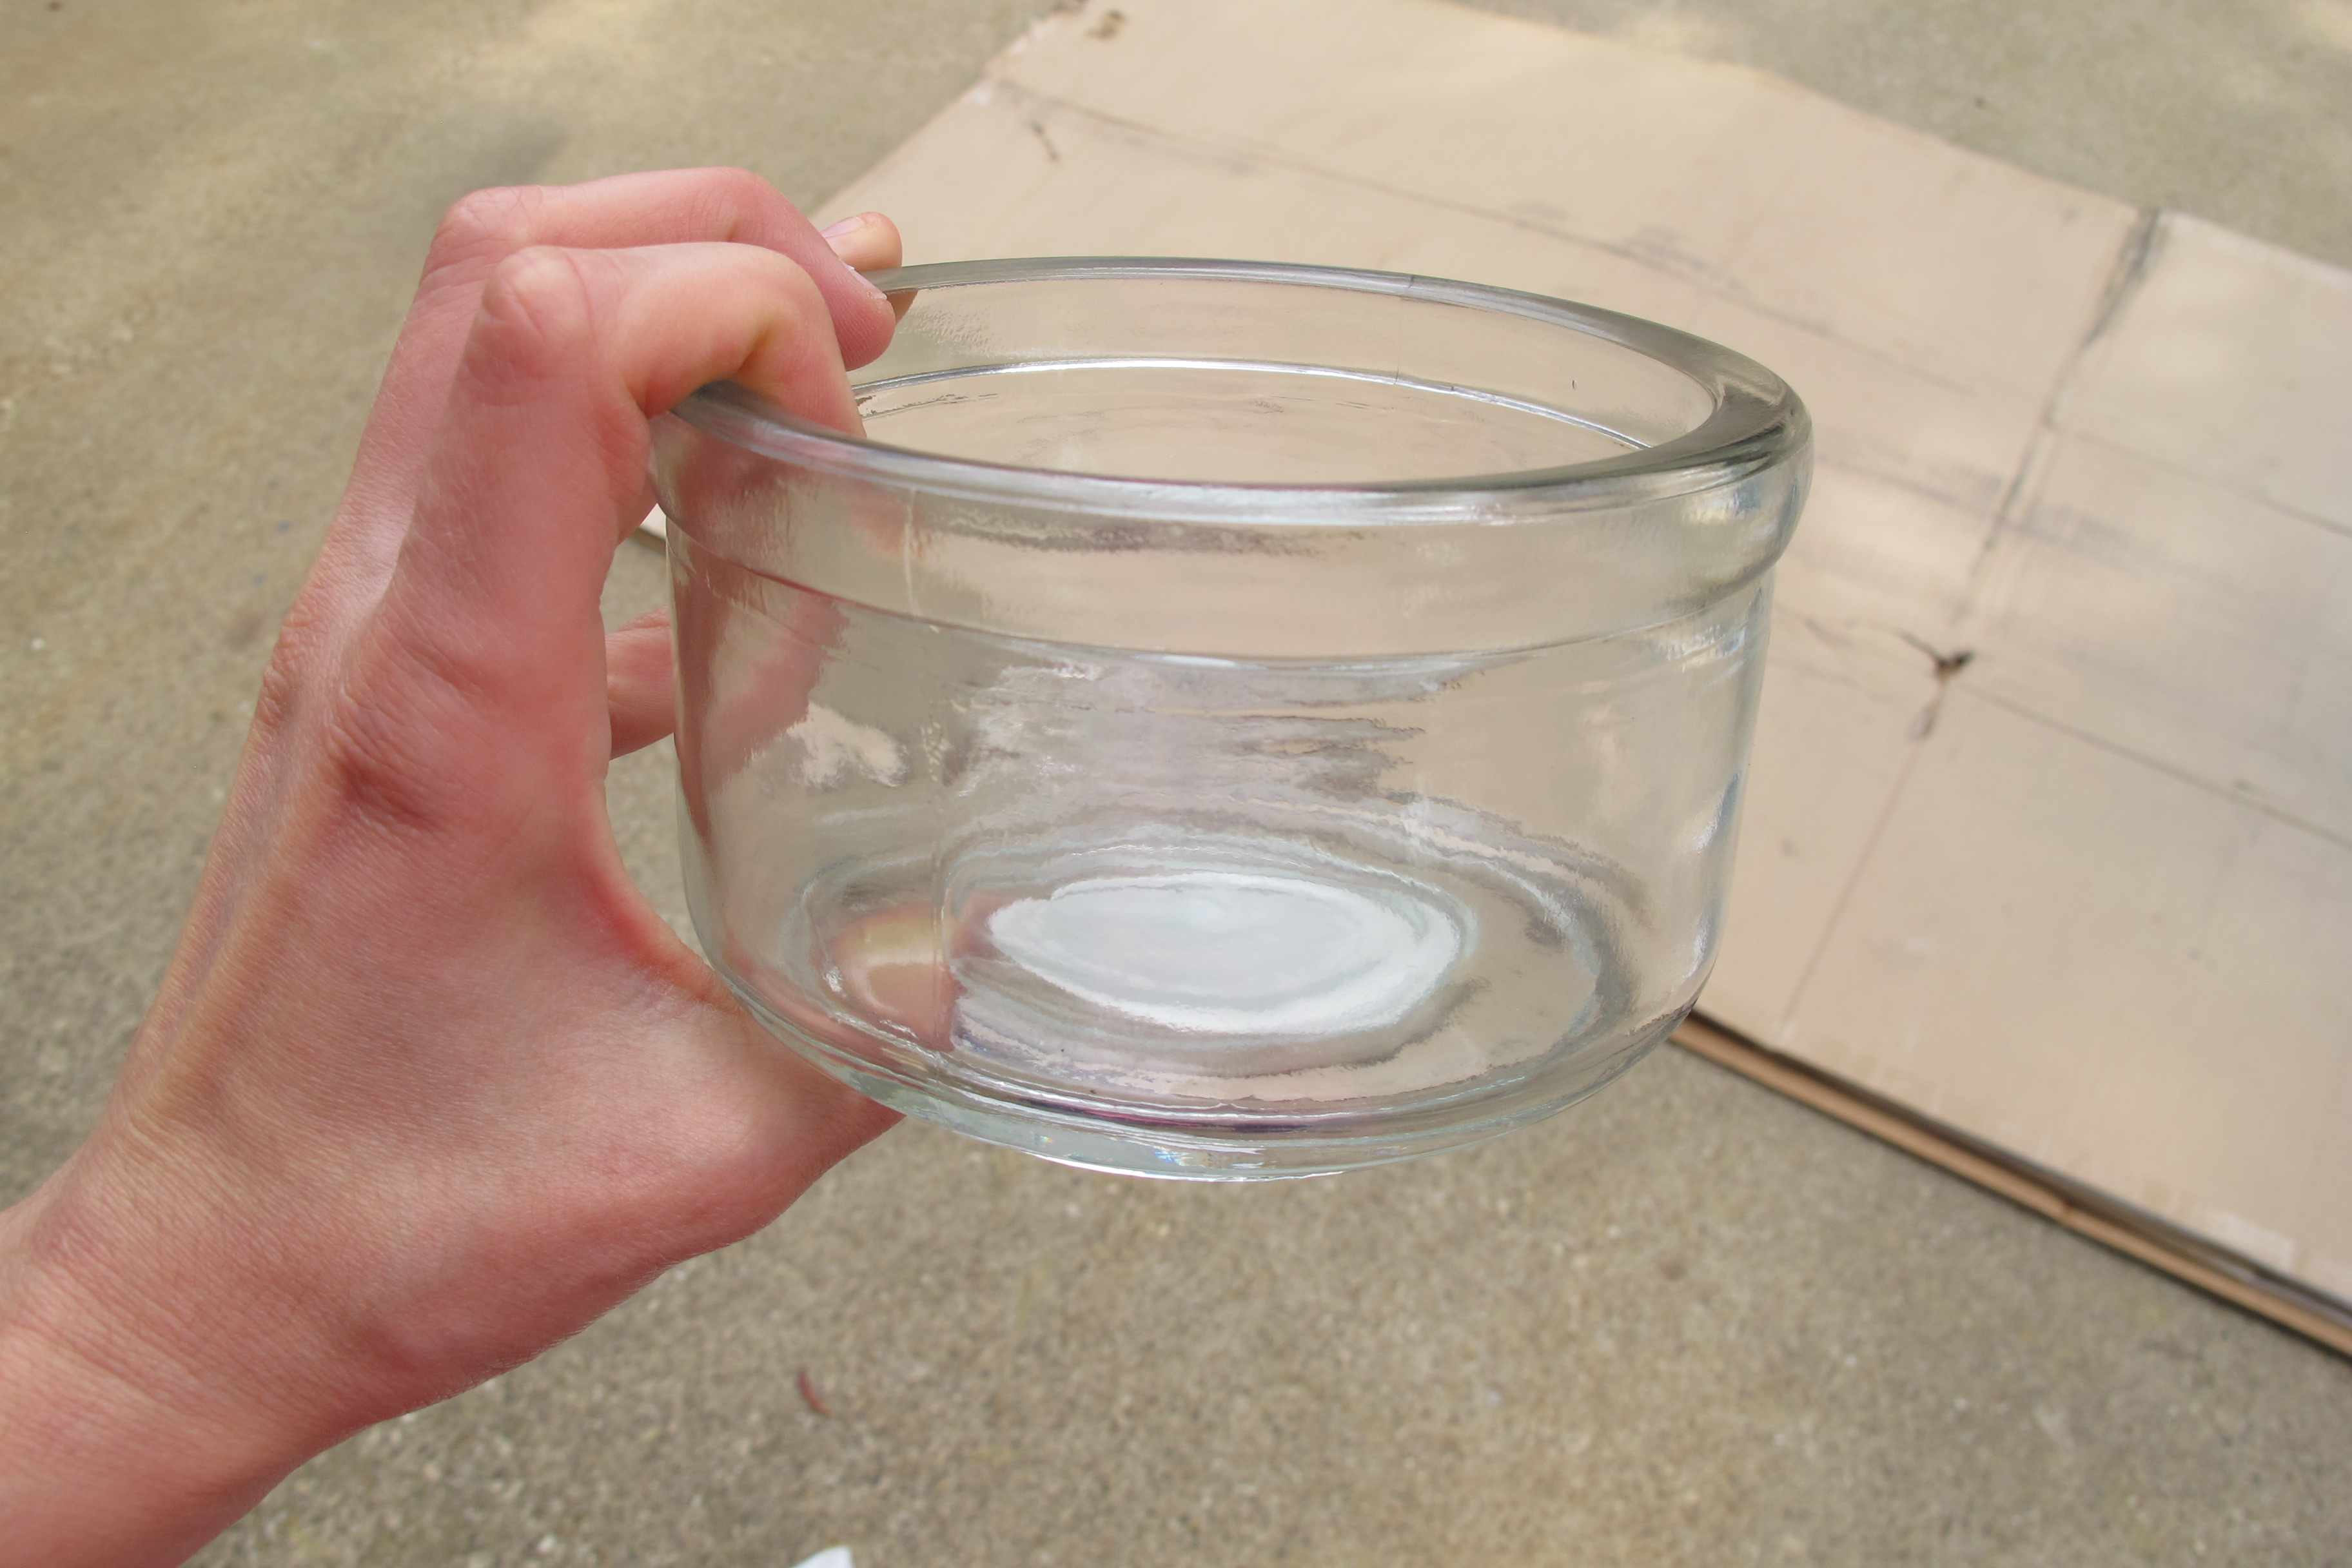
I loved how sturdy and stout they were, and their low profiles had me at hello.
Now, for what to do with them…. I’ve seen “dipped” vases all over Pinterest for some time now (and even created my own version here a while back). I’ve always adored the simplicity and elegance of them. How that simple band of color lends so much to whatever item it’s adorning. This time I wanted to replicate that effect on my candle vases with this mirrored spray paint….

I’d purchased it about a year ago. Then it sat, completely ignored and neglected, up until now. After reading the label, I learned that the shiny “mirror effect” happened when you painted the reverse side of the glass, but I actually wanted a slightly duller effect. Shiny, but not quite mirror-tastic. I wanted it to look like old, aged chrome basically, so I decided to paint the outside of the glass instead. Plus, I figured it was better for the plant to not have spray paint fumes infusing the soil.
I started by cleaning my vases well with vinegar to remove any oils or dirt, then I taped them off with painters tape…
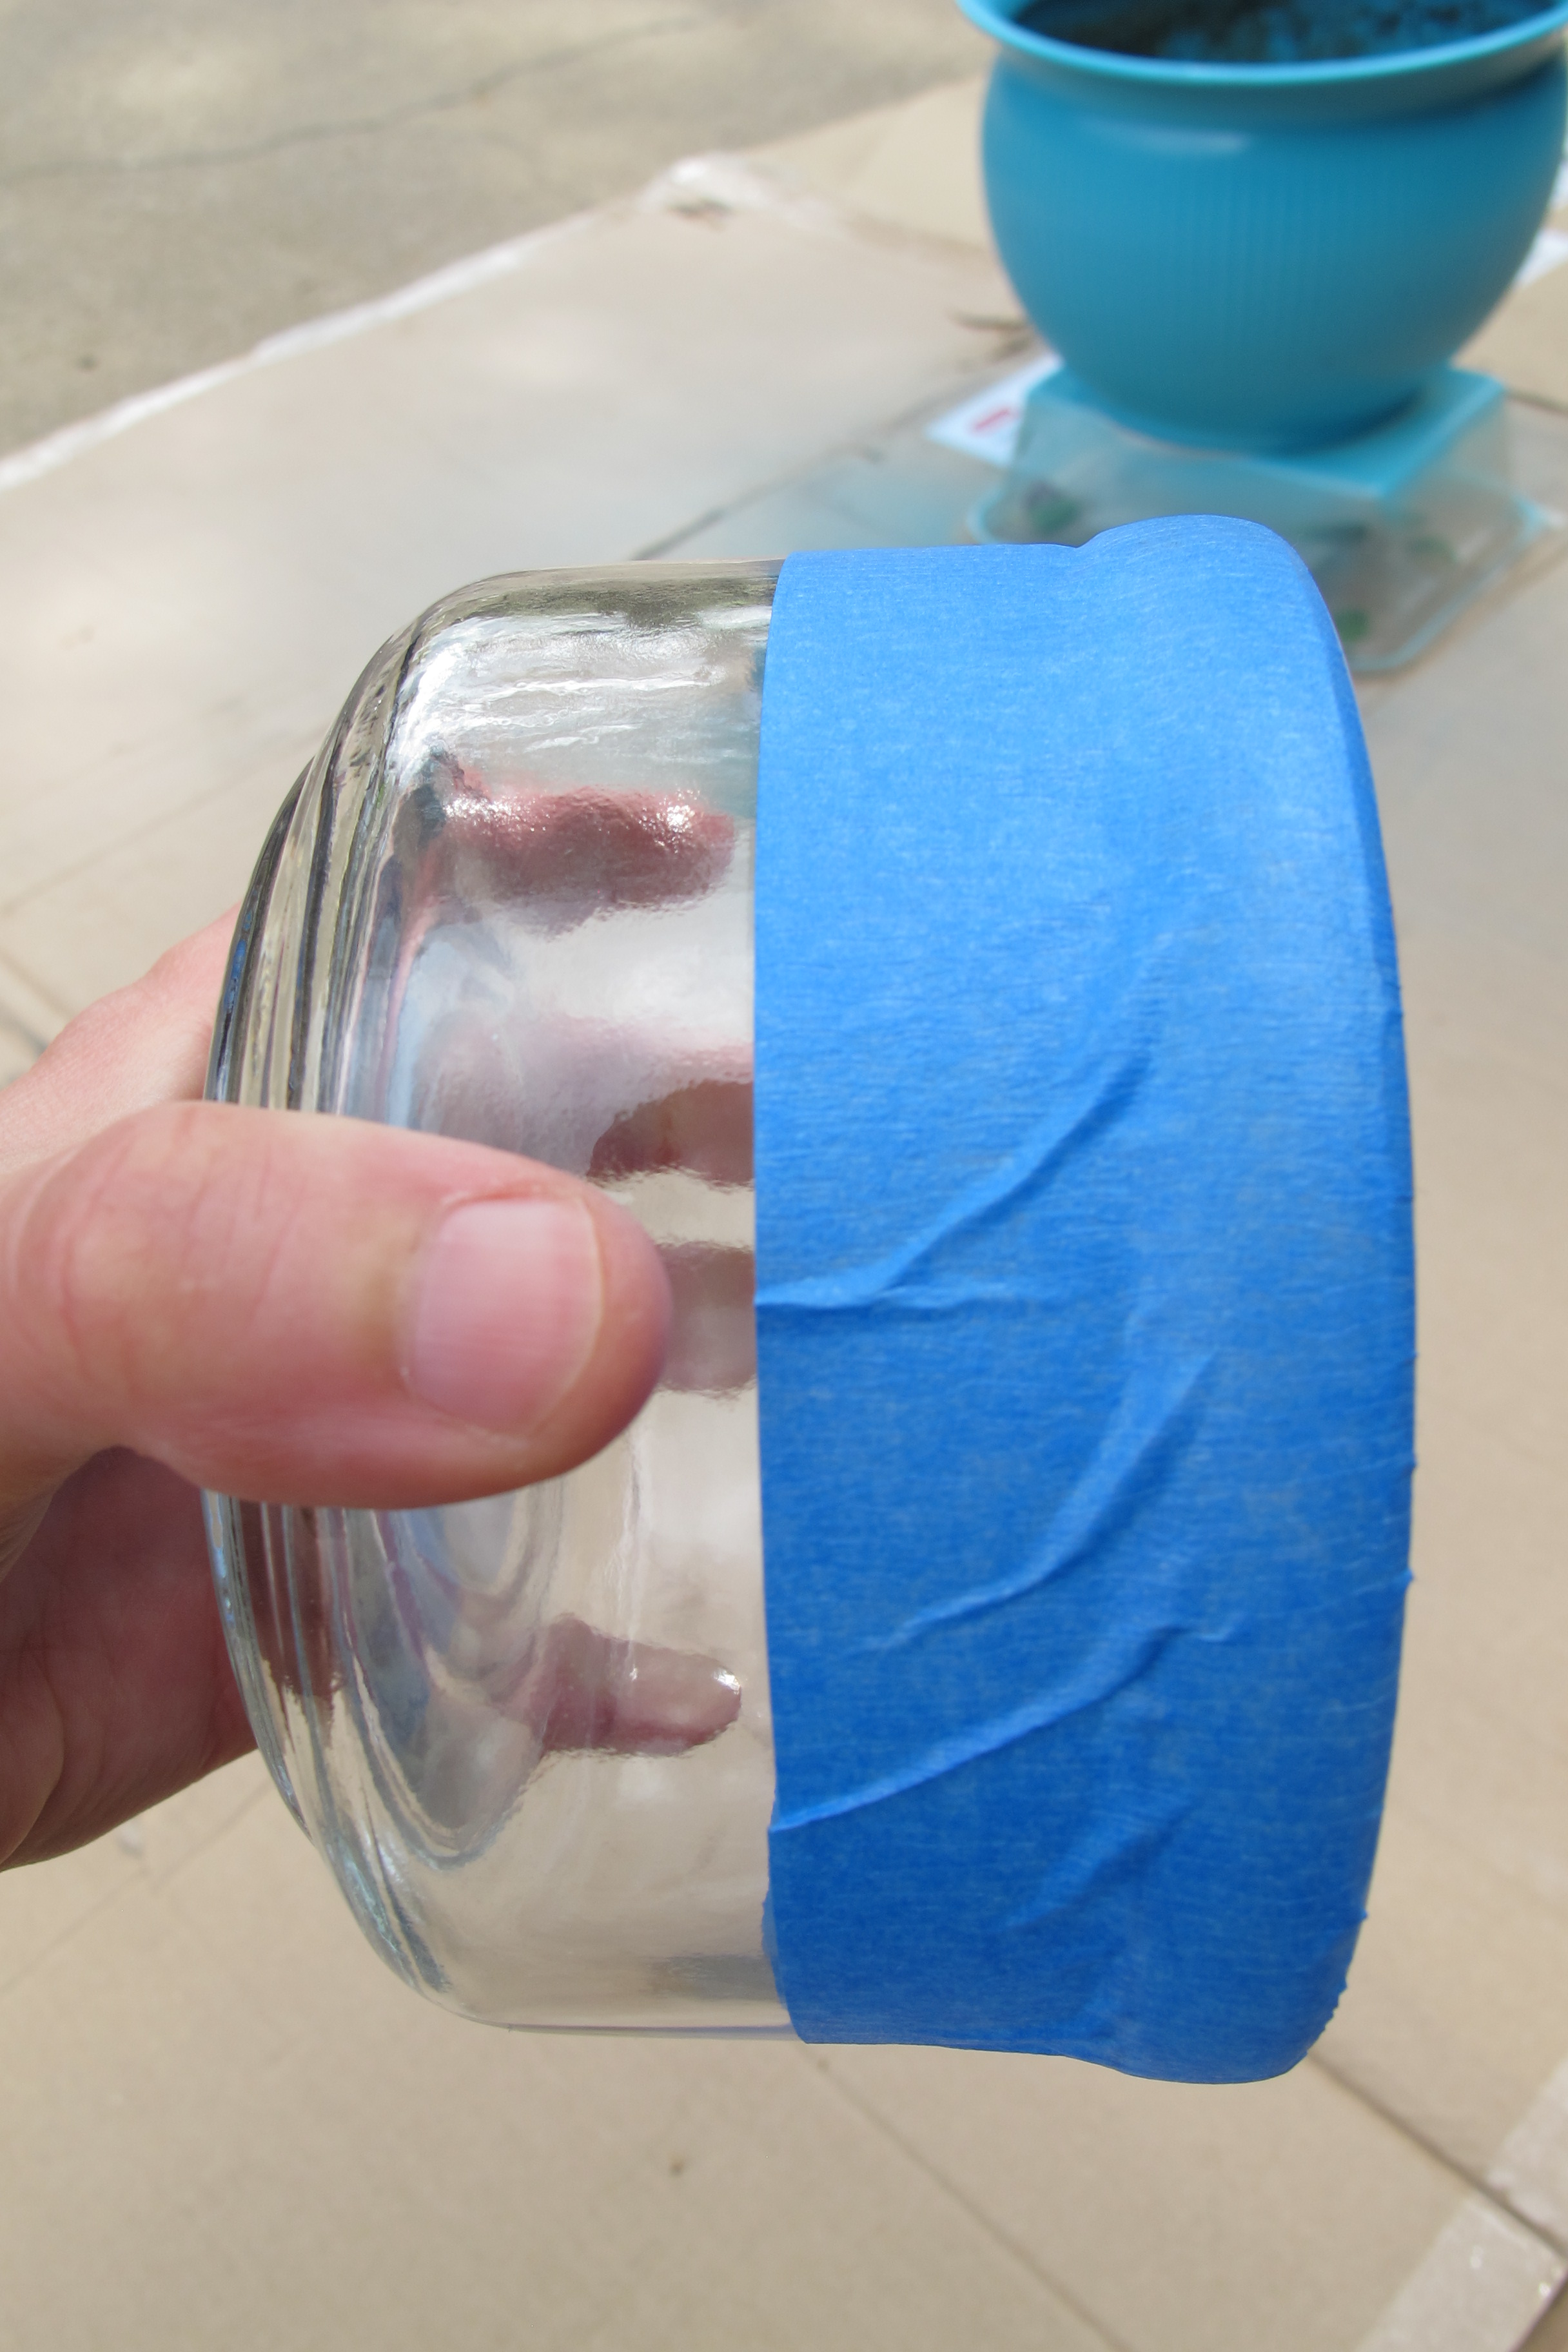
See those wrinkles and bubbles in the shot above? I made sure to press all of those down flat before painting. Then, I set them upside-down on some cardboard…
 Yeeeeeaaaahhh…. I didn’t even remove the labels. I figured they’d be hidden anyways.
And gave them three thin, even coats of spray paint…

I was sure to remove the tape while the spray paint was still wet to avoid any sad tragedies involving peeled-off paint…
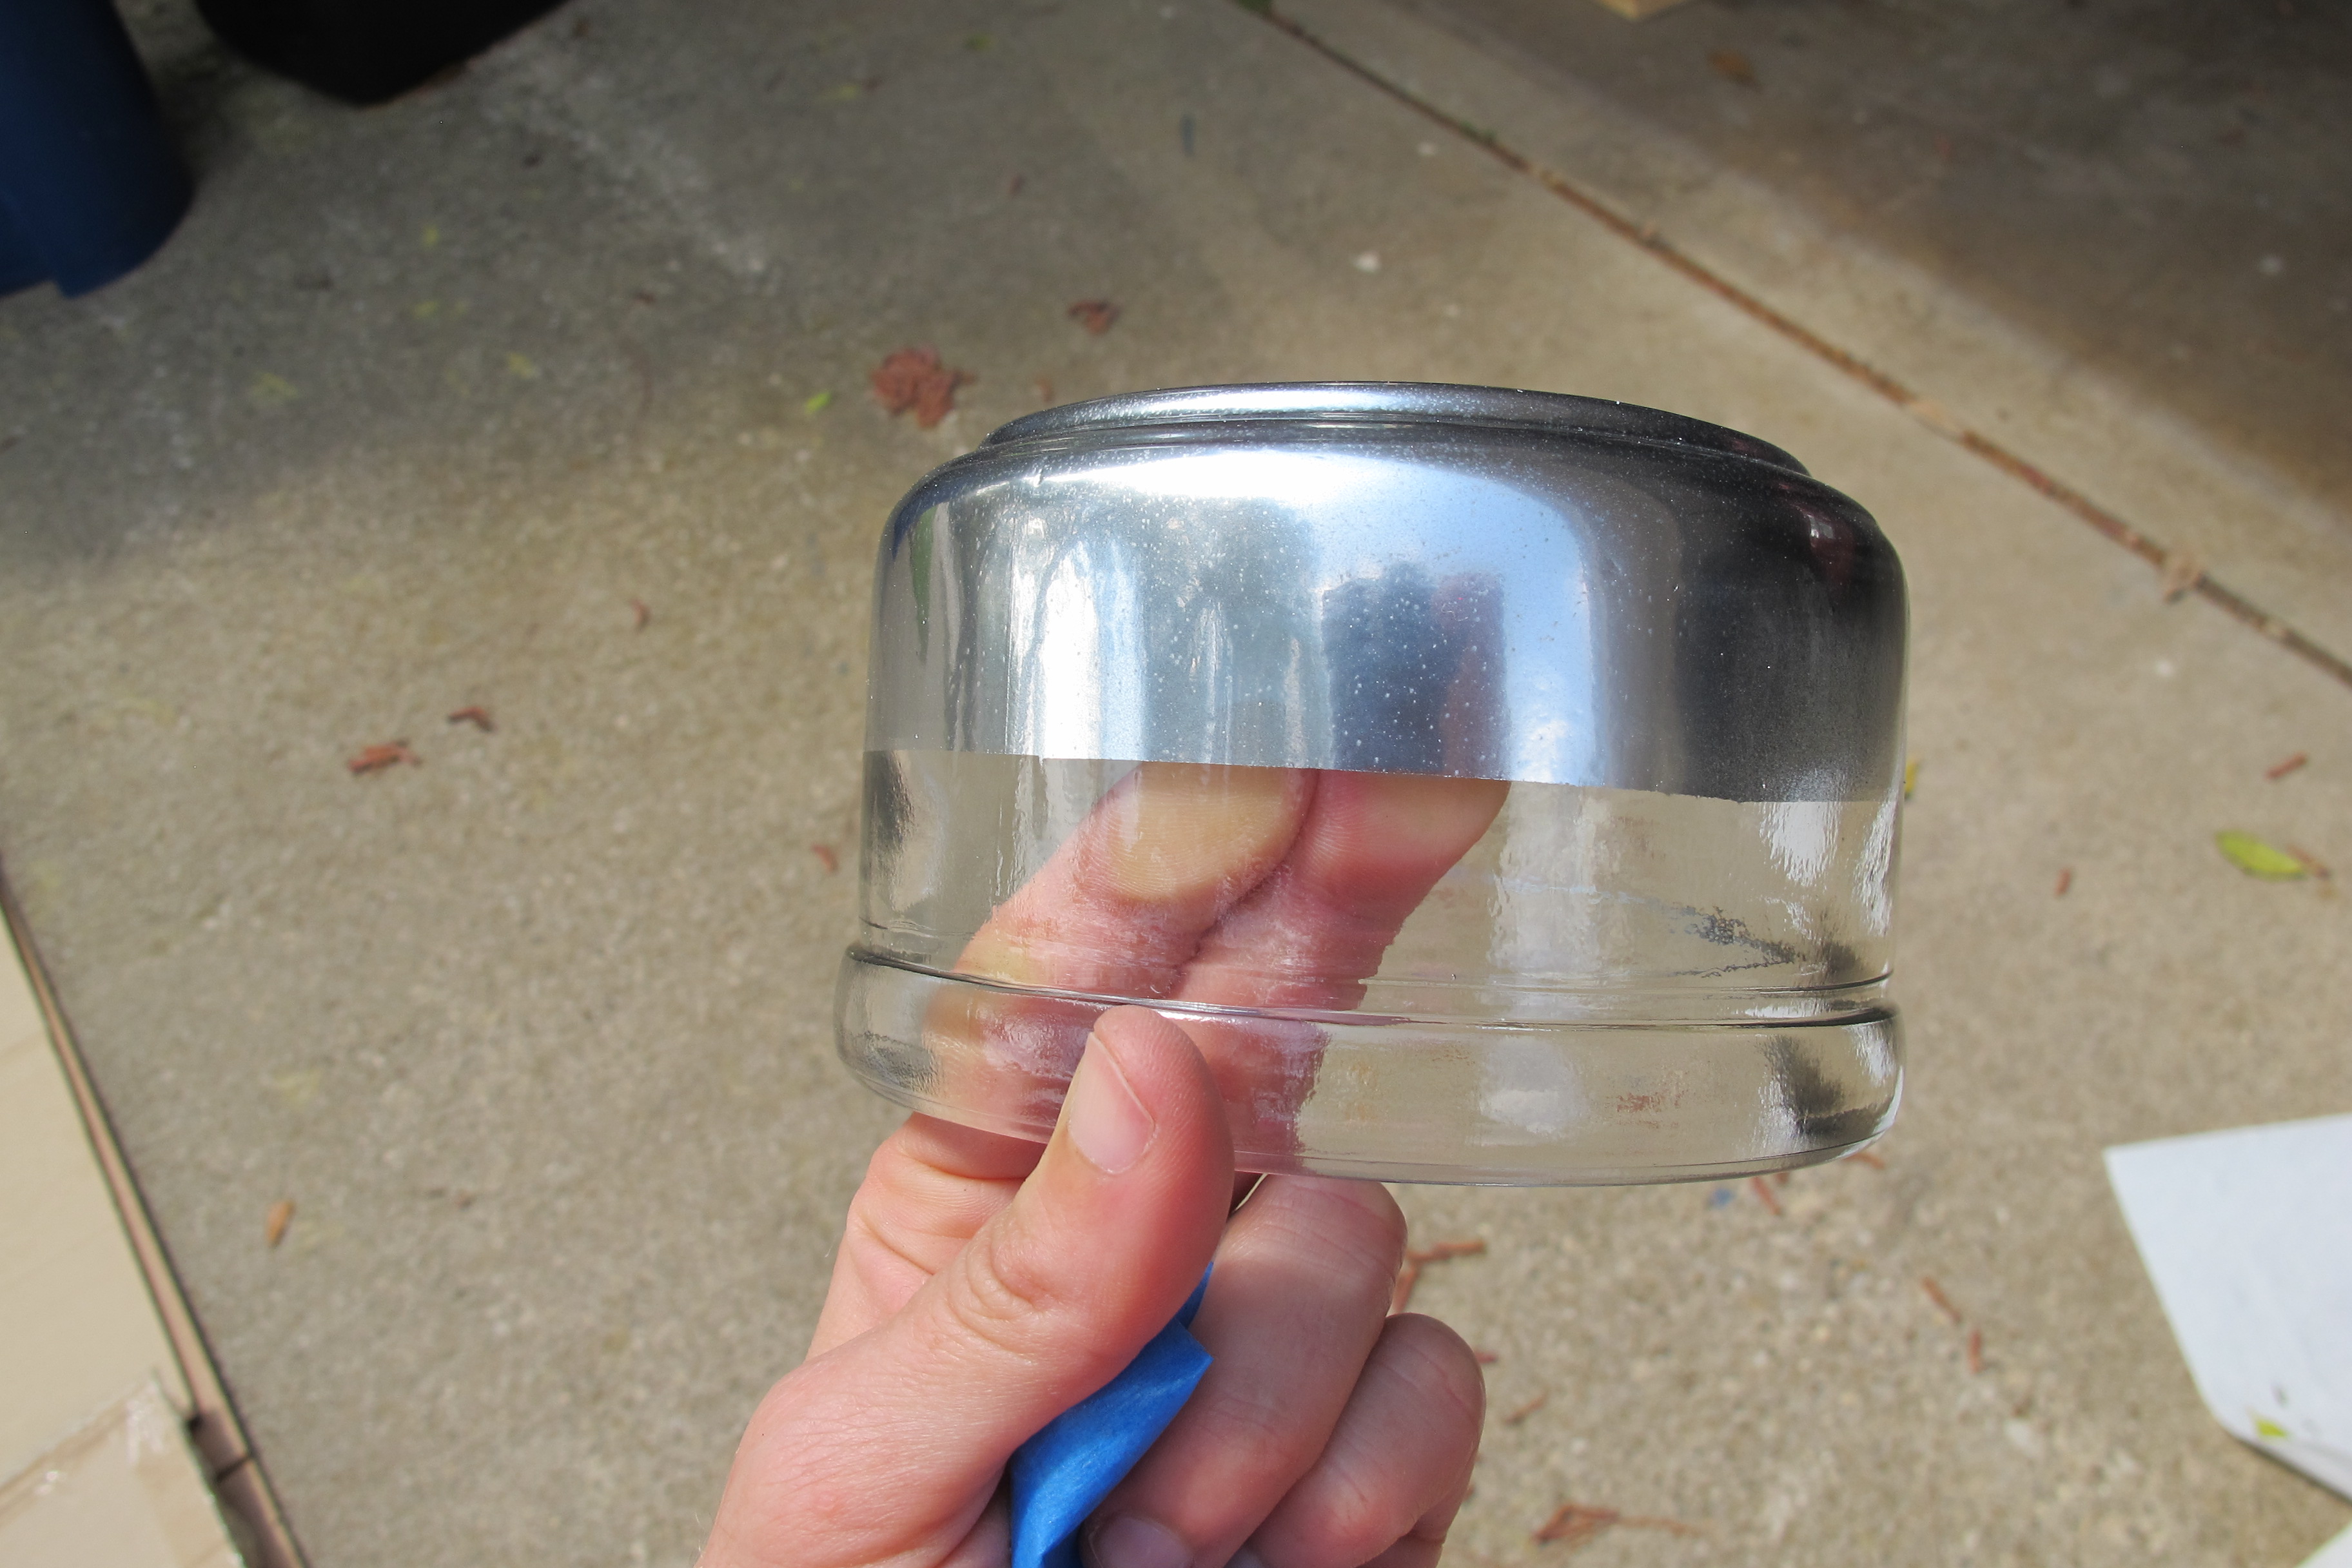
I immediately loved the imperfection in the finish. The little dots and dimples. It was exactly what I was going for and another reason that I’d wanted to use the mirror spray paint as opposed to plain silver spray paint. After allowing my planters to cure in the garage for 24 hours, it was planting time. I simply stole some pea gravel from Lucas’s play area out back…

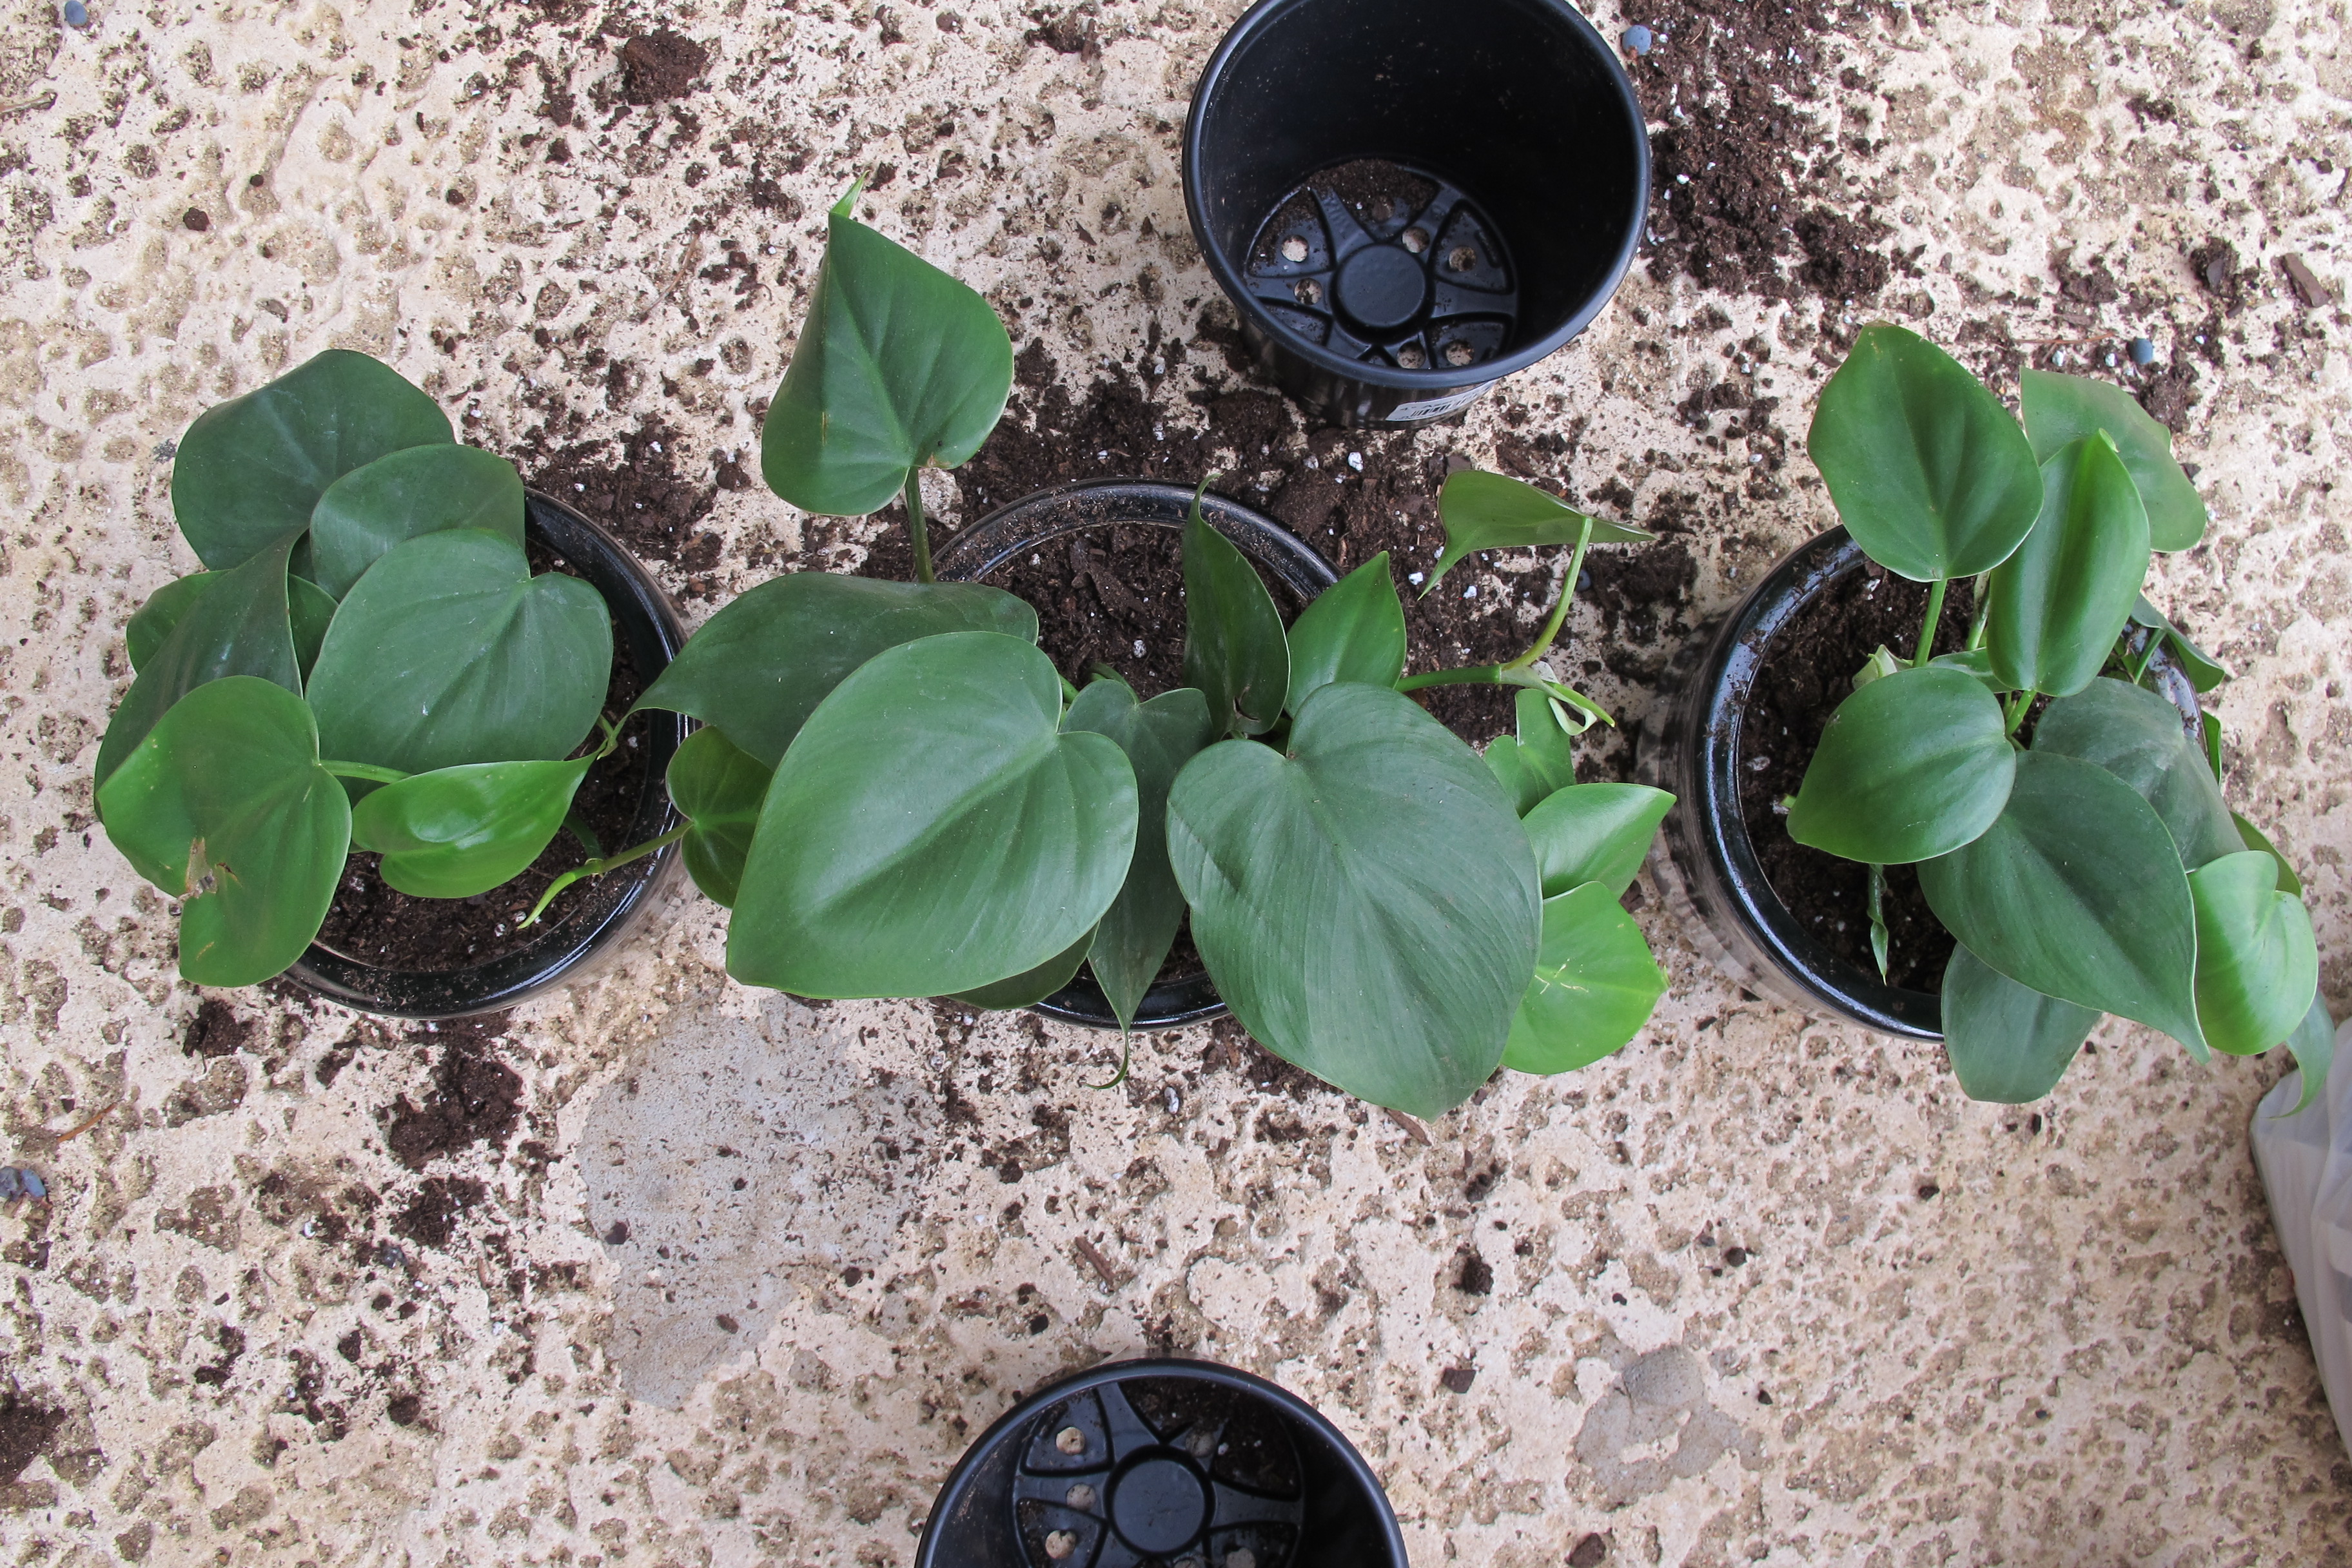
Then, added my plants with some potting soil…
And here they are chilling on my patio along with some cute placemats, which I also found at the 99 Cents Only for (say it with me now) 99 cents a pop….


Call it nepotism, but my new children vases totally steal the show, right?
Haha! None of my other planters stand a chance. 😉
I love that they’re sophisticated with a touch of glam. And the texture of the soil peeking through the glass makes me happy. Plus, those bright, viney leaves are such a welcome contrast to that sexy, sleek vase. Me-OW!
I did some googling to figure out what these plants are (since they didn’t come with a tag or label), and I think they’re Heartleaf Philodendrons. Thus, I plan to move these guys indoors for a little air filtration action. Apparently, they’re little beasts when it comes to attacking many types of nasty VOCs (like formaldehyde which is used in certain types of particleboard and such). So, BONUS! This challenge has gifted me with cute planters AND cleaner air. I call that a success. (Fistpump!)
Now, check out the other awesome projects created by my bloggy friends. Trust me, you won’t be disappointed…
 |
 |
 |
 |
 |
 |
 |
 |
 |
 |
 |
 |


