So as of late, I’ve been working on restoring my newest crushes…
My Goodwill mid-century tables.
And I’m excited to announce that I’ve actually made progress on one of them! Granted, it was pretty easy. But still… nothing like a hint of success to lift the mood and get things rolling around here.
I haven’t finished the coffee table yet, but I will say that those of you who recommended an orbital sander deserve a huge thank you. That thing rocks. After sanding the top, and a fast-lived attempt at hand-sanding the base, I’ve decided to try my hand at using stripper for the rest. The larger side table will also need to be fully stripped, since the finish on that is worse than the coffee table. I’m not even sure if I’ll be able to stain it, to be honest. The top is THAT bad. I haven’t actually gotten around to stripping yet (Ahem! Stripping the tables. THE TABLES.)… It’ll be soon, though. I get the distinct feeling that Joey’d like the use of the garage back at some point before he’s grey. Heehee! My bad.
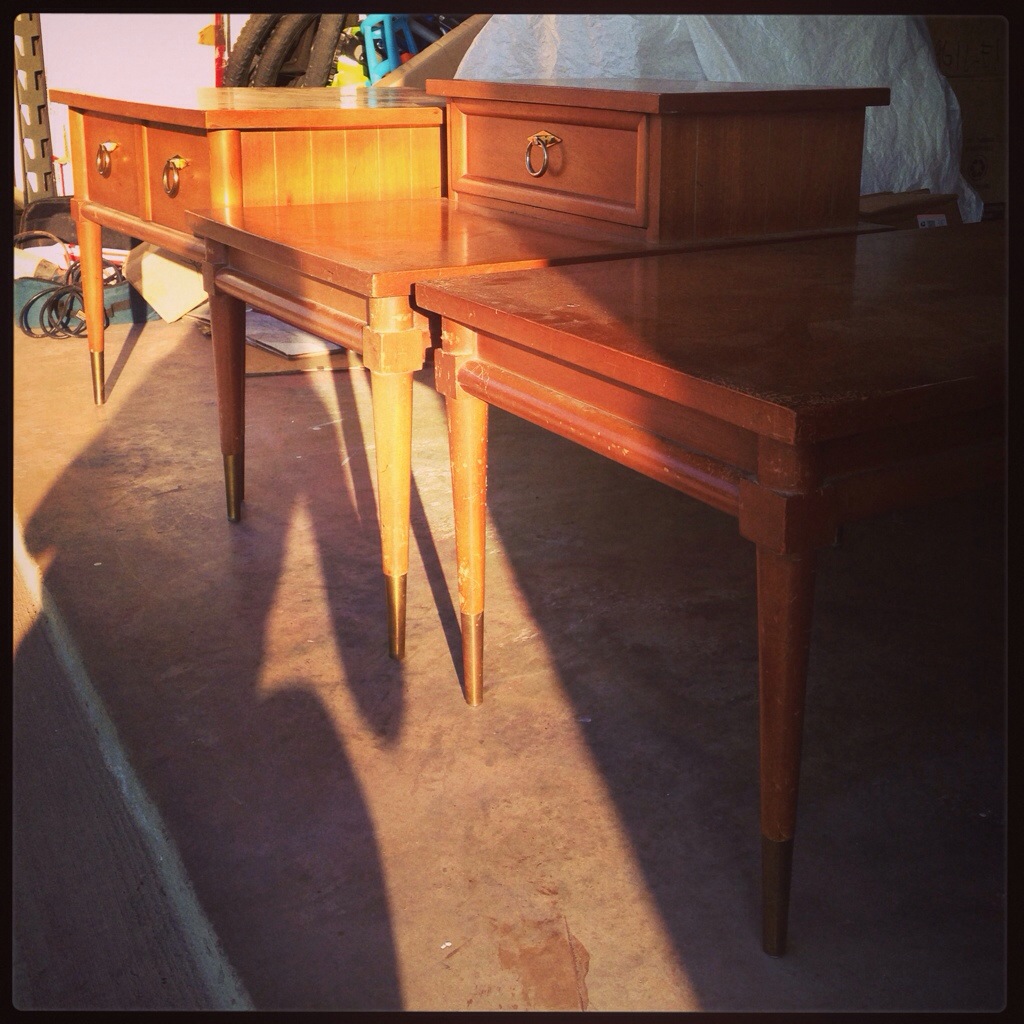
Anyways, the guy in question for today is the smaller side table….
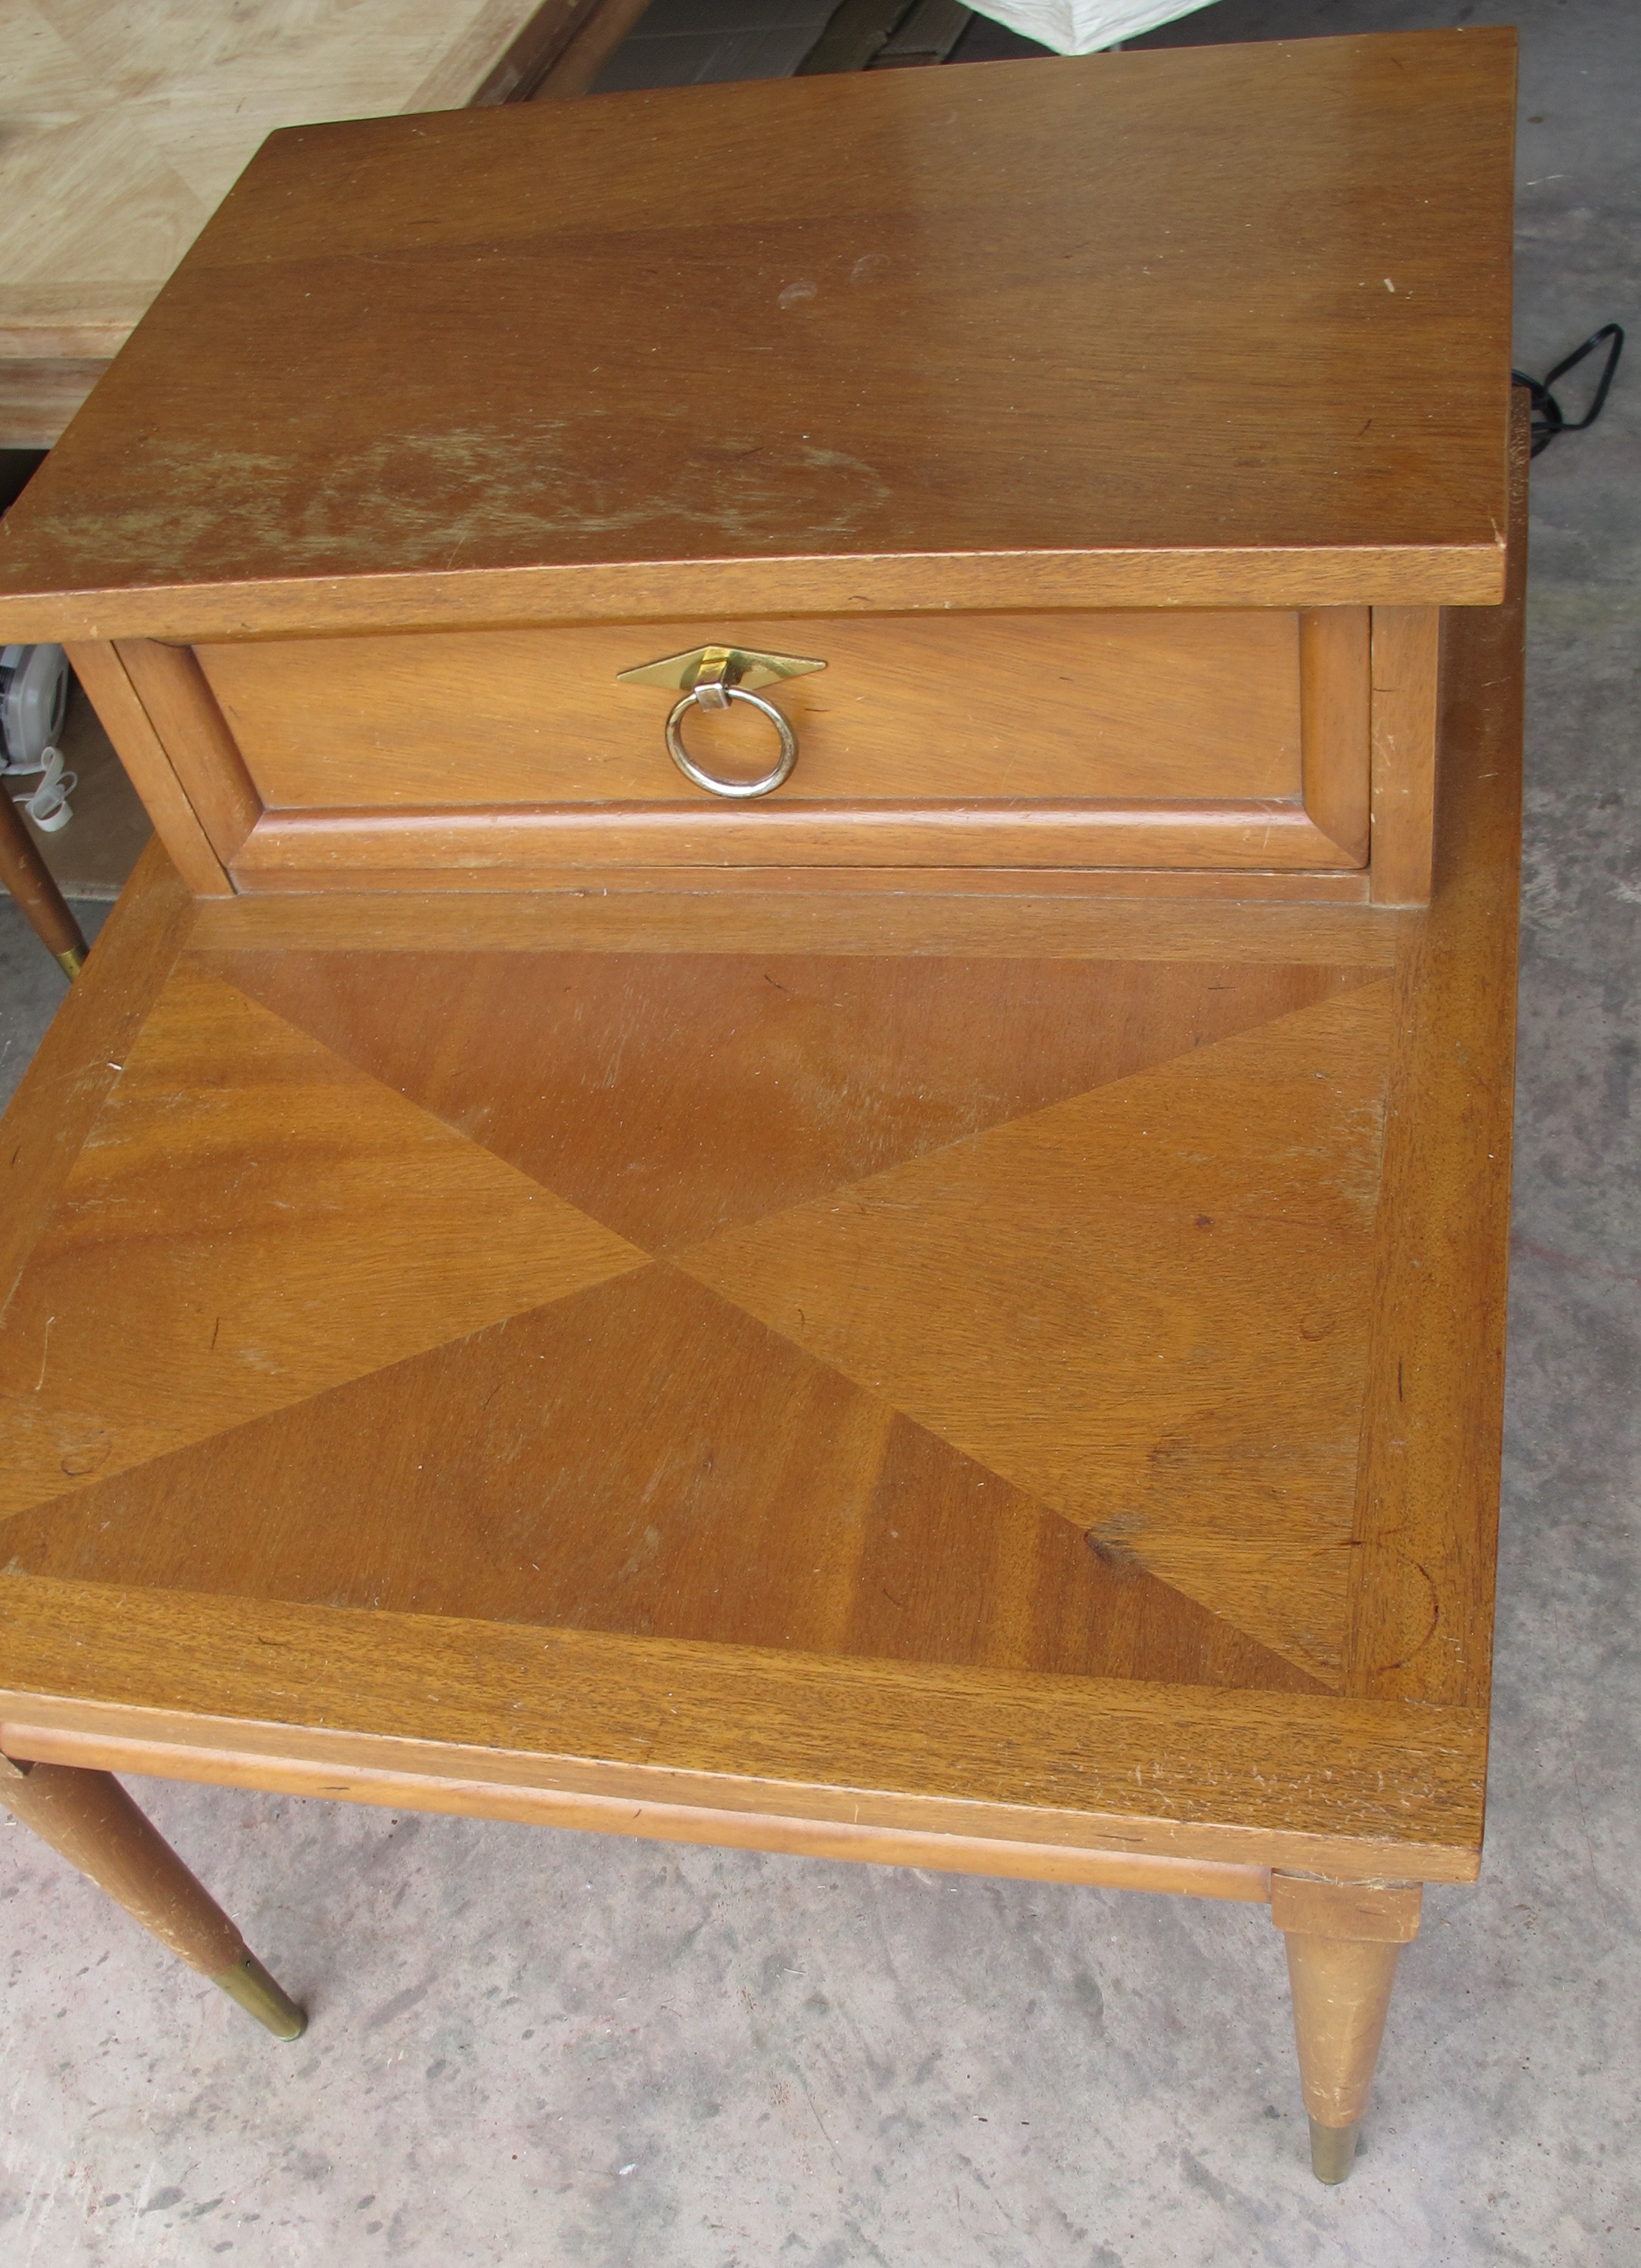
Ya think I would’ve learned to get the ENTIRE piece of furniture in the shot by now. Well, I showed you. 😉 Anyways, after cleaning it thoroughly, I realized that there was a chance that the original finish could be salvaged. The damage was a lot less than I’d previously thought. As a refresher, here’s some of the damage…
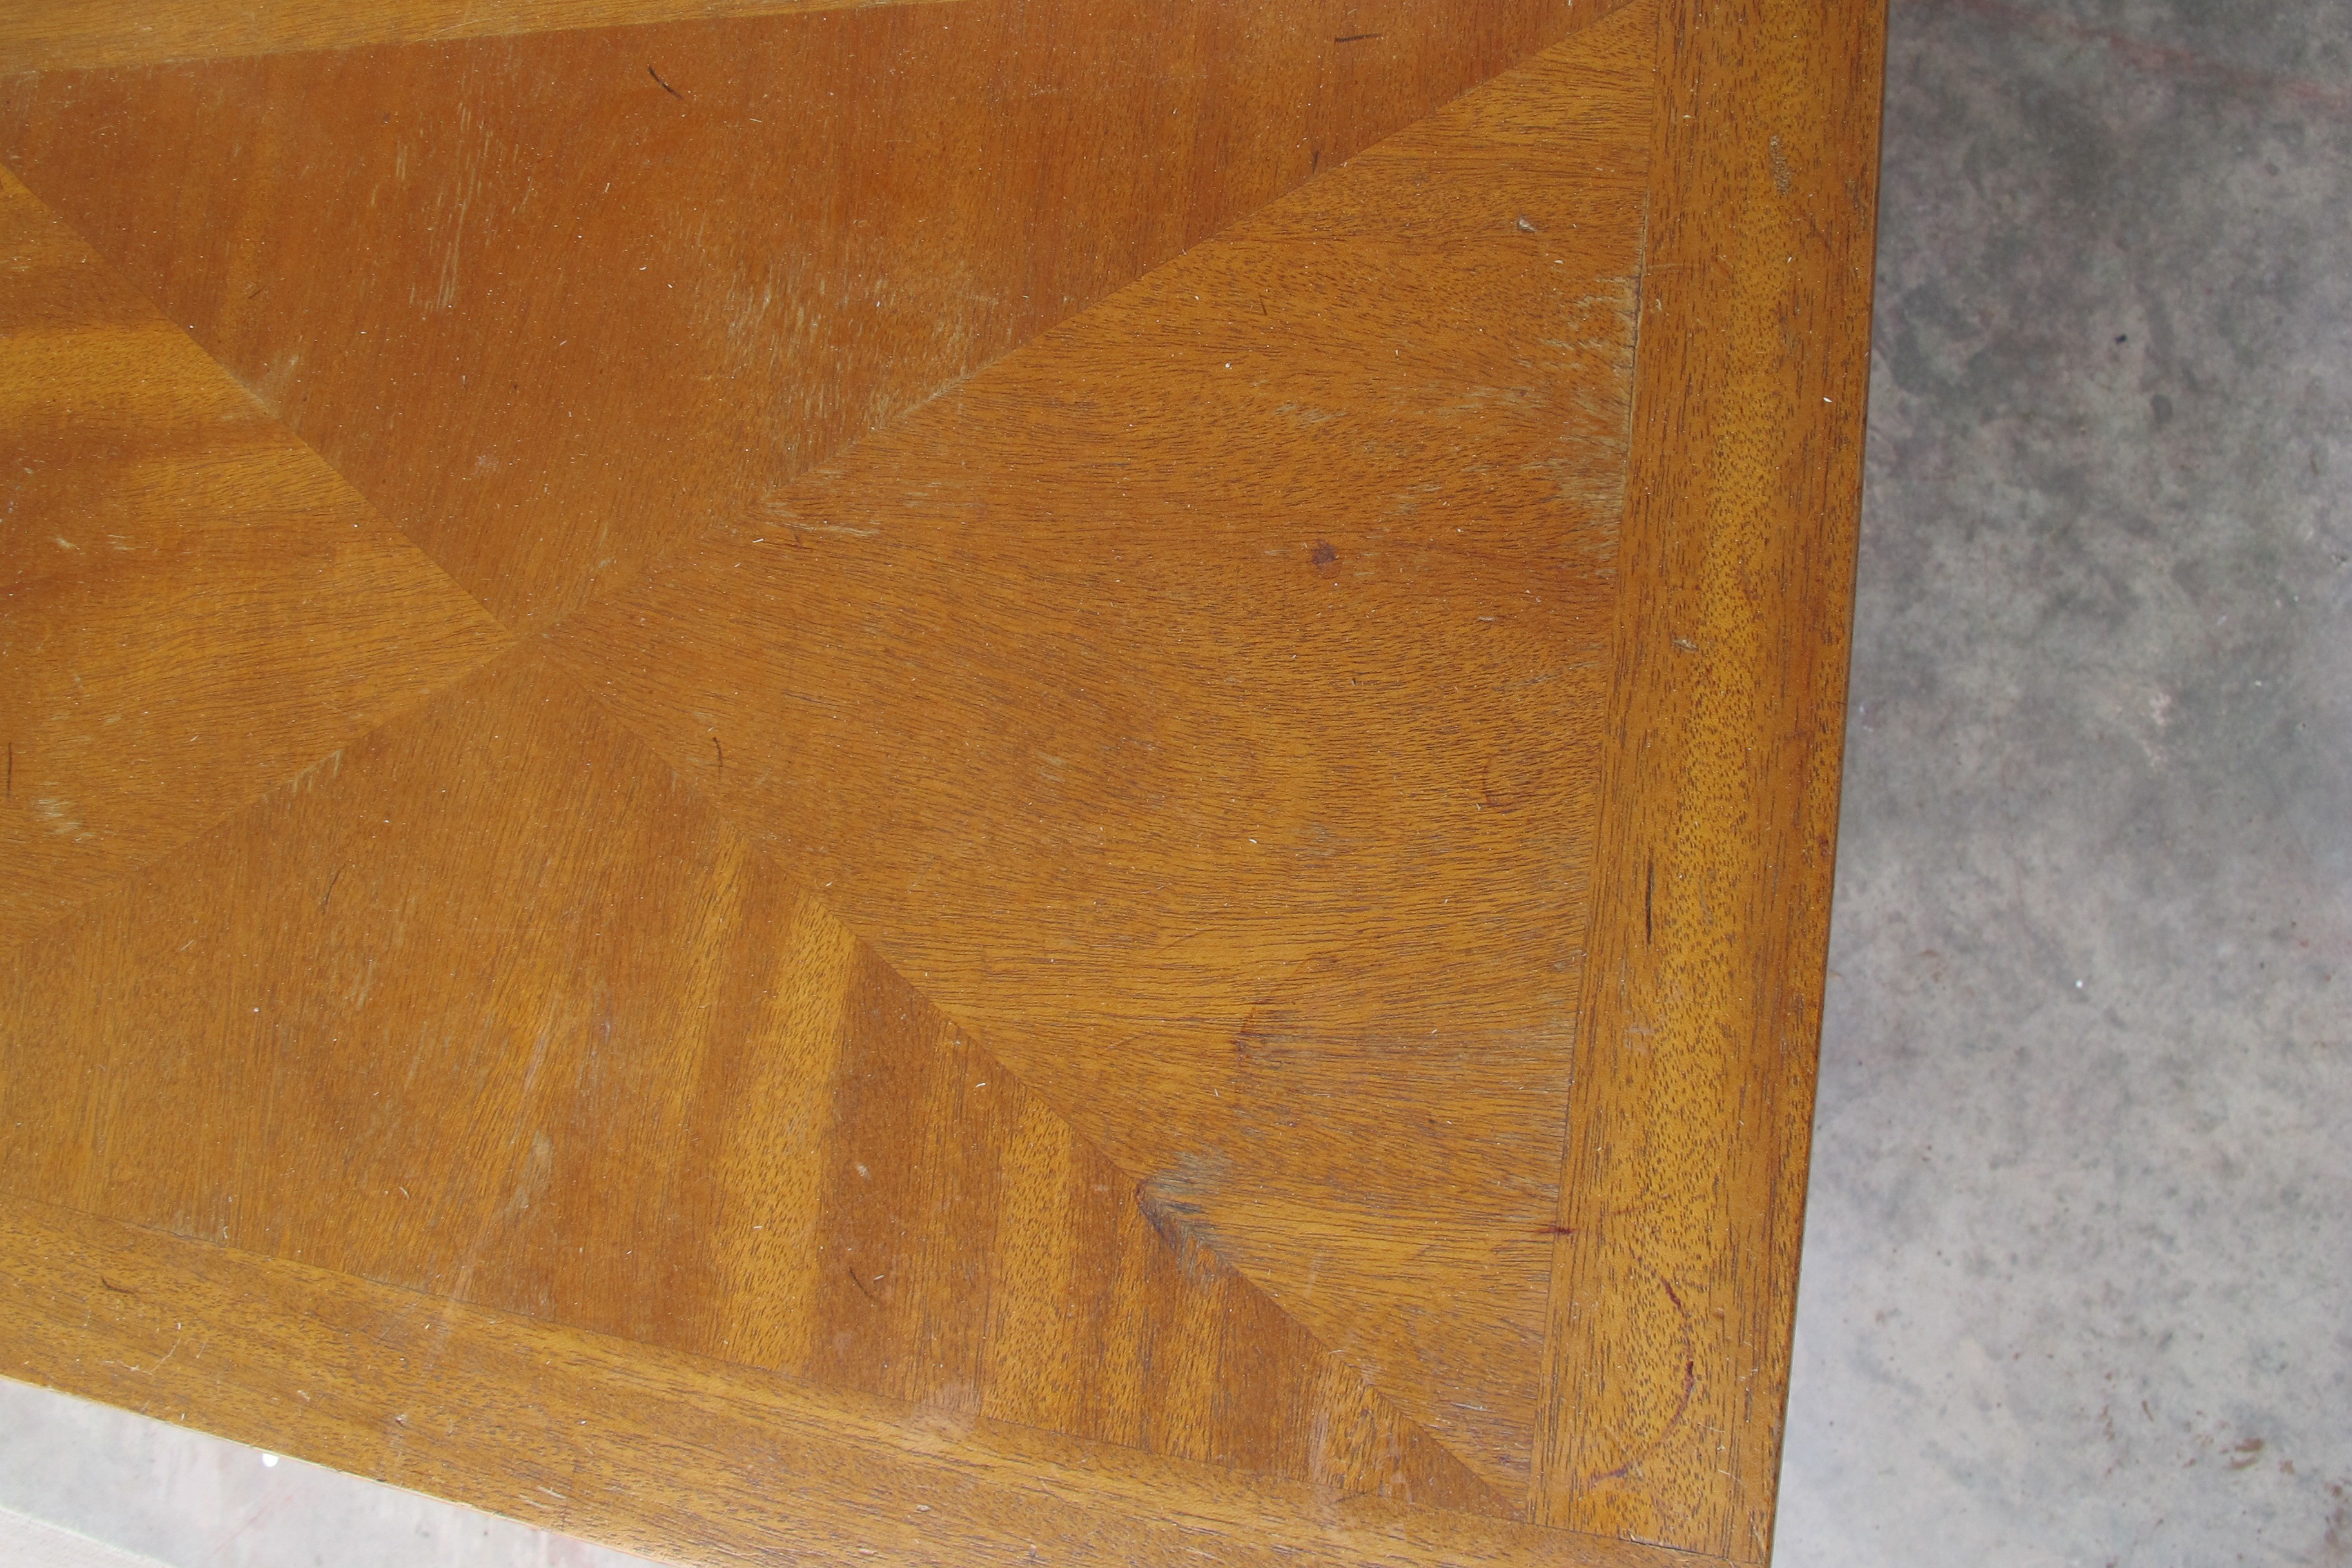

When I examined the damage on the top tier closely, I realized that the finish was still intact for the most part. These were just water-rings. I remembered reading something on Pinterest about using mayonnaise to remove water rings from wood finishes, so I looked it up and learned that you simply schmear mayo on the offending stain, wait a few minutes and wipe off.

So, I did that.

And it helped a lot! The stains were MUCH less obvious. I only left the mayo on for about 2 minutes or so, but I suspect that if I’d left it on longer, the rings would have vanished even more. And I must point out that the remaining damage actually shows up more in the pictures than they did in person. I was really impressed by how well this worked.
After removing the mayo, I wiped down the table thoroughly with my go-to water/vinegar spray and tried my hand at applying a little Restore-A-Finish plus Feed-n-Wax. It absolutely worked wonders in unifying the finish and bringing it much closer to it’s original state. You can still see some darker areas where the damage had been, but I like it that way. It adds character and tells the story of the life this little table lead….

I wrote a full tutorial for how to use these products back when I found my beloved mid-century desk chair, so check that out if you’d like more details on how to use them.
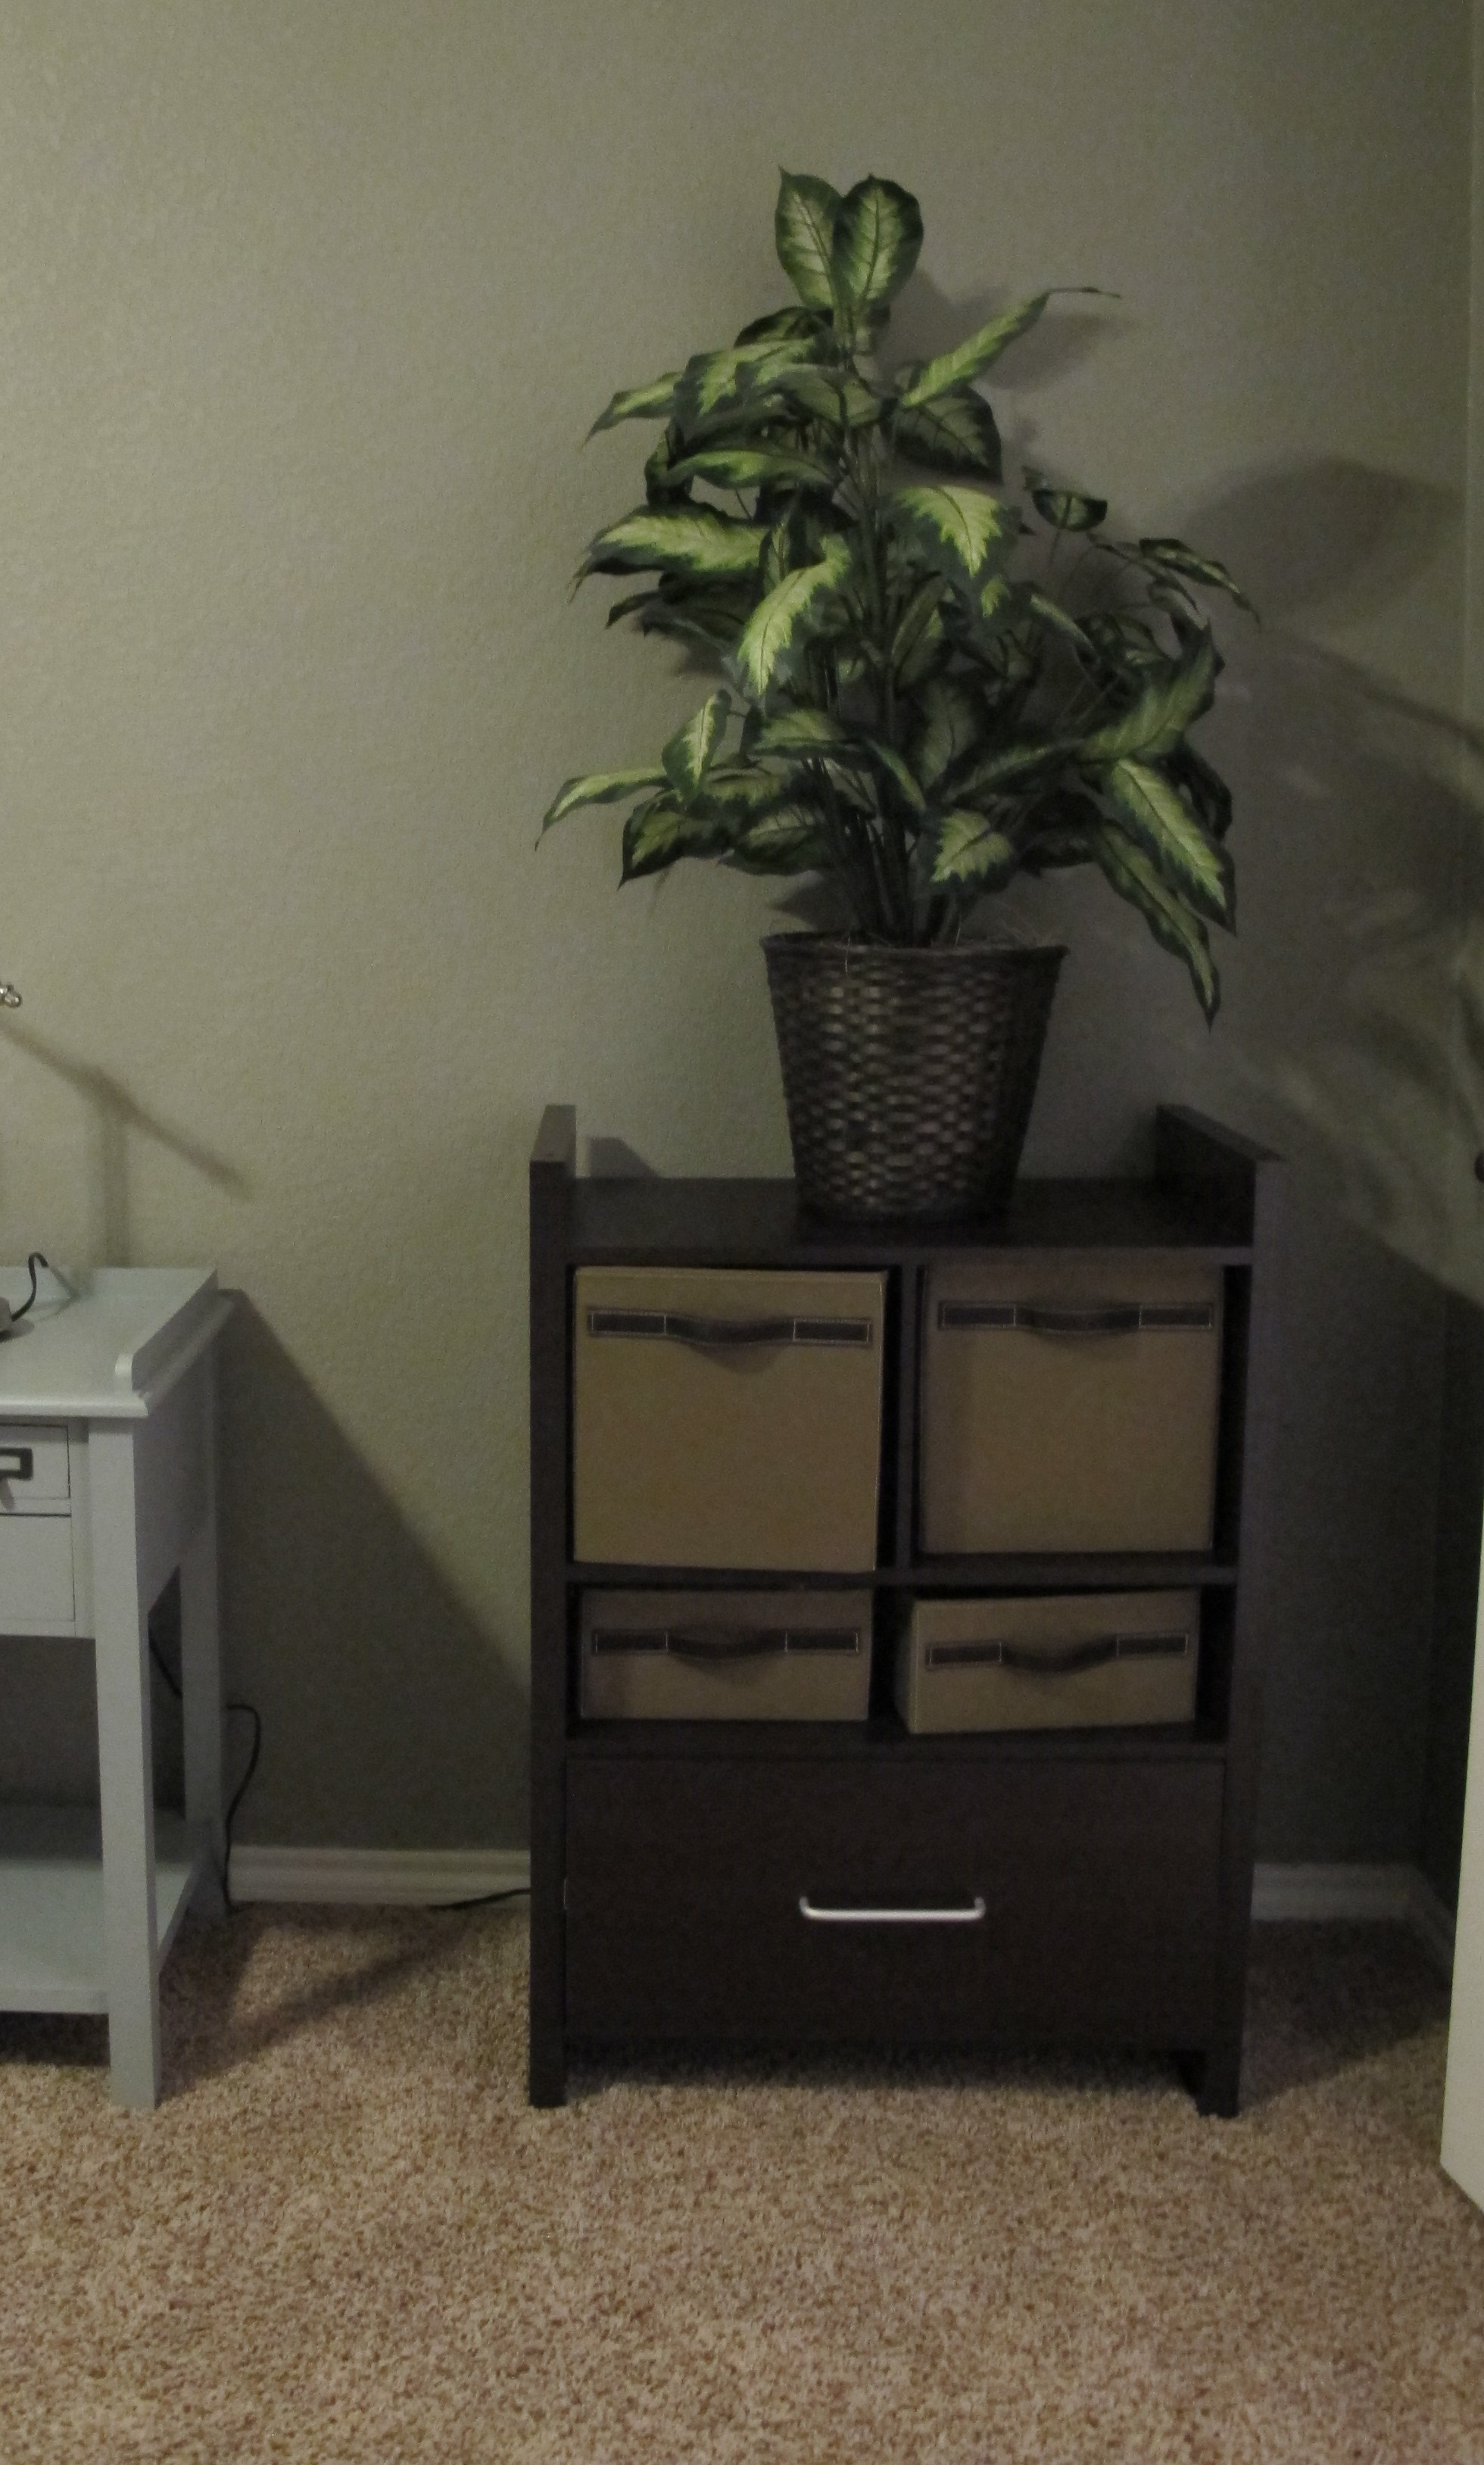
I can’t even tell you how absolutely thrilled I am that I was able to keep the original finish on at least one of the tables. And I’m even more psyched that it was the table that I wanted to keep the most. So, where did he end up, you ask??


That’s right. He replaced the little black cabinet in our front room. I never really liked that thing anyways. For now, I’m hiding our modem and all the wires in the painted basket beneath the table. I’m hoping to move the modem somewhere else sometime soon so that the table can stand alone, but in the meantime, I can deal.

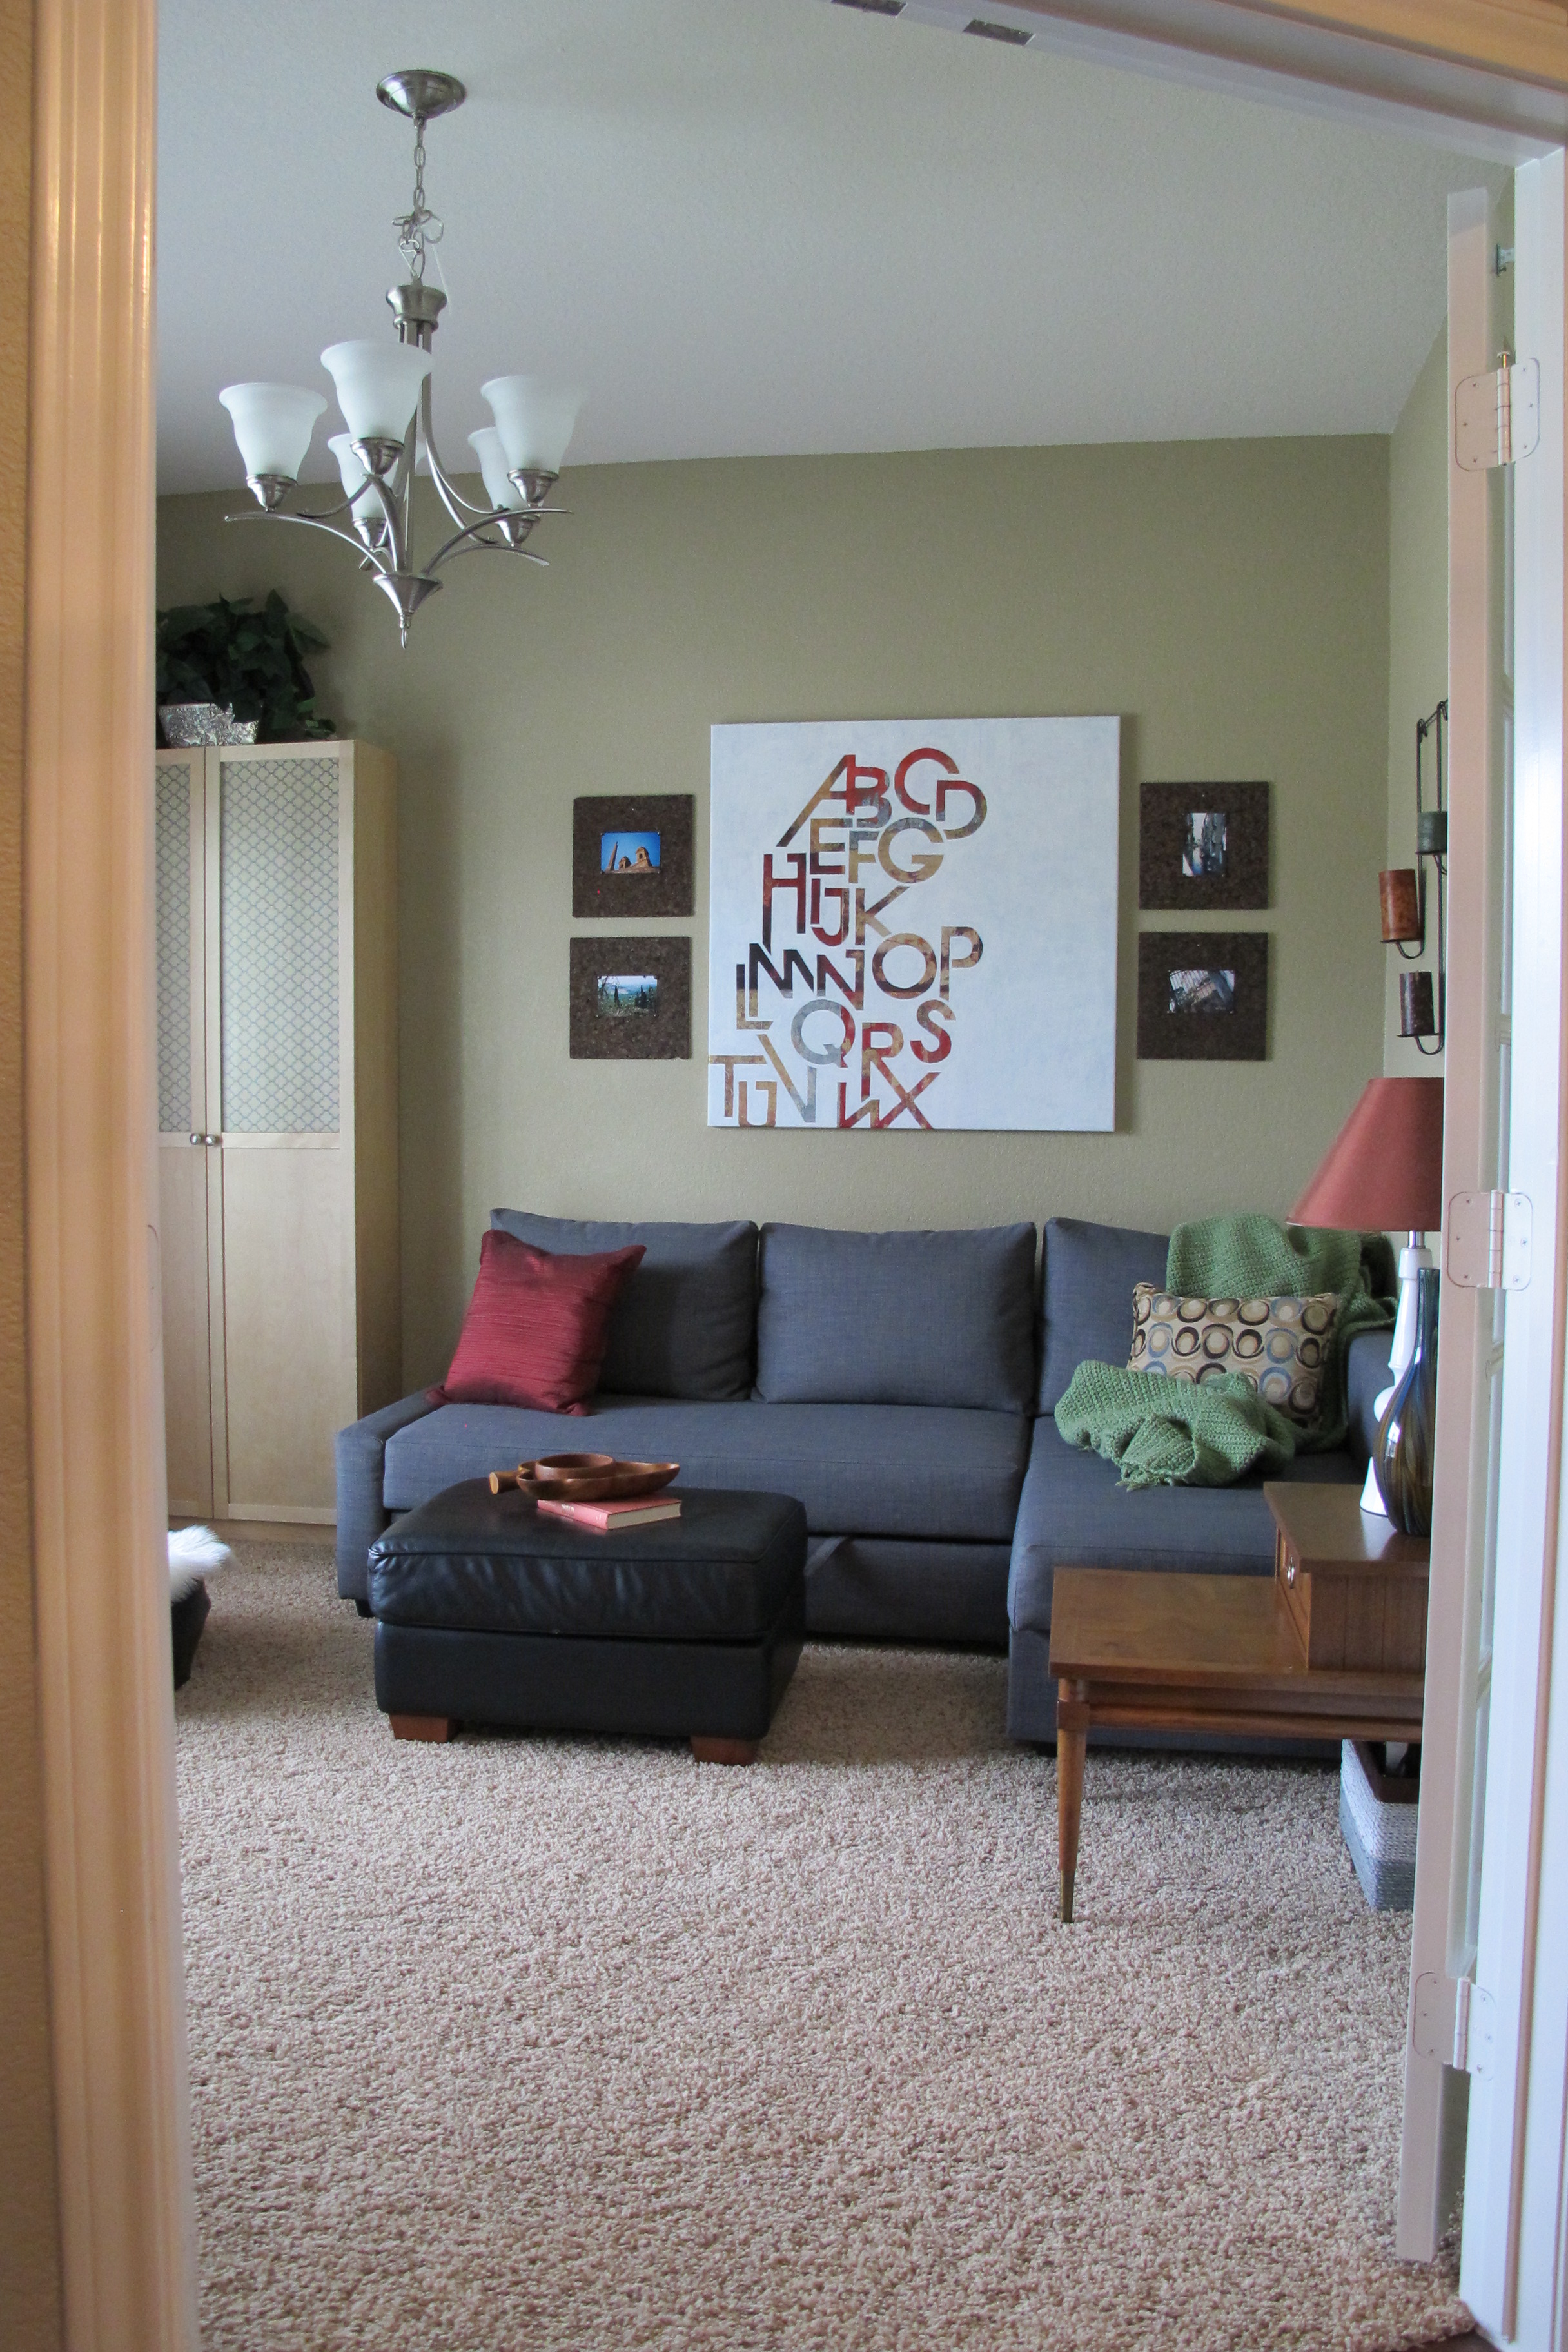
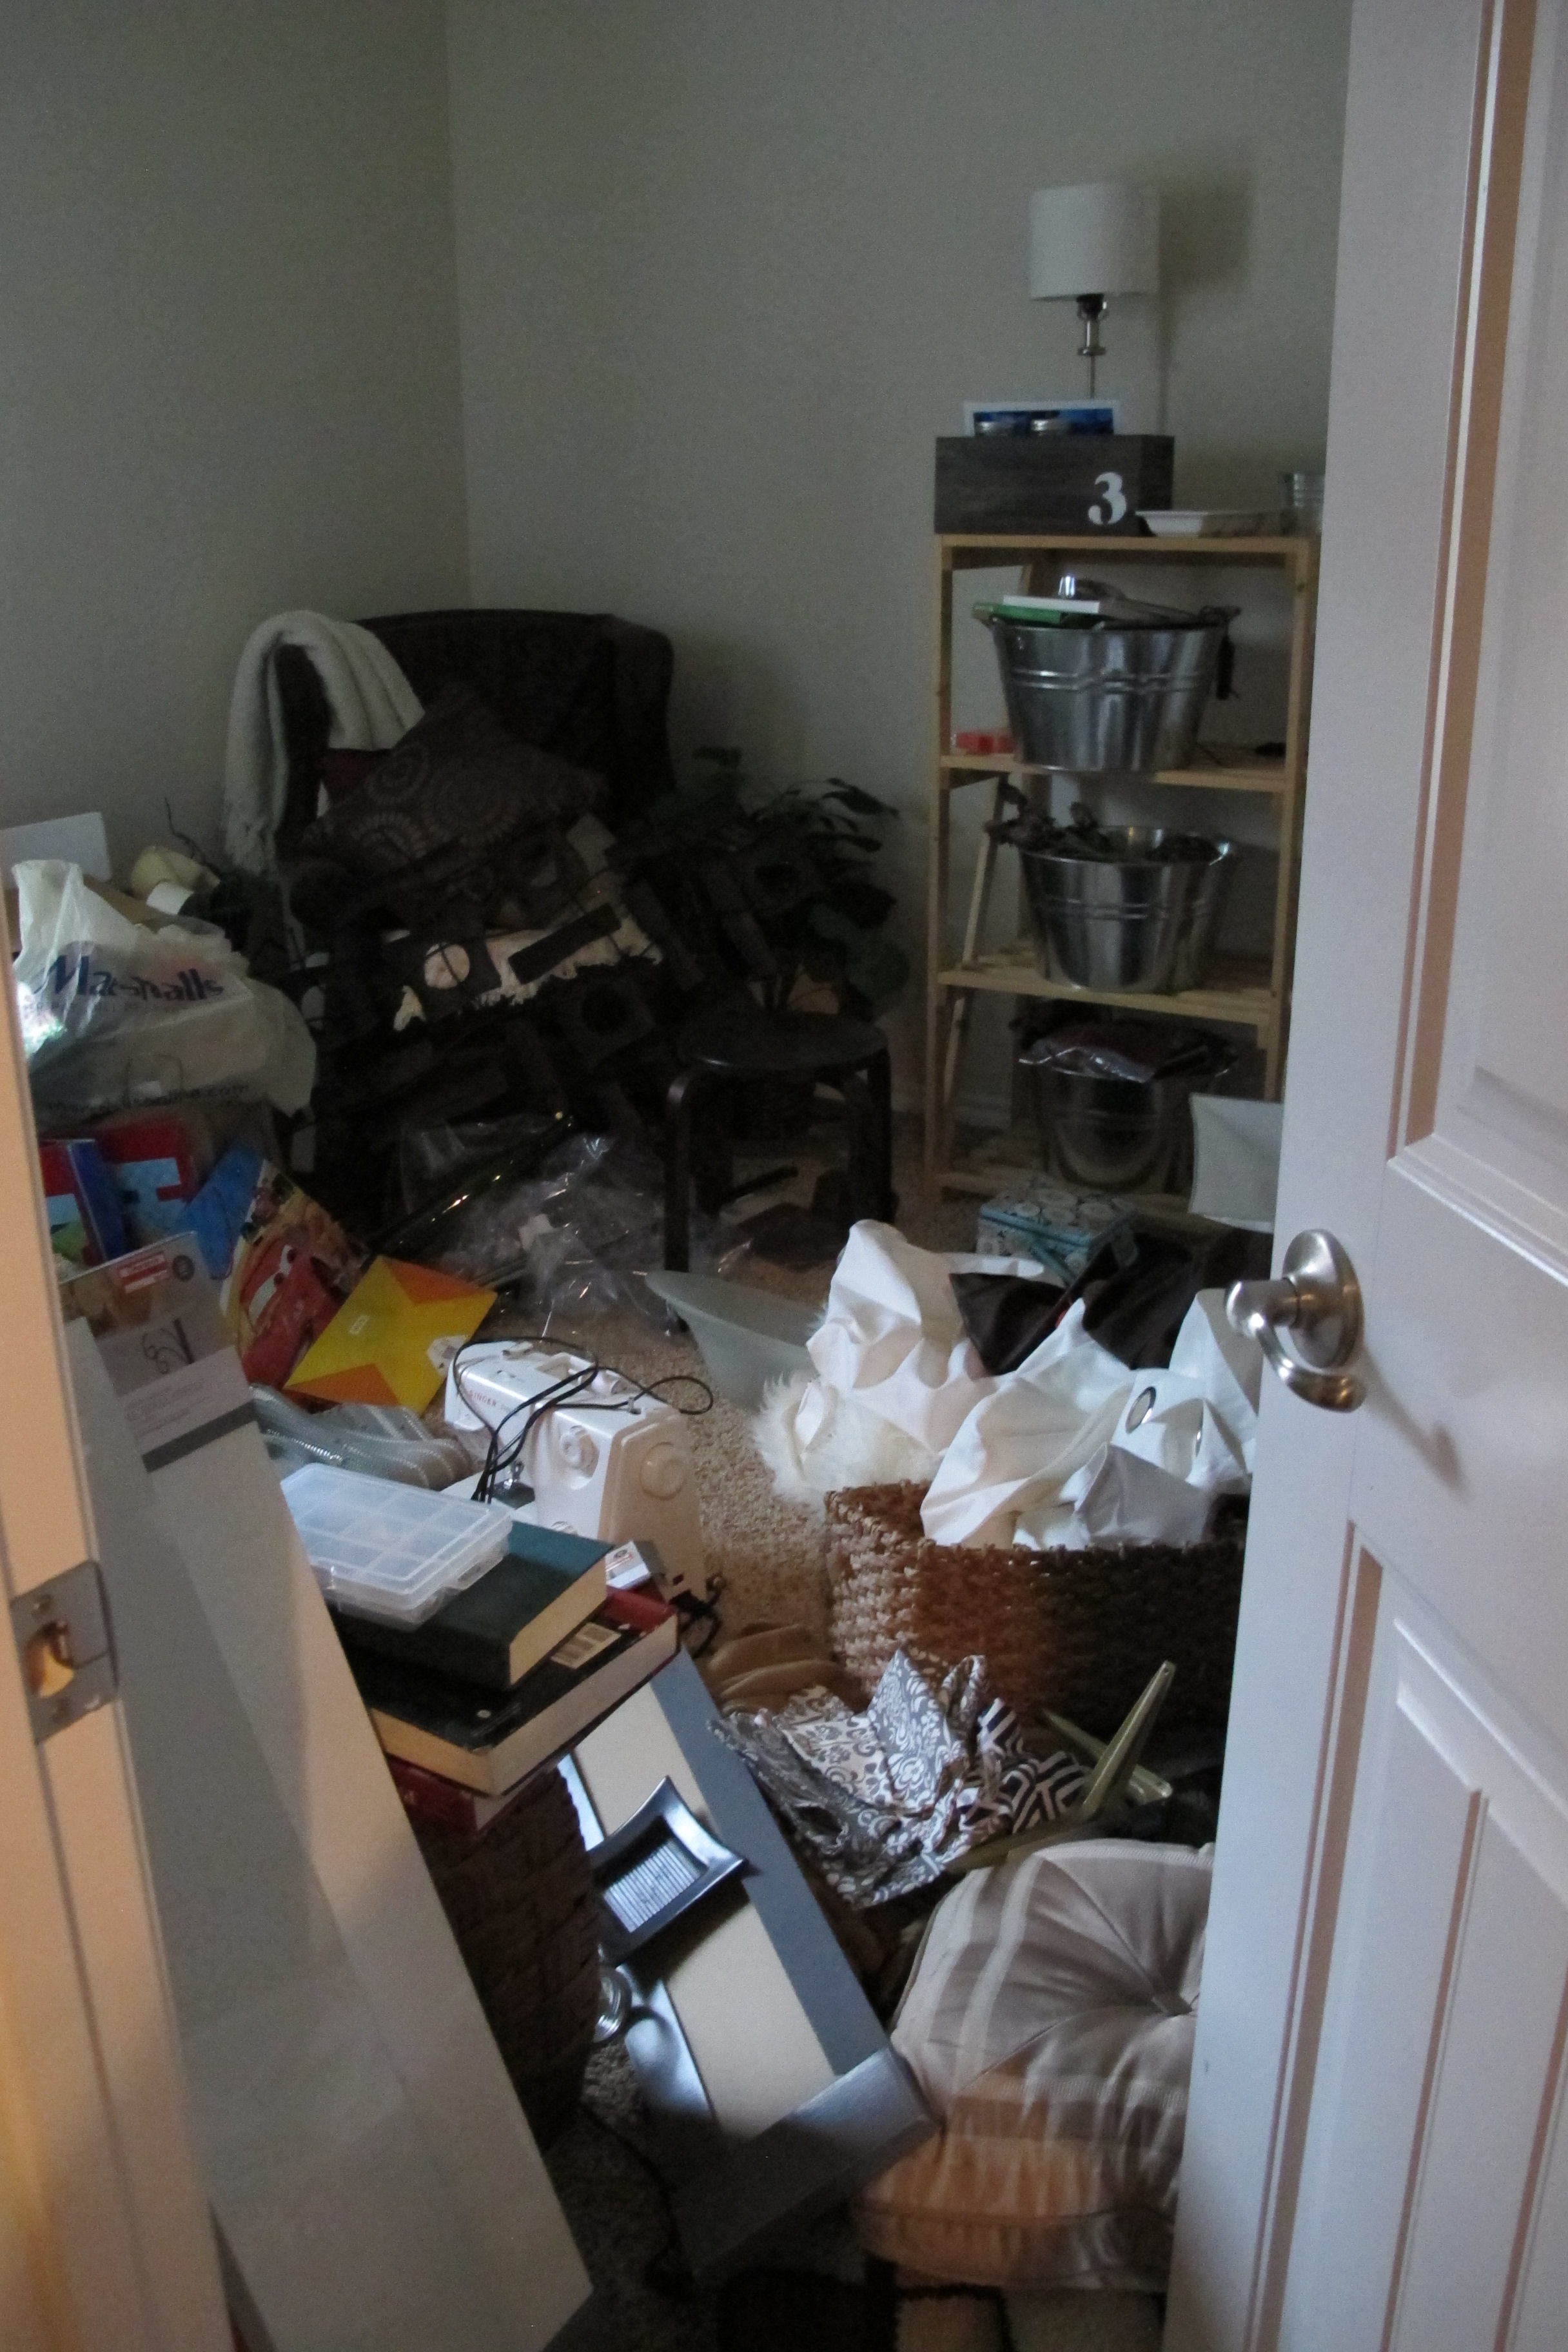
I’d love to do something different with the large storage cabinet now that my newest mid-century love is in the picture, but I haven’t quite figured out what yet. And don’t even get me started on that light fixture. It came with the house and although it isn’t a bad fixture in general, it definitely doesn’t suit the style of the room. It’s on the list as well.
So with that, Part One of Mission: Midcentury Tables is complete. Now, it’s onto the other two. What I do with them will depend on whether or not the smaller end table is stainable. I definitely want those two to match each other. So, fingers crossed that the damage isn’t all-encompassing. And seriously, wish me luck! I’ve never used stripper before, so I’m hoping I don’t mess this up. Any tips I should know before I begin?
Like this post?? Share it or join me on Facebook or Instagram!
Linked up at: Tatertots and Jello, Elizabeth Joan Designs, Lines Across, Say Not Sweet Anne, I Should Be Mopping The Floor, Tip Junkie, Home Stories A to Z, Upcycled Treasures