A Basic Black (um, White) Dress

Ever notice how a coat of crisp, white paint can totally jazz up an item like nobody’s business??  So simple.  So basic.   But absolutely transformative.   That’s exactly how I feel about our bedroom chair right now.  A coat of white made all the difference in the room.  But, let’s start from the beginning…  remember in this post, I showed this corner of our bedroom??

IMG_5030

And due to the abundance of conflicting brown tones between the dresser and chair, I posed the question as to whether I should paint the chair or simply spring for a new one?   The vast majority of feedback that I received was that I should paint this badboy…  But, I just wasn’t ready.  After publishing that post, I hemmed and hawed (and otherwise procrastinated) as I continued to shop for The Chair Of My Dreams, just to be sure.   I scoured Craigslist, nearby thrift stores, garage sales… But, nada.

My inner battle was that the chair’s finish was pretty as-is.   It just didn’t go with the room.   And, unfortunately, I didn’t have another place to stash it.   So, I questioned whether I should sell the chair to someone who liked it as it was versus change the finish.   Ya see, I’m kind of a wood purist… I have trouble painting wood-toned things unless the current finish is unsalvageable or horrendously ugly.

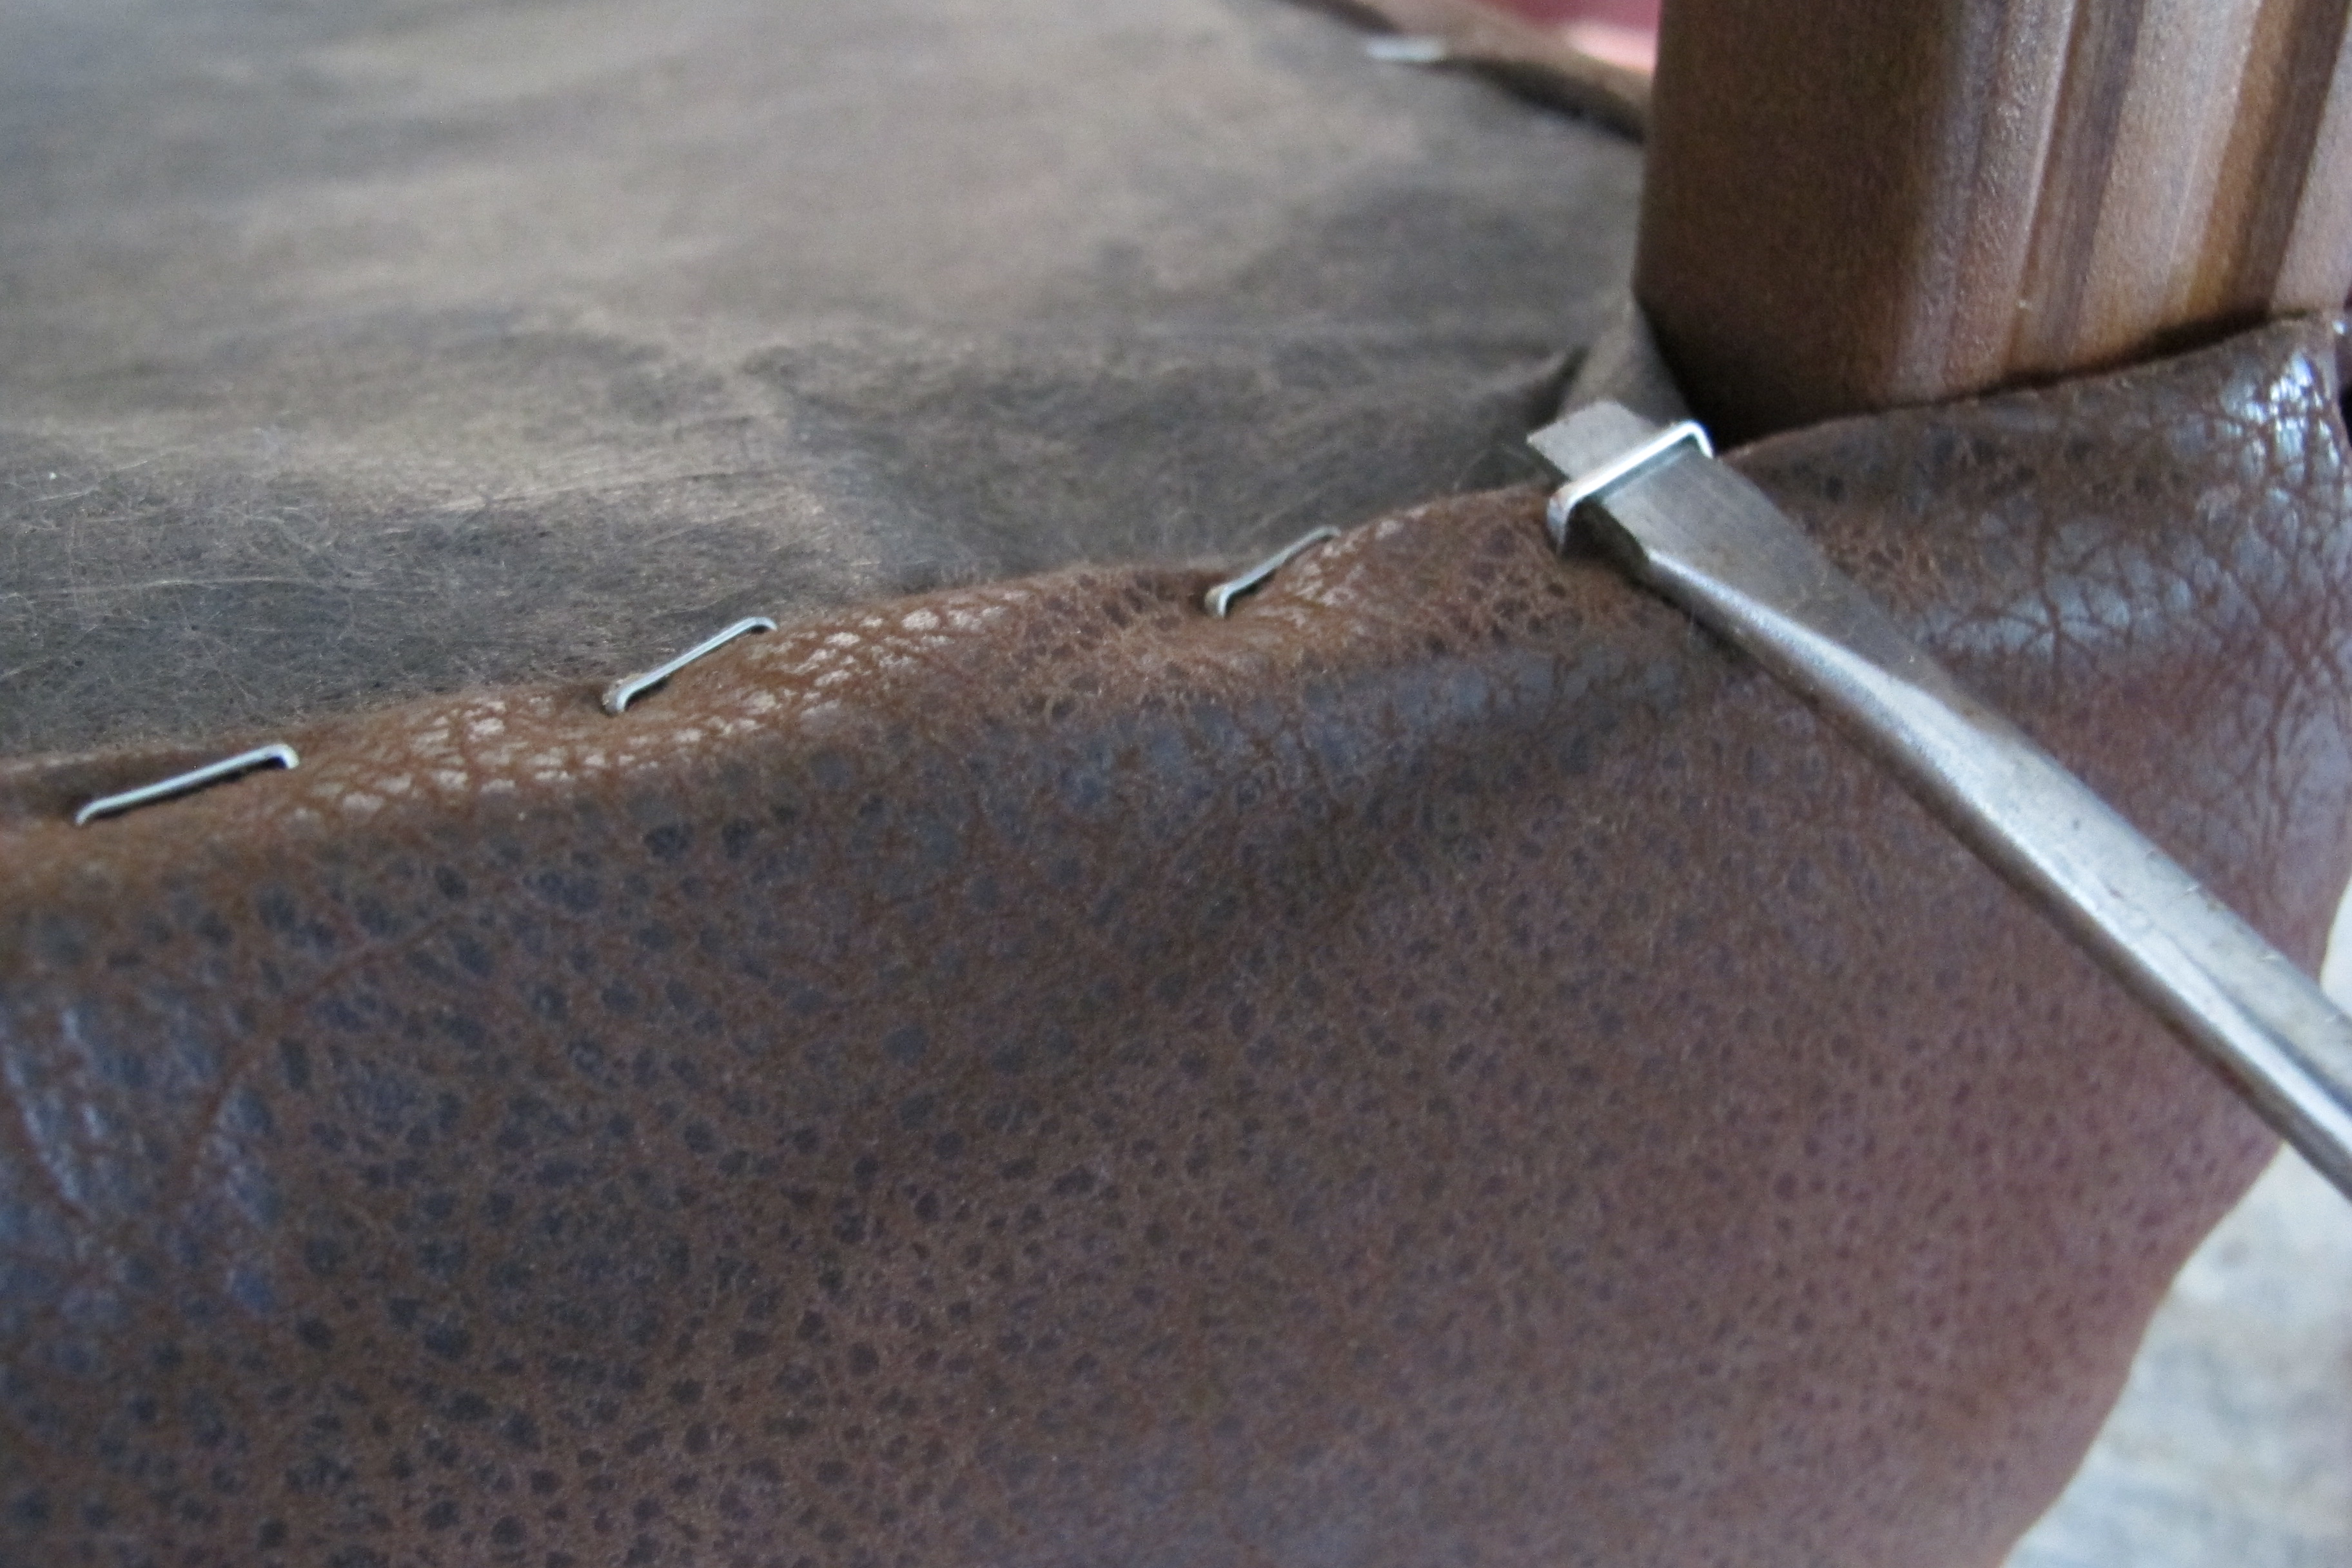
Then, one day, I gave the chair a thorough cleaning and realized that the finish wasn’t as great as previously thought.  There were scuffs, splits and missing pieces as shown below (sorry for the blurry pic)…

IMG_5790

IMG_5792

And this was the deciding factor for me….   The Chair Would Be Painted.

I began by taping off the legs as seen in this Instagram shot (it’s the only pic I have of this step)…

 1797558_290076324494184_5716812055597784917_n

I wasn’t sure what I wanted to do with the legs, but I knew that I didn’t want them to be white.  Next, I thoroughly wiped down the wicker with this deglosser to rough up the surface and prepare it for primer…

 IMG_5791

Next came priming.  I had to paint the chair inside due to weather, so instead of my usual shellac primer go-to, I chose Kilz Premium primer since it’s low VOC (ie: MUCH less stinky).  I started with a small nubby roller since the chair’s weave was pretty flat (and I wanted to see if I could get away with it)…

 IMG_5794

It covered pretty well, but still left some gaps where the weave intertwined.

IMG_5796

There was definite yellow bleed-through with the first coat of primer and after learning the hard way while painting my eight dollar chairs, I knew that a second primer coat was an absolute MUST.  That is, unless I wanted my paint to show bleed-through as well.   I applied the second coat with a brush to ensure that I covered all the nooks and crannies…

IMG_5797

  I waited until the primer was fully dry then reinspected for bleed through.  I found a few spots like this…

IMG_5800

So, those spots got a third coat.   At this point, I started to see glimpses of what the final result would look like. The modern lines of the chair were really starting to stand out with the new white color (which *might* have caused me to jump up and down excitedly whilst sing-songing “Why didn’t I do this sooner??”…  Always a good sign halfway through a project). 😉

Next, I caulked some of the more obvious holes in the wicker since they pretty much stuck out like sore thumbs after priming…

 IMG_5803

Once the caulk was dry, I applied 2 coats of Sherwin Williams Proclassic in extra white semi-gloss, which I had leftover from when I painted our foyer cabinets.   I used a 2 1/2 inch angled brush as I found this worked best in covering all the grooves in the wicker.  I removed the tape, and after a quick evaluation, decided to simply leave the legs their original color.

And here’s the final result…

IMG_5896 IMG_5892 IMG_5887

IMG_5898

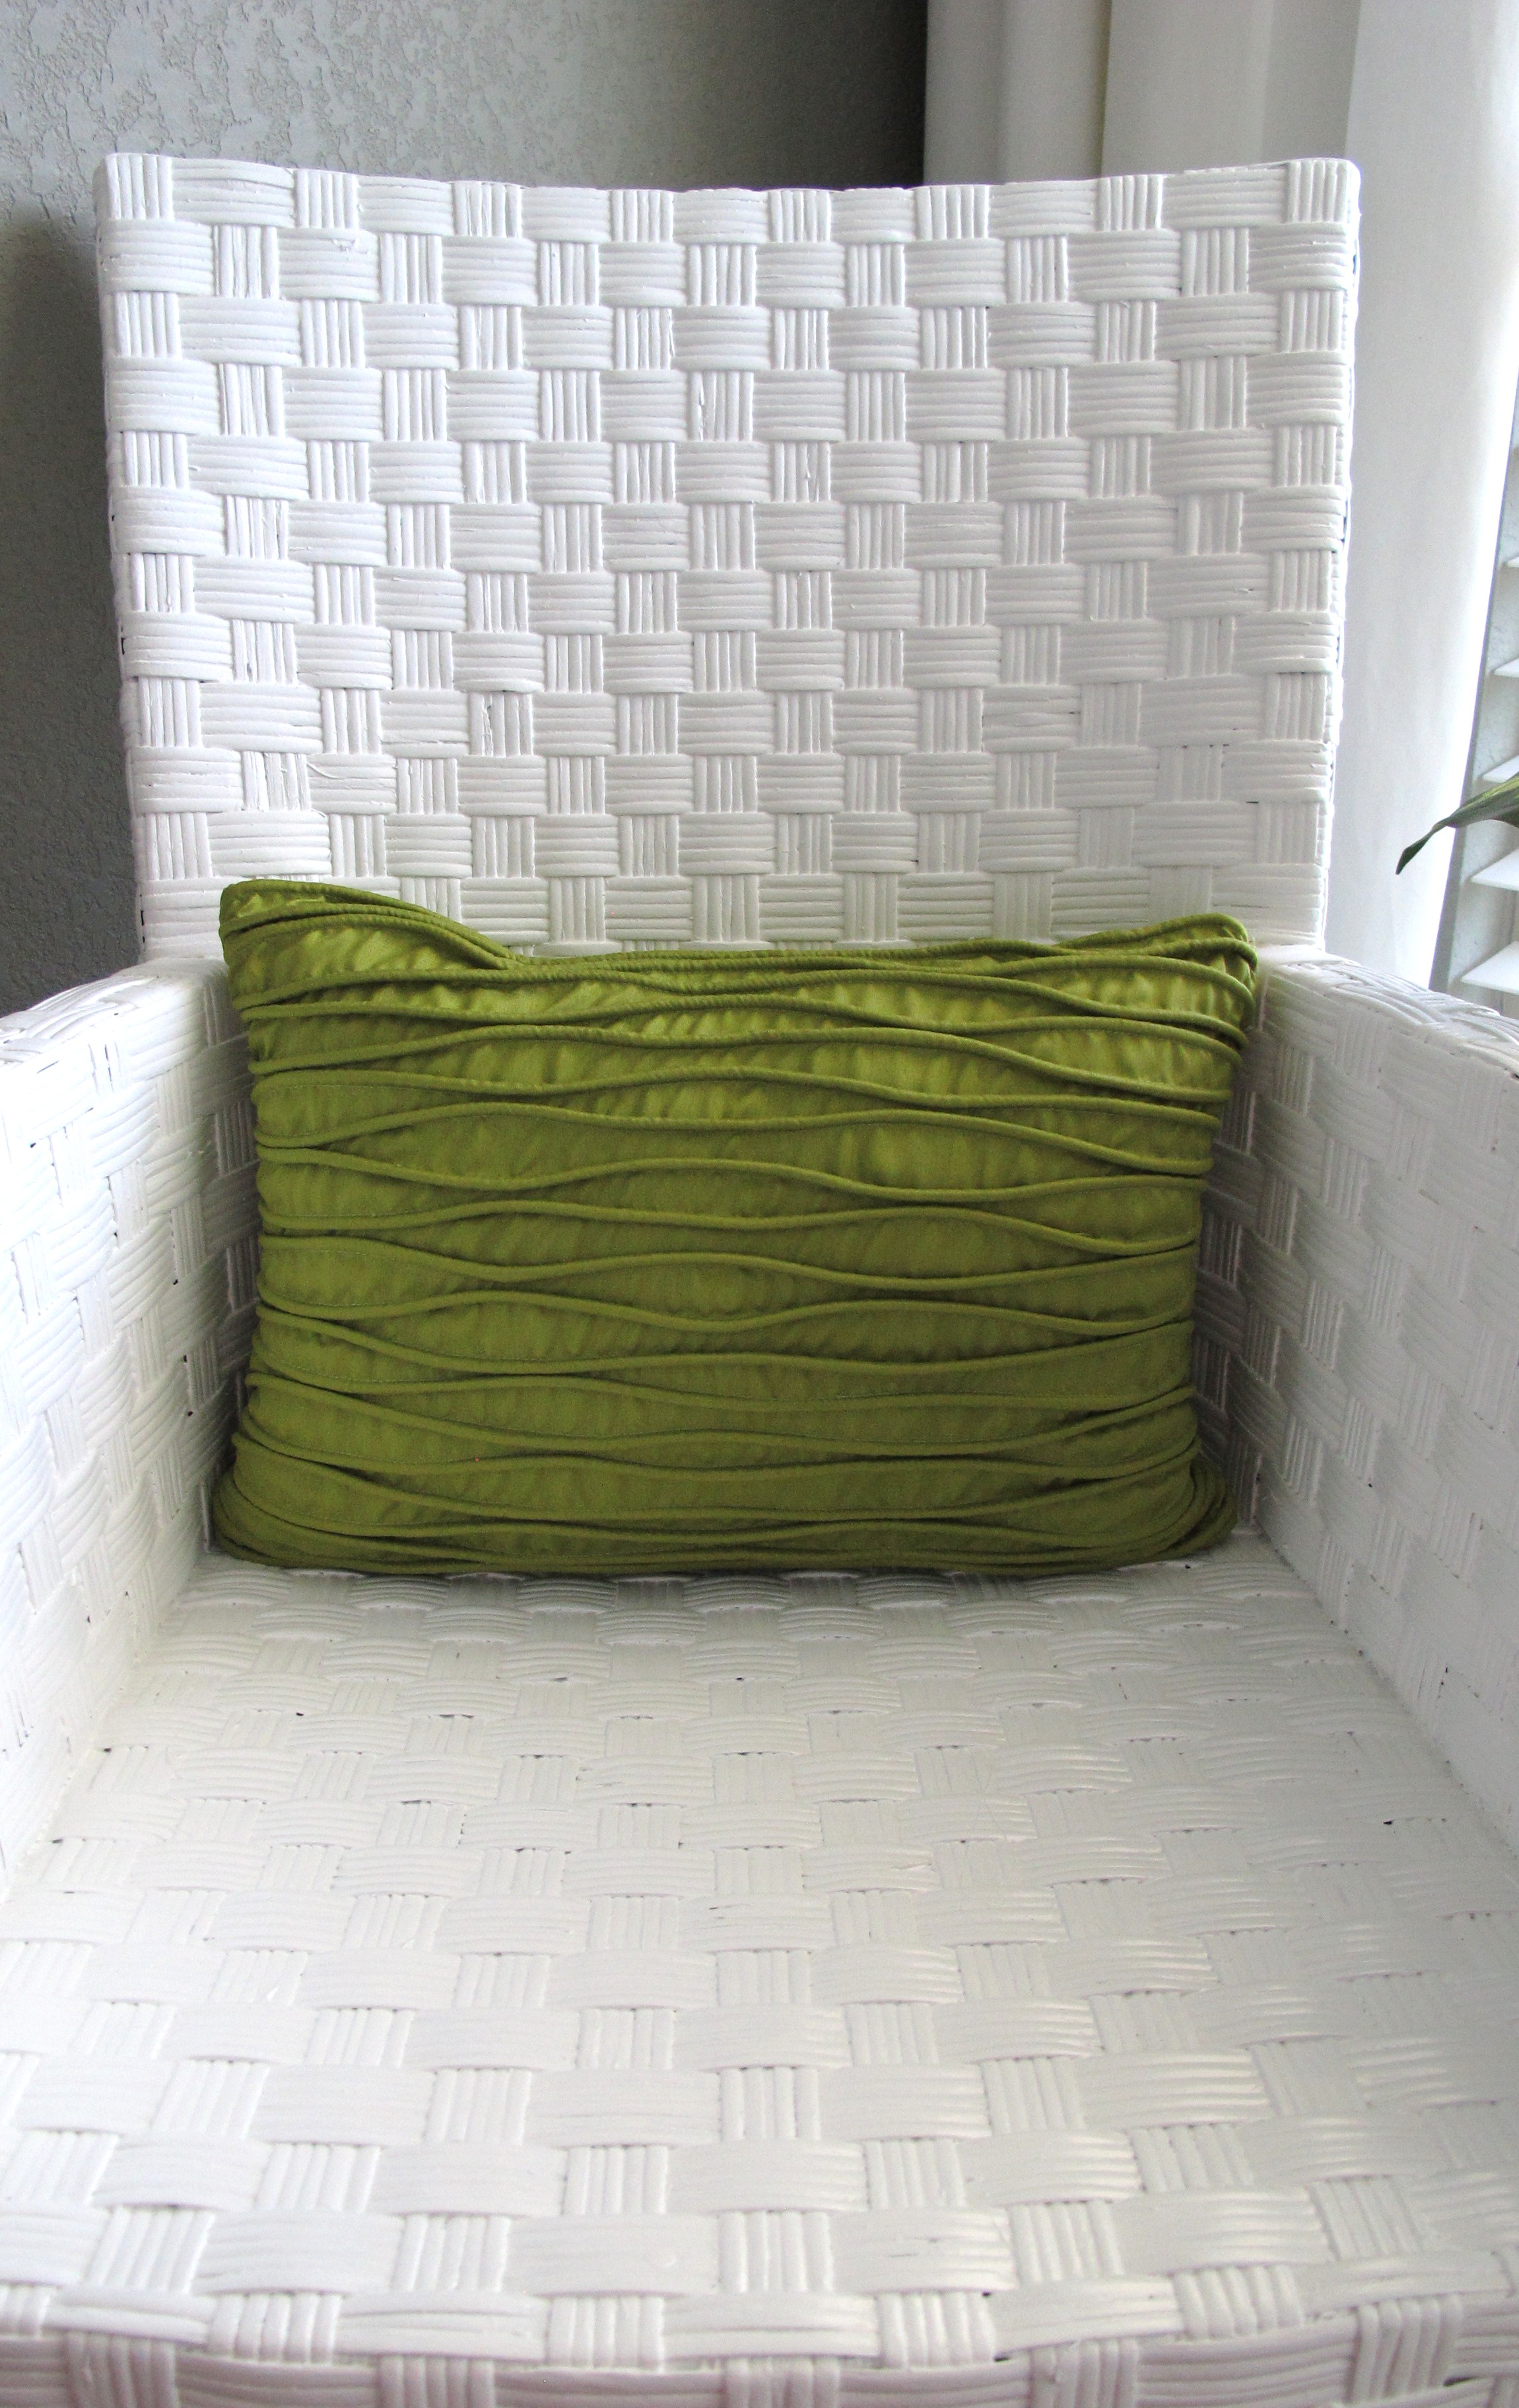
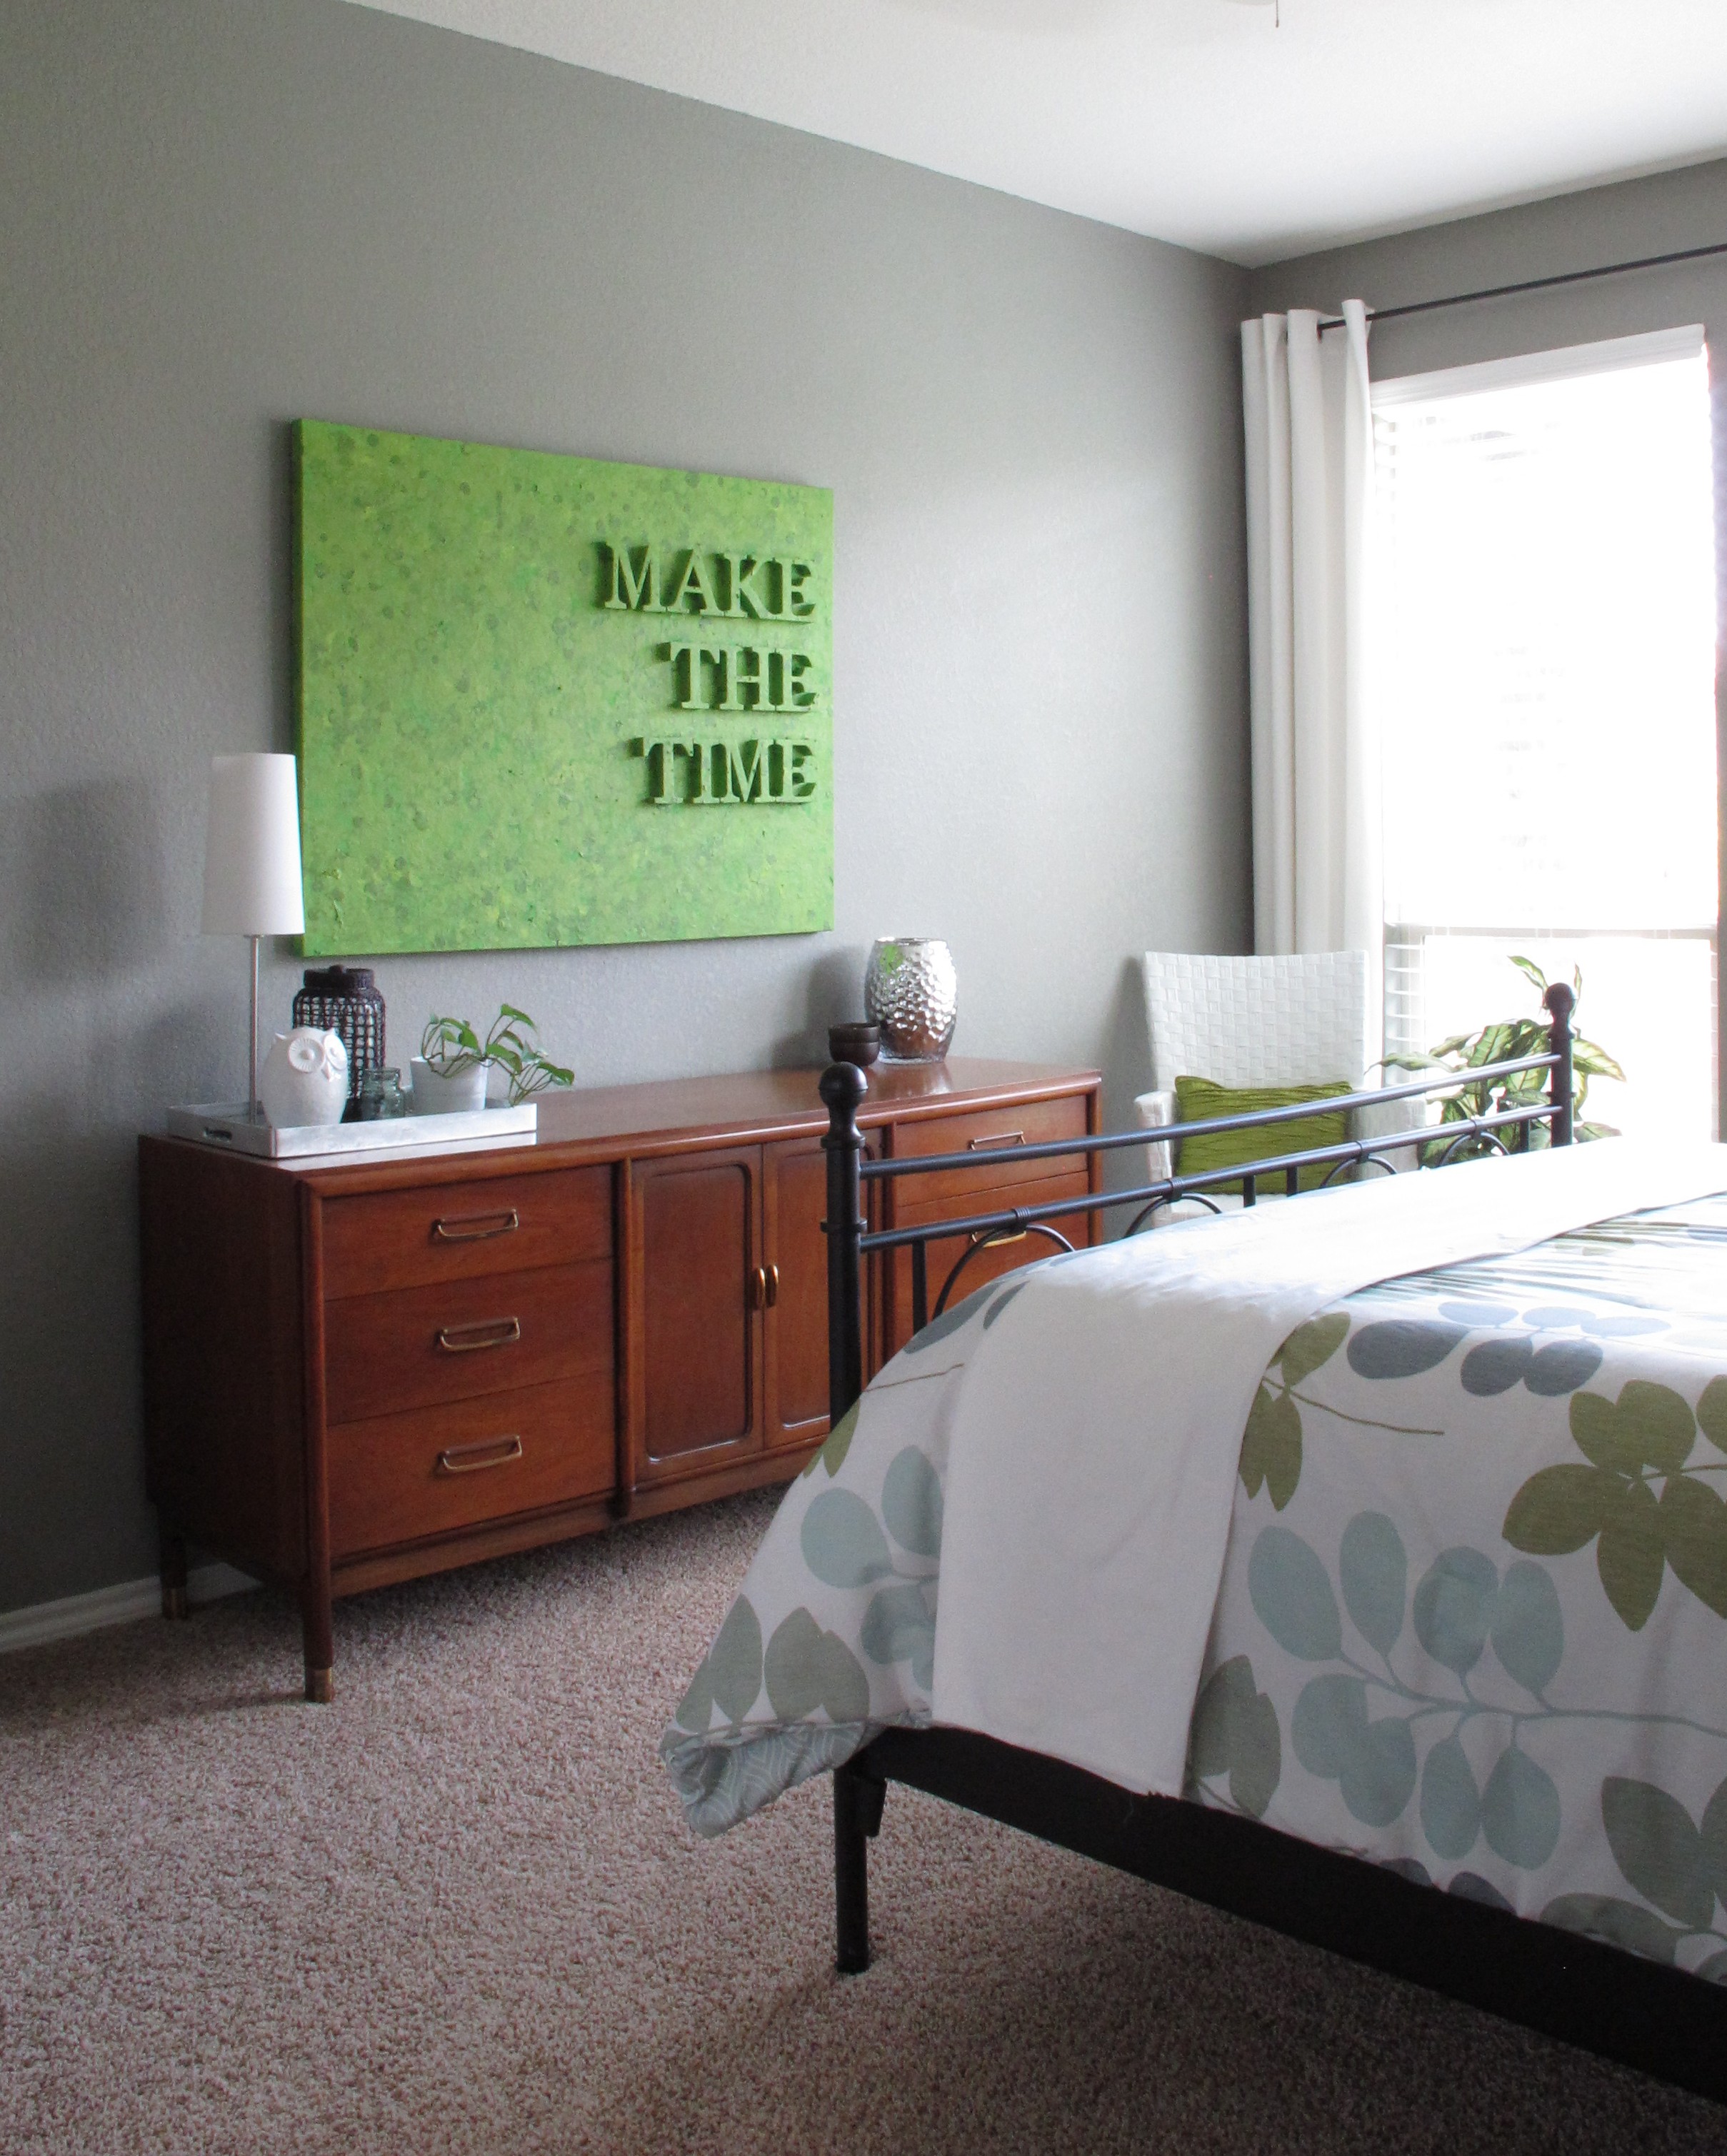
It’s EXACTLY what I was hoping for. EXACTLY. Crisp, white, glossy, modern-looking. And most importantly, although it shines in its own right, it recedes back visually in the whole scheme of the room to allow Drex and our new artwork to take center stage. It amazes me how every time I walk in our bedroom now, I have a new appreciation (and admiration) for our beautiful mid-century dresser, whereas before it just kind of blended into the sea of brown.  Observe…

IMG_5983

And a before shot…

IMG_4837

And a WAY before shot…

8e3a0-img_0710

Our master bedroom has come a long way so far, in my opinion!  I like how the room has progressively gotten lighter and brighter.   It puts me in a good mood every time I walk in there.

On a final note… we’re finally back from our third and final trip (…for the month. So strange.) and things should be getting back to normal soon.   This weekend, Lucas and I drove down to Austin to meet Joey since he was already down there for a work training.  It was really fun to take Lucas on a trip… and Austin is just awesome anyways.   It’s hilly and wooded… you almost forget that you’re in Texas!   We hit up some of our favorite restaurants… Trudy’s , Hula Hut, and we were introduced to The Bouldin Creek Cafe which was delish (especially for a gluten-free person like me).   We drove around a lot… looking at all the beautiful houses and scenery (I was too spell-bound with all of the gorgeous, full-o’-character homes to actually take pictures of them, unfortunately).    In any case, now that we’ve returned, I’ll be getting back to my usual schedule.  So, anyways, thanks as usual for stopping by and I hope ya’ll have a great week!!  🙂

PicMonkey Collage

Like this post??  Share it or join me on Facebook or Instagram!  

Linked up at:  Home Stories A to Z, Home Coming, Tatertots & Jello, Lines Across, I Should Be Mopping The Floor

TDC Before and After
The DIY Dreamer
Put A Bird On It

Benchmarked!

Happy Tuesday, Folks!  I hope everyone had a safe and relaxing weekend. As mentioned in my last post, ours was a little different… though with a few nice surprises.  For example, if you follow me on Facebook you may have seen my excitement on Sunday when I woke to discover that my revamped foyer cabinets (aka: my brightey whiteys) were featured on Tatortots and Jello!   I was so amazingly flattered that they chose my children cabinets to sit alongside such greatness.  You can check it out (along with the other awesome projects) at this link.  And yep!  After looking at all of the big, beautiful, bright photos in that wonderful post… and then my teeny, tiny pic…  I’ll definitely be incorporating larger pictures on the blog from now on.  Ya live, ya learn.  🙂

Anyhoo, the other day, I was minding my own business when I had another sudden bout of inspiration (sort of like with my bamboo light fixture).  Ya see, we’ve had a little eyesore issue that I’ve been trying to contend with.   Brace yourself.

This was the view through our bedroom door…

IMG_5272

Attractive, right??  We used to have a cute little shelving unit in this space, but once we adopted our new grown-up nightstands, I moved it out.  It just didn’t work anymore.  And what was left was an ugly cord and blankness.  I really just stuck the blue vase over there to get it out of the way. I decided that some sort of bench would be a good solution for the space, and absolutely fell in love with yet another inanimate object the last time I was at Target…

Capture

It was perfect!  A smaller, bold pattern to contrast our larger-patterned, muted bedding.  The size was right.   I liked the legs.   But I wasn’t willing to pay a hundred bucks for it.

So, I chose to create my own version on the cheap.   Ya see, my moment of inspiration occurred in the instant that I remembered that we had this ottoman in our attic…

I raced up there in a moment of determination and brought it down in a haze of glory.  I thought it would work well.  It was small, square-cushioned, and free.  A good blank slate.  😉

I started by removing the cover (my mother-in-law recovered it years ago with the brown microsuede)…

IMG_5810

…and discovered ducks!!  Huh…

IMG_5812

Then, I used this spray paint and gave the wood legs a few thin, even coats (check out some general spray-painting tips in this post of yore )…

IMG_5820

…Which left this…

IMG_5821

Yeeeahhh… I didn’t even bother to cover the fabric.  Alas, there will be no ducks in my future.

I found the fabric below at Hobby Lobby and just knew it was “The One”.   I thought it was similar to the Target bench fabric in the lines and feel, but was slightly more graphic, which I was all for.   It was $8.99/yard and I had a 50% off coupon which brought it to around 5 bucks including tax for the one yard I purchased.

IMG_5822

Now, as many of you know… a seamstress, I am not.   However, I’m trying to grow my skills, so I figured, no time like the present! And then I procrastinated. Out of fear.  But only for a little bit.  I decided to pin and sew along each of the corners to create darts of sorts (if there’s a correct term for this, please let me know).   I started the process, and then as I got to pinning my second corner, I realized that the fabric was the wrong way… so I flipped it over, wrong side up and started again.  My corners looked like this once pinned…

IMG_5824

Then, I retrieved Dusty (aka: my sewing machine), and simply sewed straight(ish) lines right over my pins.   I turned my slipcover right side out and tried it on for size…

IMG_5826

To my sheer and utter amazement, it didn’t look too bad.  Sure, its not perfect.  It has a few puckers and curvy lines, but ya know what??  I’LL TAKE IT!!!!  I removed the cover, trimmed off the excess material…

IMG_5827

… and slid the cover back on my ottoman.   I trimmed the bottom fabric, leaving about an inch of excess and folded it under so that the fabric would be neat around the legs…

IMG_5828

Then, I used my trusty staple gun to secure the fabric using the method outlined in this tutorial for recovering seat cushions…

IMG_5829

This next part, I have no pictures for, unfortunately.  But I’ll just say this… anyone who can secure embroidery tacks in a straight line deserves a medal (or a talk show)!  I spent ages (and sacrificed many an innocent tack) trying to hammer them in straight around the legs.   I’m happy with how they turned out in the end, but the process was no joke.  So, without further adieu, here’s the final result…

img_59362

IMG_5929

IMG_5933

IMG_5948


And here he is in his new home….

IMG_5863

img_5851

Our doorway view is much cuter now in my humble opinion.

So, here’s the cost breakdown for this project…

Ottoman: Already owned

Spray paint: Already owned

Fabric: $5

Embroidery Tacks: $2.50

TOTAL SPENT: $7.50

So, yeah.  I’m definitely satisfied with this project.  I think I actually like my bench better than the Target version, which says a lot, ’cause that Target bench is the cat’s meow.  I like the bolder fabric, but that the overall bench has a similar feeling to my inspiration. And the embroidery tacks… Worth every frustration. They add a little rustic twist and contrast the gold legs, which now tie in to Drex’s brass accents on the opposite side of the room. And.I.sewed. And.liked.it. Weird.

So, what have you guys got going on?? Any inexpensive knock-offs happening in your neck of the woods??


Like this post??  Share it or follow me on Facebook or Instagram!! 🙂 

Linked up to: Home Stories A to Z, Home Coming, The DIY Dreamer, I Heart Nap Time, Natasha in Oz, Burlap and Babies, Lines Across, Tip Junkie

Put A Bird On It
TDC Before and After