My olive thumb

It used to be that my thumb was black. Jet-black. It was the “why bother?” thumb. As in, all plants I owned were fake.  Live plants just didn’t stand a chance.  Then, as I grew older my thumb became more brown than black. Plants lived.  For a while, anyways.  Then, they died.  It wasn’t the immediate execution that plants had sustained in the past, though it wasn’t fully successful either.  As time passed, I was able to keep one blessed plant alive. Granted, this viney plant (the name of which escapes me) is of a hardy variety…

IMG_4352

But regardless, it lived.

Which gave me confidence to adopt more plants. A snake plant, some succulents, an orchid.  All are still alive (though the orchid has been sans flowers for some time).  And they seem to be relatively happy.  Here’s the thing, though. The one thing that these plants have in common:  they thrive indoors. Period.  My outdoor potted plants never live. They die fast. Thus, I dub my thumb: Olive.  It’s green, but brown-green. Not quite the kelly-green that I’d eventually like to boast. All because of those darn outdoor buggers. So, what’s a girl to do, you ask??

Why, buy more plants, of course!

I went with herbs, mainly.  Oregano…

IMG_5739

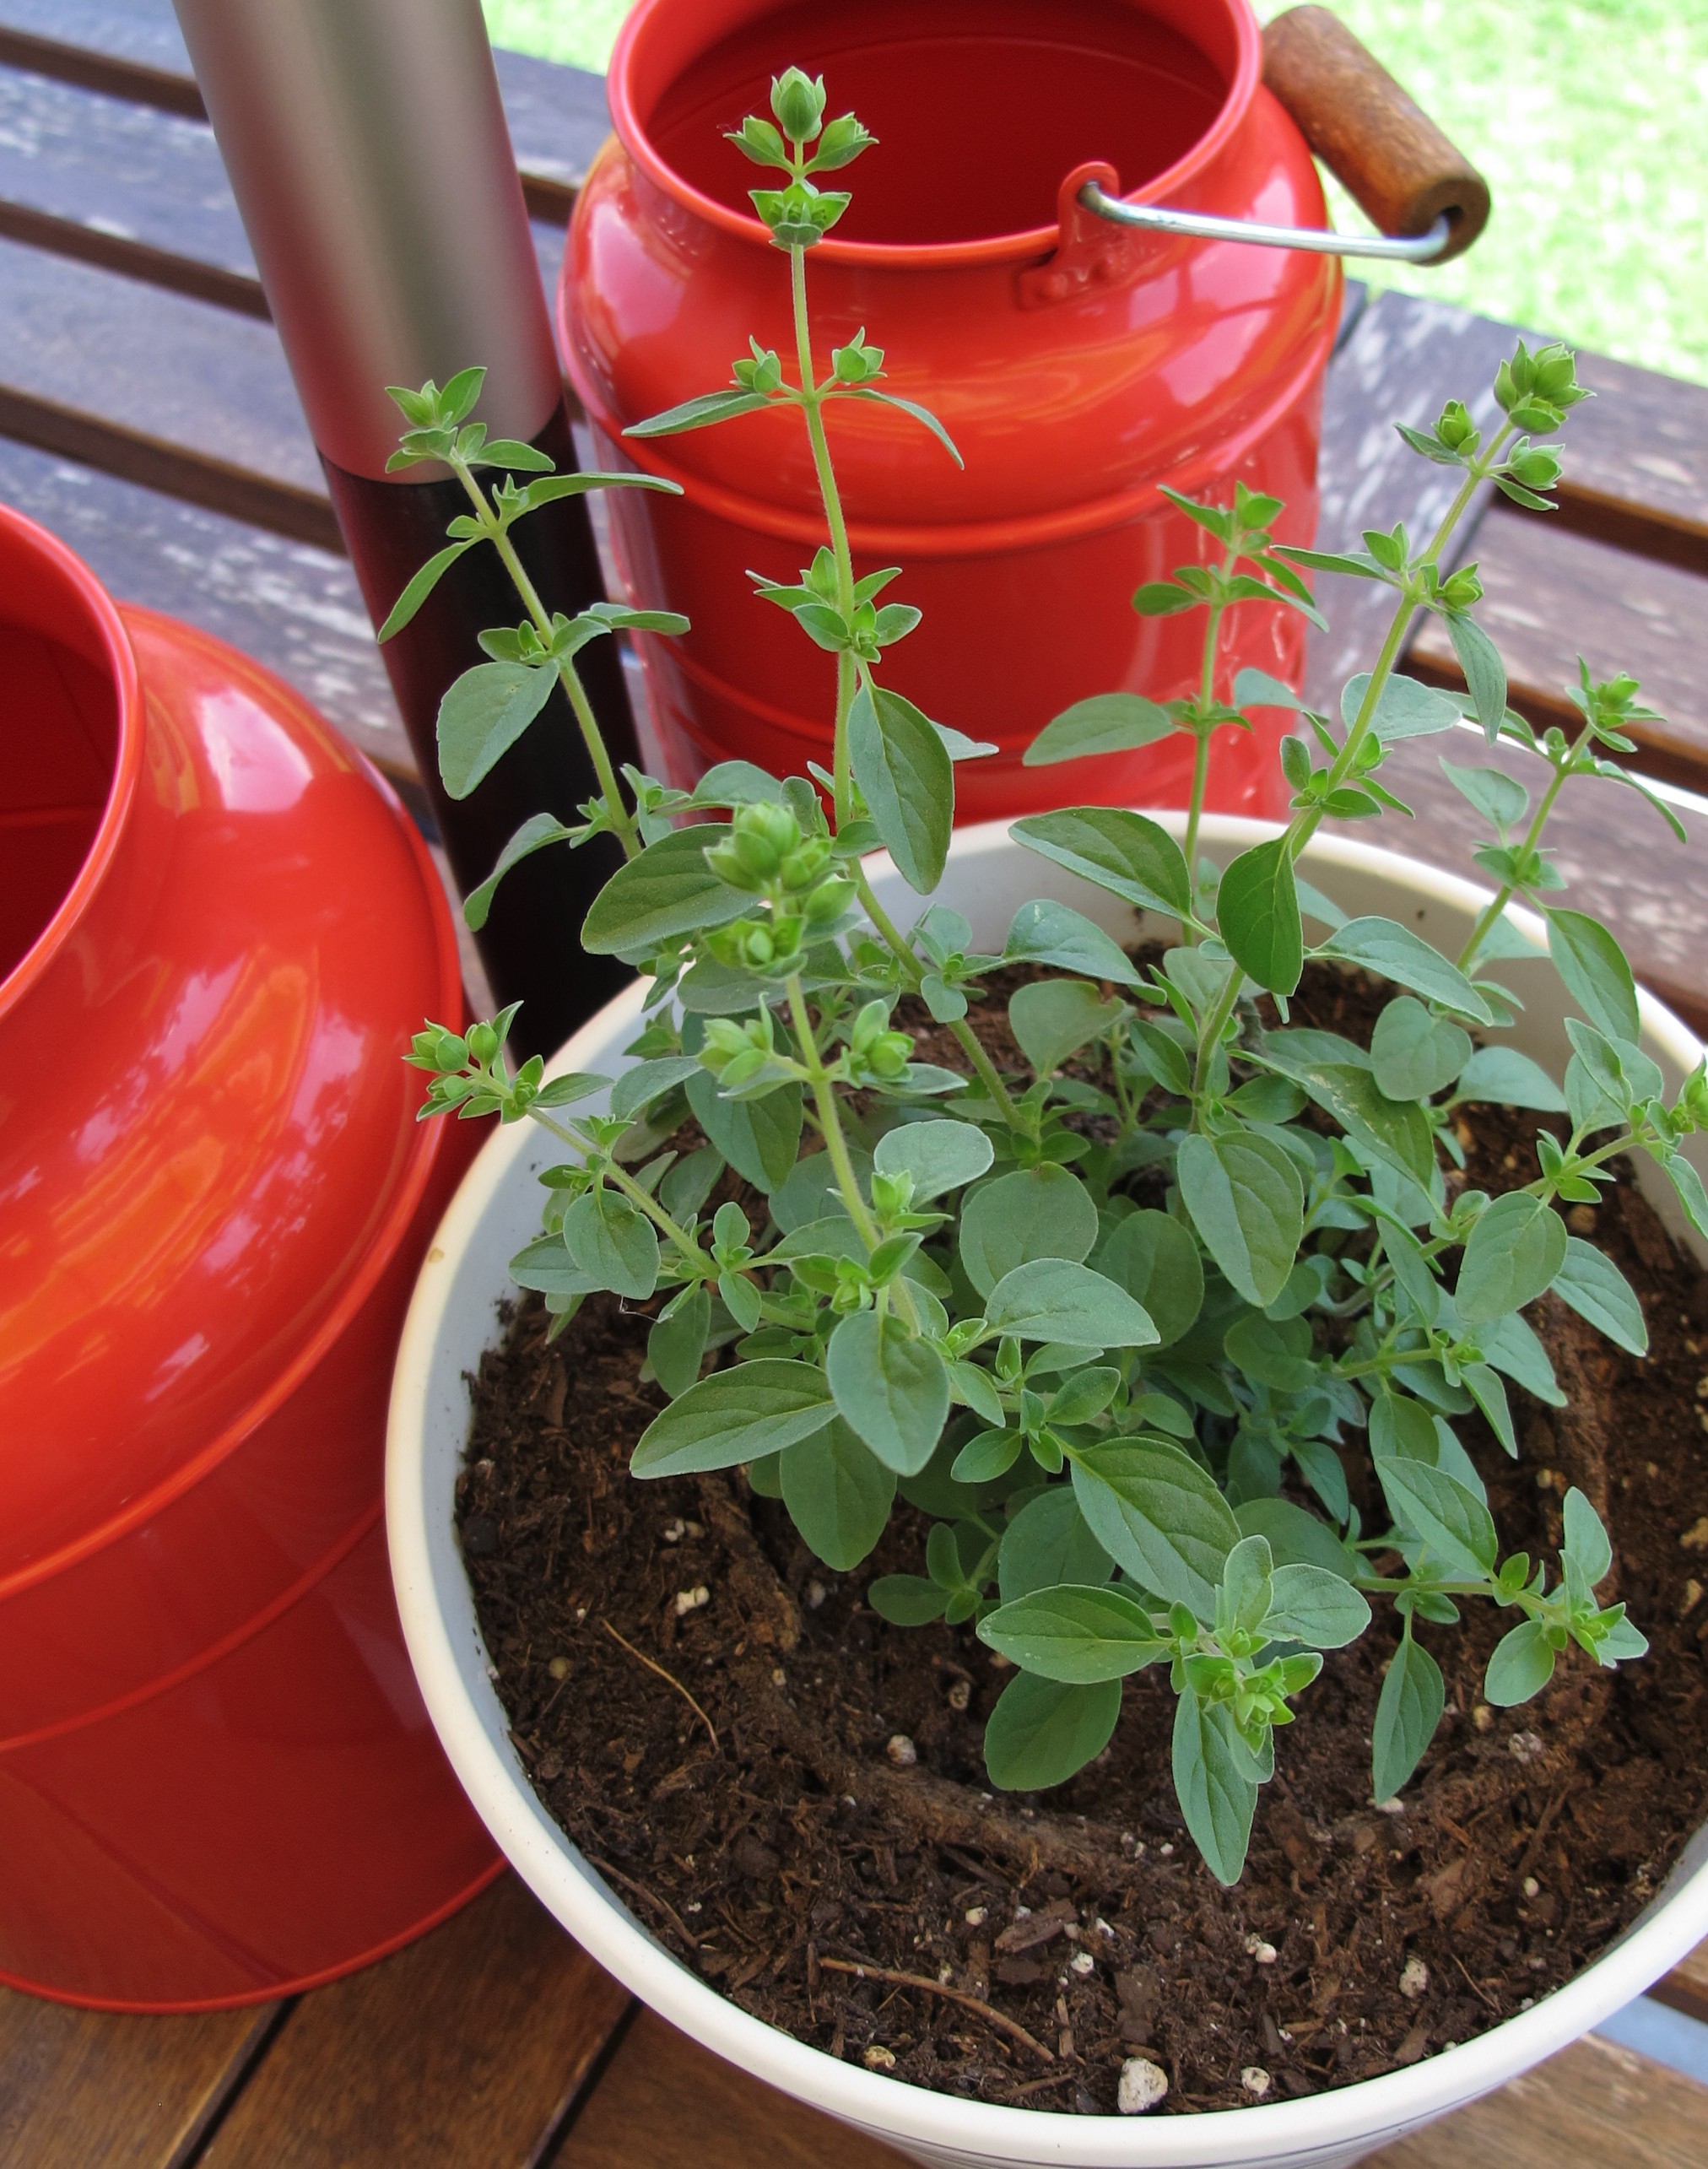
Basil, parsley and thyme….

IMG_5749

IMG_5750

Plus, I picked up this beauty for for a splash of color and pretty….

IMG_5756

IMG_5758

Again, I don’t know the name.  Maybe I should learn these things before blogging about them.  In the meantime, I’ll just refer to him as Jack  (I’ve been watching Lost on Netflix.  Yes, I’m the one who didn’t watch it.).

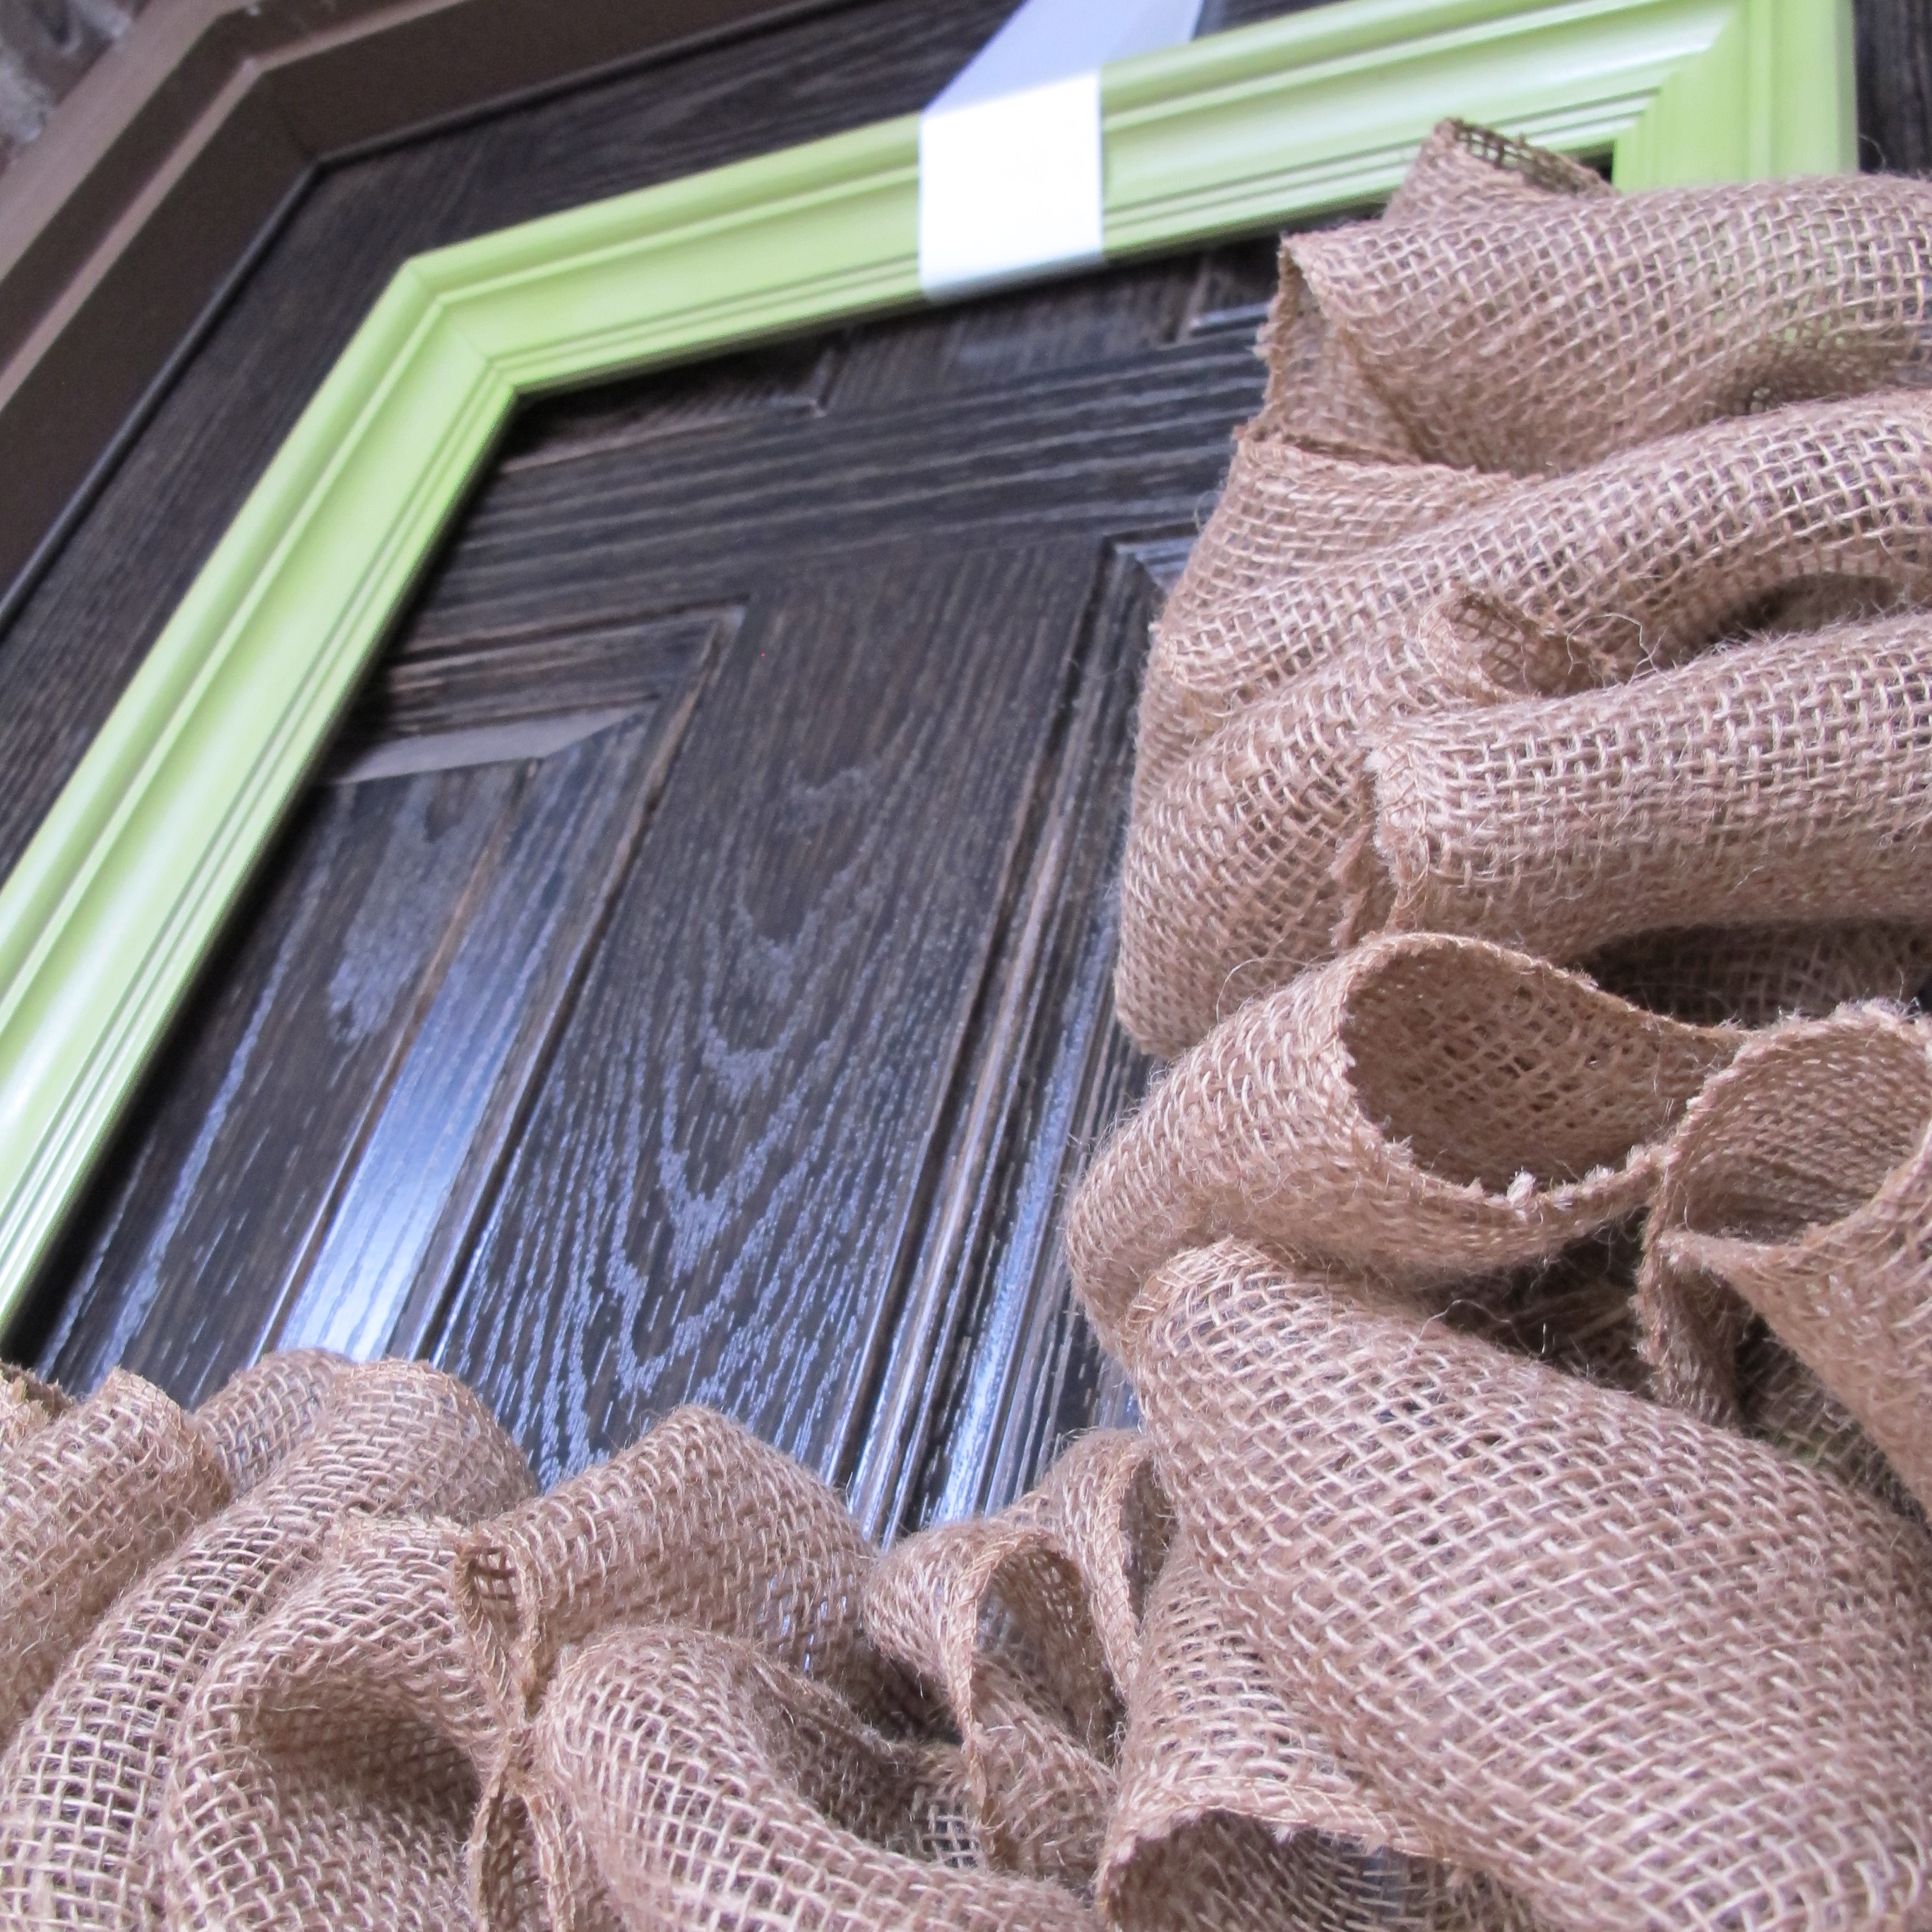
You can see that my lovely green garden stool finally departed the front room to claim his new, breezier home…

IMG_5771

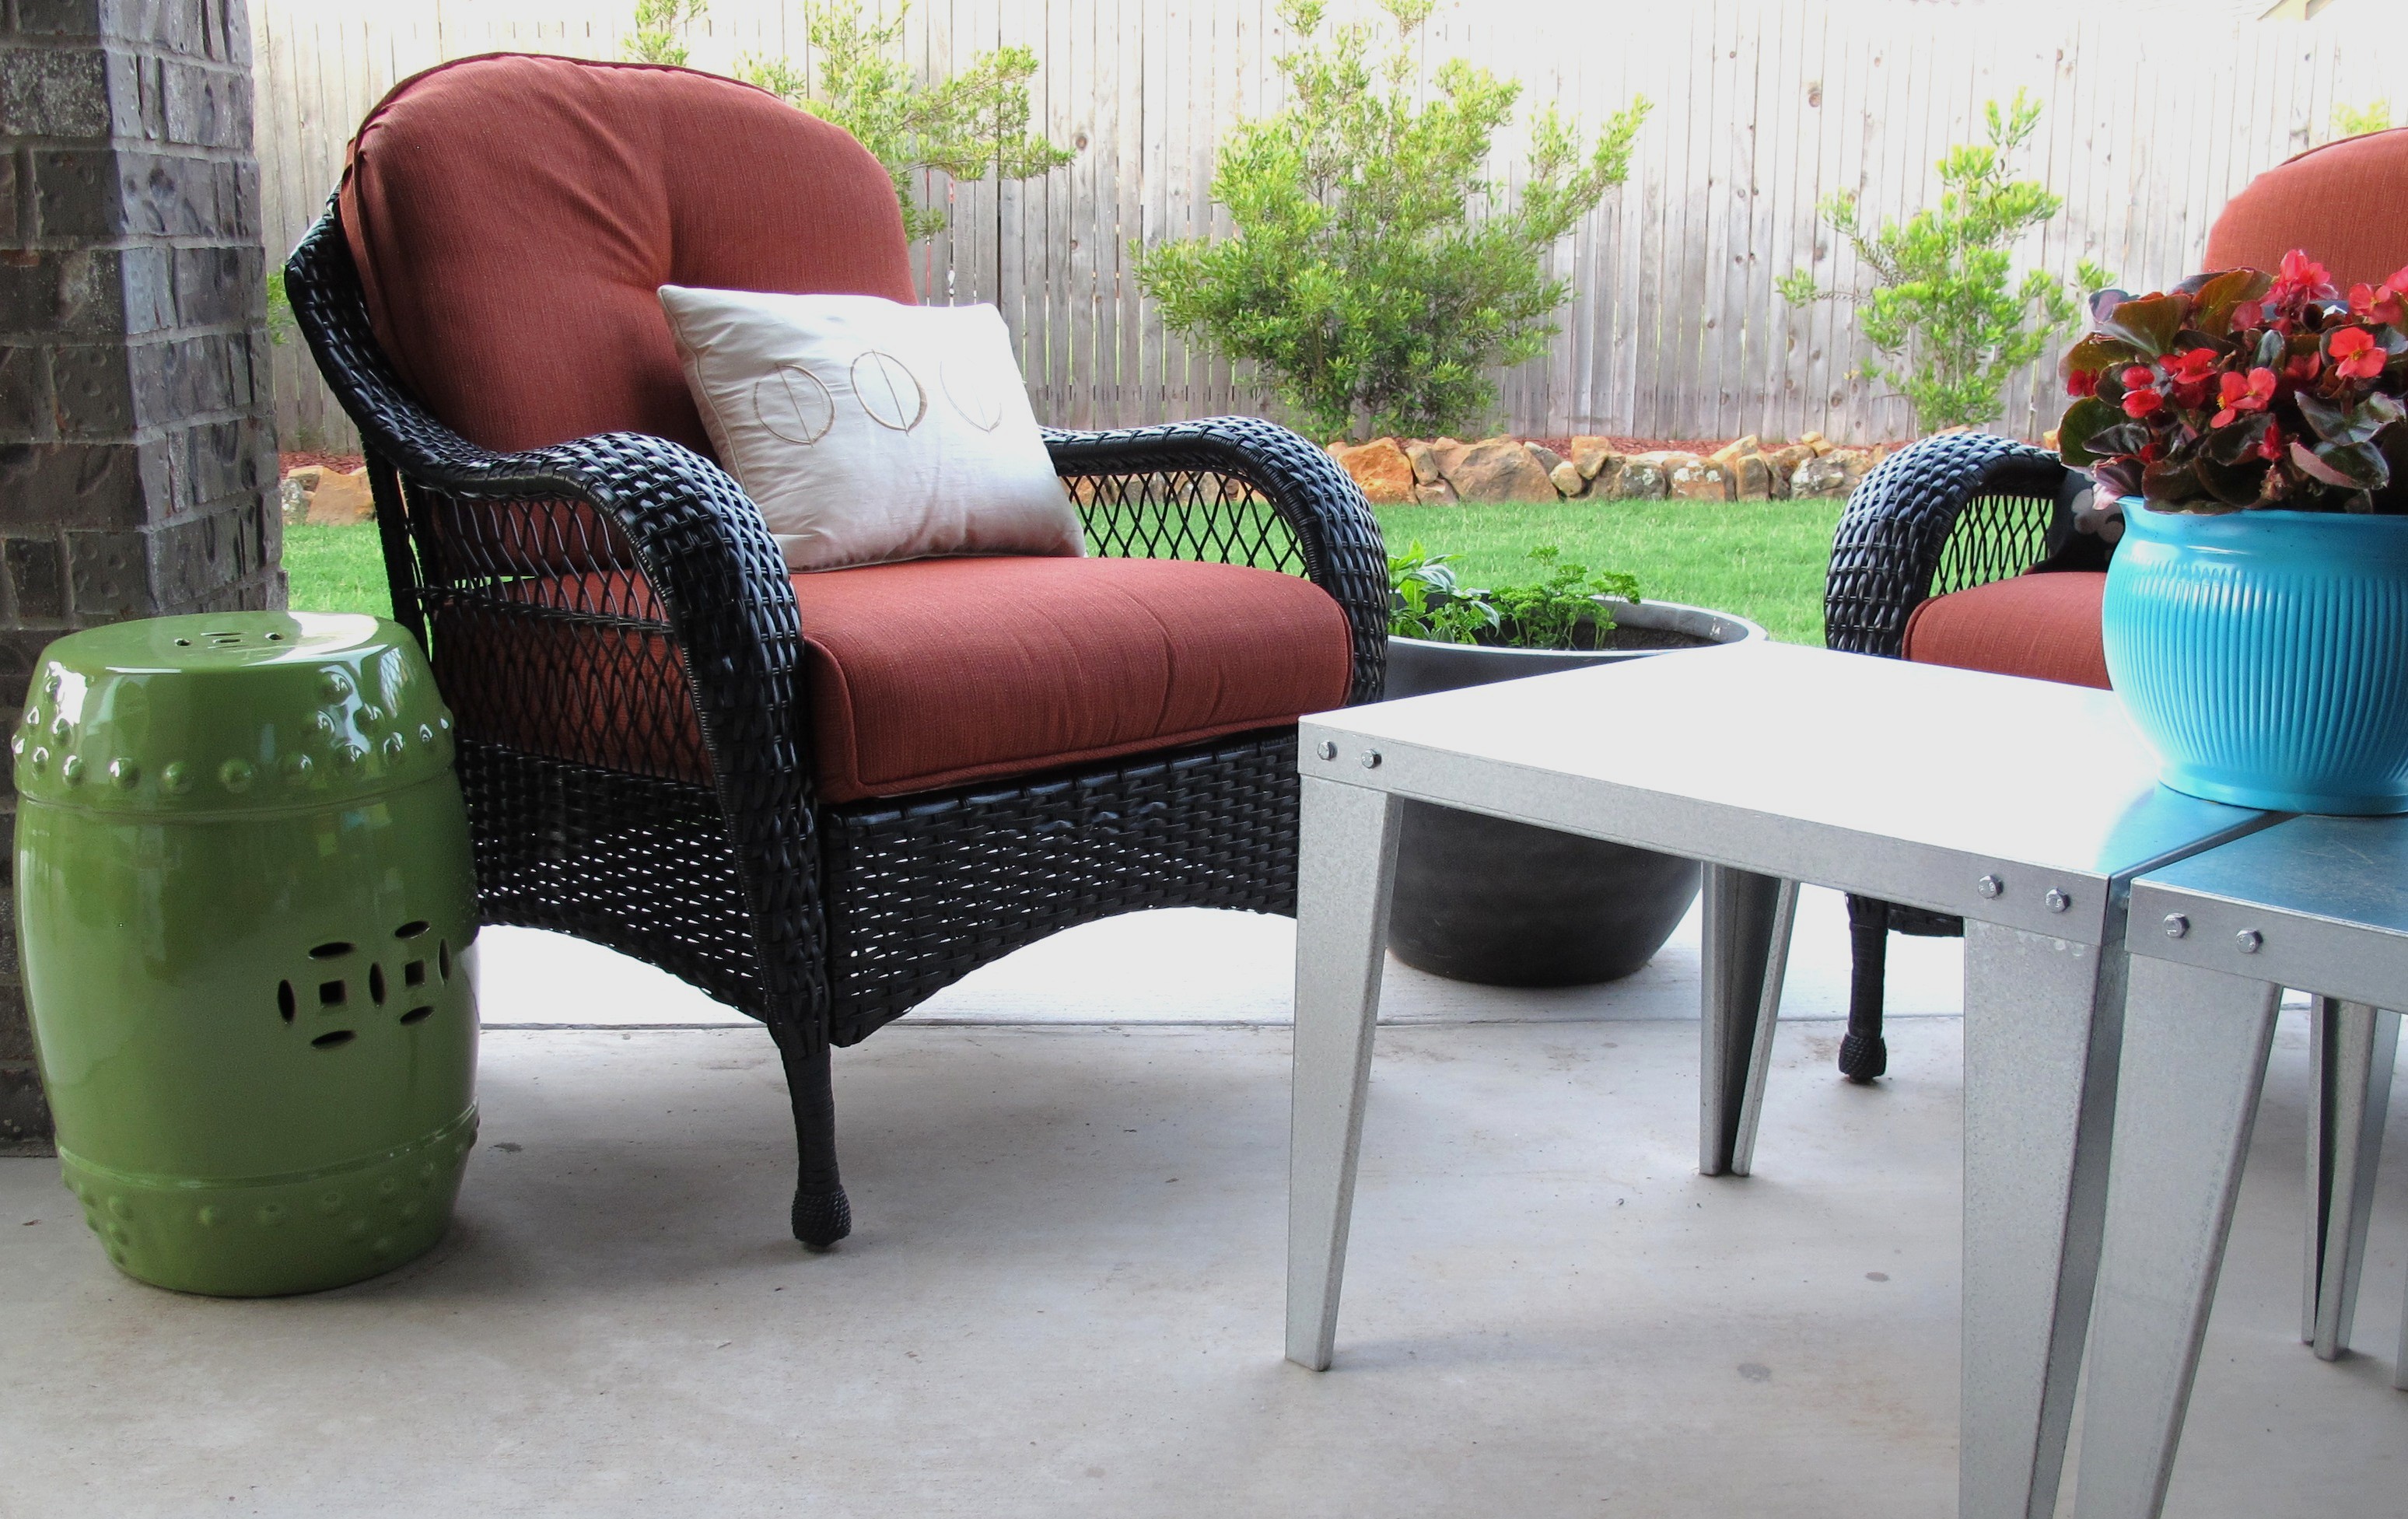
I just heart him to no end.  And I can tell that Fri and my Beloved Desk chair are grieving over the loss of their green friend to his new outdoor abode, but its a small price to pay for outdoor style.    I’m happy to say that our spray-painted furniture and galvanized steel water heater tables have fared well over the winter (you can read more about them in this post of yore).  We stored our cushions and steal-of-a-deal throw pillows in the garage and they still look brand new.  Now that I’m getting things situated out here, I’m itching to do something with the patio floor.  Regardless of whether it’s simply adding an outdoor rug or staining the concrete, something needs to be done.   I’ll get there at some point, I’m sure.  In the meantime, I’m gonna be stalking Pinterest in search of ideas (you’re welcome to join the fun and follow along if you so wish).

So, what kind of outdoor projects are you guys working on lately?? Doesn’t it feel nice to finally get out there, sun on your skin, and jazz it all up??

Linked up at Tatortots and Jello

TDC Before and After

“I feel prettyyyy!” – Our Front Door

So, I mentioned in this post that I wanted to DIY a wreath for our front door. And this weekend it actually happened (insert pat on back with fist pump).  During the brainstorming stage, I decided that my wreath of choice must fulfill three criteria:

1. It must be versatile so we can utilize it for multiple holidays
2. It must be cheap
3. It must be easy

I also wanted something a little different than a traditional wreath. I’d seen different types of frame wreaths on Pinterest and was intrigued by this prospect. So, throughout my various thrifting trips I kept an eye out for chunky frames with a somewhat streamlined design.

This weekend, we did a few thrift store drive-bys in search of a dresser. Literally, drive-bys. Joey pulled the truck up to multiple thrift stores, I jumped out, ran in with the promise of texting him to join me if I found The One, took a quick gander for dressers, and hopped back in the car if it was a no-go.  All within a period of two minutes. So, you should’ve seen his face when I climbed back into the truck after a quick peek at Thrift Town and broke the news that we’d become the proud new owners of this beaut…

IMG_1982

He was $3.99 and worth every penny. The frame style and size immediately grabbed my attention as I walked past. It was chunky, streamlined and cheap. Bingo.

For the actual wreath making process, I didn’t follow a tutorial per se. I just mainly used things I already had and figured it out as I went.  First, I de-wildlifed the frame by removing the staples on back with a pair of needle-nosed pliers…

IMG_1984 IMG_1985

I thoroughly cleaned the grime off the frame with a water/vinegar spray. And believe me, this guy was grimey. Then, I used this spray paint in Ivy Leaf which is a nice sagey green color to spray-paint the frame….

IMG_2029

I allowed the frame to dry overnight, then the next morning I assembled my materials….

IMG_2032

Some twine and burlap ribbon. I purchased the burlap ribbon a while back for a different project at Walmart for around five bucks if I’m remembering correctly.   The twine, (I kid you not) I’ve had since college. Almost 10 years ago. And I didn’t even buy it. It was given to me by my roommate.  And I’ve kept it all these years.  Crazytown.

So anyways, I wanted to create that puffy, loopy burlap look around one corner of the frame only. I started by looping the burlap under at my desired starting point and wrapping the twine around the frame and burlap tightly to secure it .  Then, I knotted it….

IMG_2038 IMG_2037

I continued to form loops of burlap and secured them by wrapping the twine around the cinched part of the burlap. The twine went around both the frame and burlap.  It’s hard to tell from the pic, but I literally just spiraled the twine around and around the frame.  It’s all just one long piece.

IMG_2040

I worked my way down and around the corner until I reached my desired stopping point on the bottom of the frame. I formed one last loop of burlap and tucked it under.  Then, I wrapped the twine around the cinched part tightly and knotted it behind the frame (just like I did at the beginning).  I trimmed the excess and played with the loops a bit until they laid how I wanted them to.  Then, I called it done. Super easy. This part seriously took 10 minutes once I figured out how to do it.

I added these felt pads to the back of the frame so it wouldn’t scratch our door…..

IMG_2041

Now, for hanging. I saw this tip on Pinterest once and thought it was an awesome idea. I don’t even think I pinned it, actually. It was one of those, “Oh what a great idea!” and then I got distracted moments. So, to whoever came up with this idea, kudos!

Anyways, I used this command hook…

IMG_2098

And mounted it upside-down on the back of our front door. I waited the recommended hour for the Command hook to set, then I grabbed Joey because this part was a two-man job. I looped some thick cream-colored ribbon that I had on hand around the top of the frame. Joey, held both ends of the ribbon flush, looped it over the top of our door and held the ends of the ribbon while standing inside the house (I’m sorry, I don’t have pics of this part, but it’ll be more clear once I show the final pics) . I stood outside and had him lower and/or raise it until it looked good. Then, once the placement was right, I grabbed the ribbon from him and tied it around the command hook. It looked like this when it was done and trimmed….

IMG_2153  IMG_2154

IMG_2177

And the final product….

IMG_2162

IMG_2161

IMG_2171

I couldn’t be more happy with this wreath. It’s simple and versatile. And I know exactly how I’m gonna jazz it up for Christmas, too. Gosh, I love Christmas. Anyways, this wreath ended up costing me around $17. Four bucks for the frame, four bucks for the spray paint and around $9 for the Command hook (although, I have half a can of spray paint left and can reuse the hook). I splurged on the nicer hook because it matched our door but I’m sure you could get a cheaper one if desired. I already had the burlap ribbon, twine, cream ribbon and felt pads, but my guess is you could probably add another $15 if you had to purchase those things, less if you struck with a 50% off coupon at Michaels or Joann.

And one more pic, just for fun…

IMG_2175

🙂