“I’ve got nice legs.” – Our Nightstand

You guys.  I painted furniture.   And I’m here to admit.  It felt good.  Reeealllyyyyy. Good.

Ever since we moved into our house, we’ve been mainly focused on larger projects.  Taking care of major surfaces.   Correcting wrongs that needed to be righted.  Floors.   Walls.   Windows.  Front doors.   Pool resurfacing.  Rotted wall fixing.  Roof repair.  Basically, trying to set the stage so that we CAN decorate and do it right.  I mean, sure, some decor has crept in there, but it just hasn’t been the main focus yet in the way it was with our last house.  A new construction with no major issues… Thus, decor was really the ONLY focus then.   I feel like we’re getting slowly there, though.   Slowly.   And happily.   🙂

But… BUT… I painted furniture, y’all.

I feel like it’s been forever since I did that.

And it didn’t disappoint.

Ya see, I hit up a local antique mall last weekend and found this beaut of a nightstand…
IMG_3999

I’m sorry about this picture.  Somehow in my excitement to make over this badboy, this was the ONLY sad ‘before’ pic that I took.   Oopsie.   As you can see, I thought he would work well in the guest room to replace his dumpier predecessor.  His leggy profile made the space feel lighter which was totally my goal.

I have to say that I was so excited when I found him.   The antique mall that I purchased him from tends to be a bit  of a pricier one, but I thought I’d check it out anyways since it was close to home.   So, when I stumbled upon this little guy and a glance at his price tag revealed that he was only $29 (!!!), I pretty much sprinted to the cashier.   He was in need of some love, but sturdy.  A perfect find for me.

Now, when it comes to wood, many of you may know that I’m usually a purist.  Especially with antique furniture.  I like keeping wood-toned things wood to be true to the piece.  That is, unless the finish is damaged beyond repair or super ugly.   And in this case, the finish was uber fugly.  For real.    I’m sorry.  It just was.  The lines of the nightstand were retro.  The finish… dated.   It’s hard to tell from my blurry before picture, but it was a red mahogany tone.  But not good mahogany.  Fake, bright red mahogany.  And really, really glossy.  But, damaged in spots also.  Some scratches and chips. Wrinkling in the finish.  The whole chebang.  And it clashed with… well, pretty much every other wood tone I have in the house.

So, I decided to paint it. (Gasp! I KNOW!!!)

I gave it a light sanding with a fine grade sanding block, then wiped it down with some liquid deglosser to ensure a nice dull surface that would better accept paint…

I wiped it down with tack cloth (which decided to photobomb in the right-hand corner).  You’re welcome for that. 😉

Then, I gave it two thin and even coats of Valspar’s paint+primer semi-gloss in Ebony Field (leftover from when I painted the back door in our last house).

I sanded lightly with an extra fine sanding block between coats and wiped it down again with my BFF, tack cloth.  And then I let it cure for a few days before moving it.

Now, let’s move on to the brass accents and hardware.   I sort of worked on them throughout the process, so you’ll see some pics from before and after painting the table.  The knobs weren’t in the greatest shape…

That wasn’t just tarnish.   The brass coating seemed to have worn away with time.  Because of this, I doubted that I could rejuvenate them as is.  I wanted them to sort-of match the leg accents, although I knew it wouldn’t likely be a perfect match.  First, I tried spray painting them with some leftover Rustoleum Universal in Pure Gold…

But, the results when compared to the leg accents looked really plastic-y…

Not exactly what I was going for.

So, I decided to try a new product.   I’d read about Rub n’ Buff on several blogs and was intrigued.  Apparently, you simply rub it on to achieve a metallic sheen.  So, I ordered a tube on Amazon for just under $7…

The directions recommended rubbing a small amount onto your surface with a finger or a soft cloth.   So, I started with the legs.

Which is when I started talking to myself.

Which despite popular belief, means only good things.

“Holy WOW!!!”,

“Geez!  This stuff is amazeballs!”,

“Where have you been all my life??”.

All *may* have escaped my lips as I astoundedly rubbed the magical solution on.   This beautiful stuff covered imperfections almost instantaneously with just a tiny amount and gave a gorgeous metallic sheen that I’ve yet to find with paint.

Here’s a before…

And after…

I probably should’ve taped off the leg, but it’s nothing a little touch-up paint couldn’t cure.    That brass piece literally took me all of 15 seconds to do.   I completed all four legs and then treated the knobs as seen in this “after” shot…

232323232-fp83232-uqcshlukaxroqdfv3937;-nu=3396-6-9--78-WSNRCG=36473894-5346nu0mrj

Metallic and lovely.

And what do ya know…. They ended up matching perfectly after all.  The knobs look a bit “rosy” here, but in person they’re definitely more of a gold.  I can’t attest to how well Rub n’ Buff wears, but I’ll keep y’all updated.  In any case, it was such a quick fix, that I’m sure I can handle re-treating the metal accents as needed.

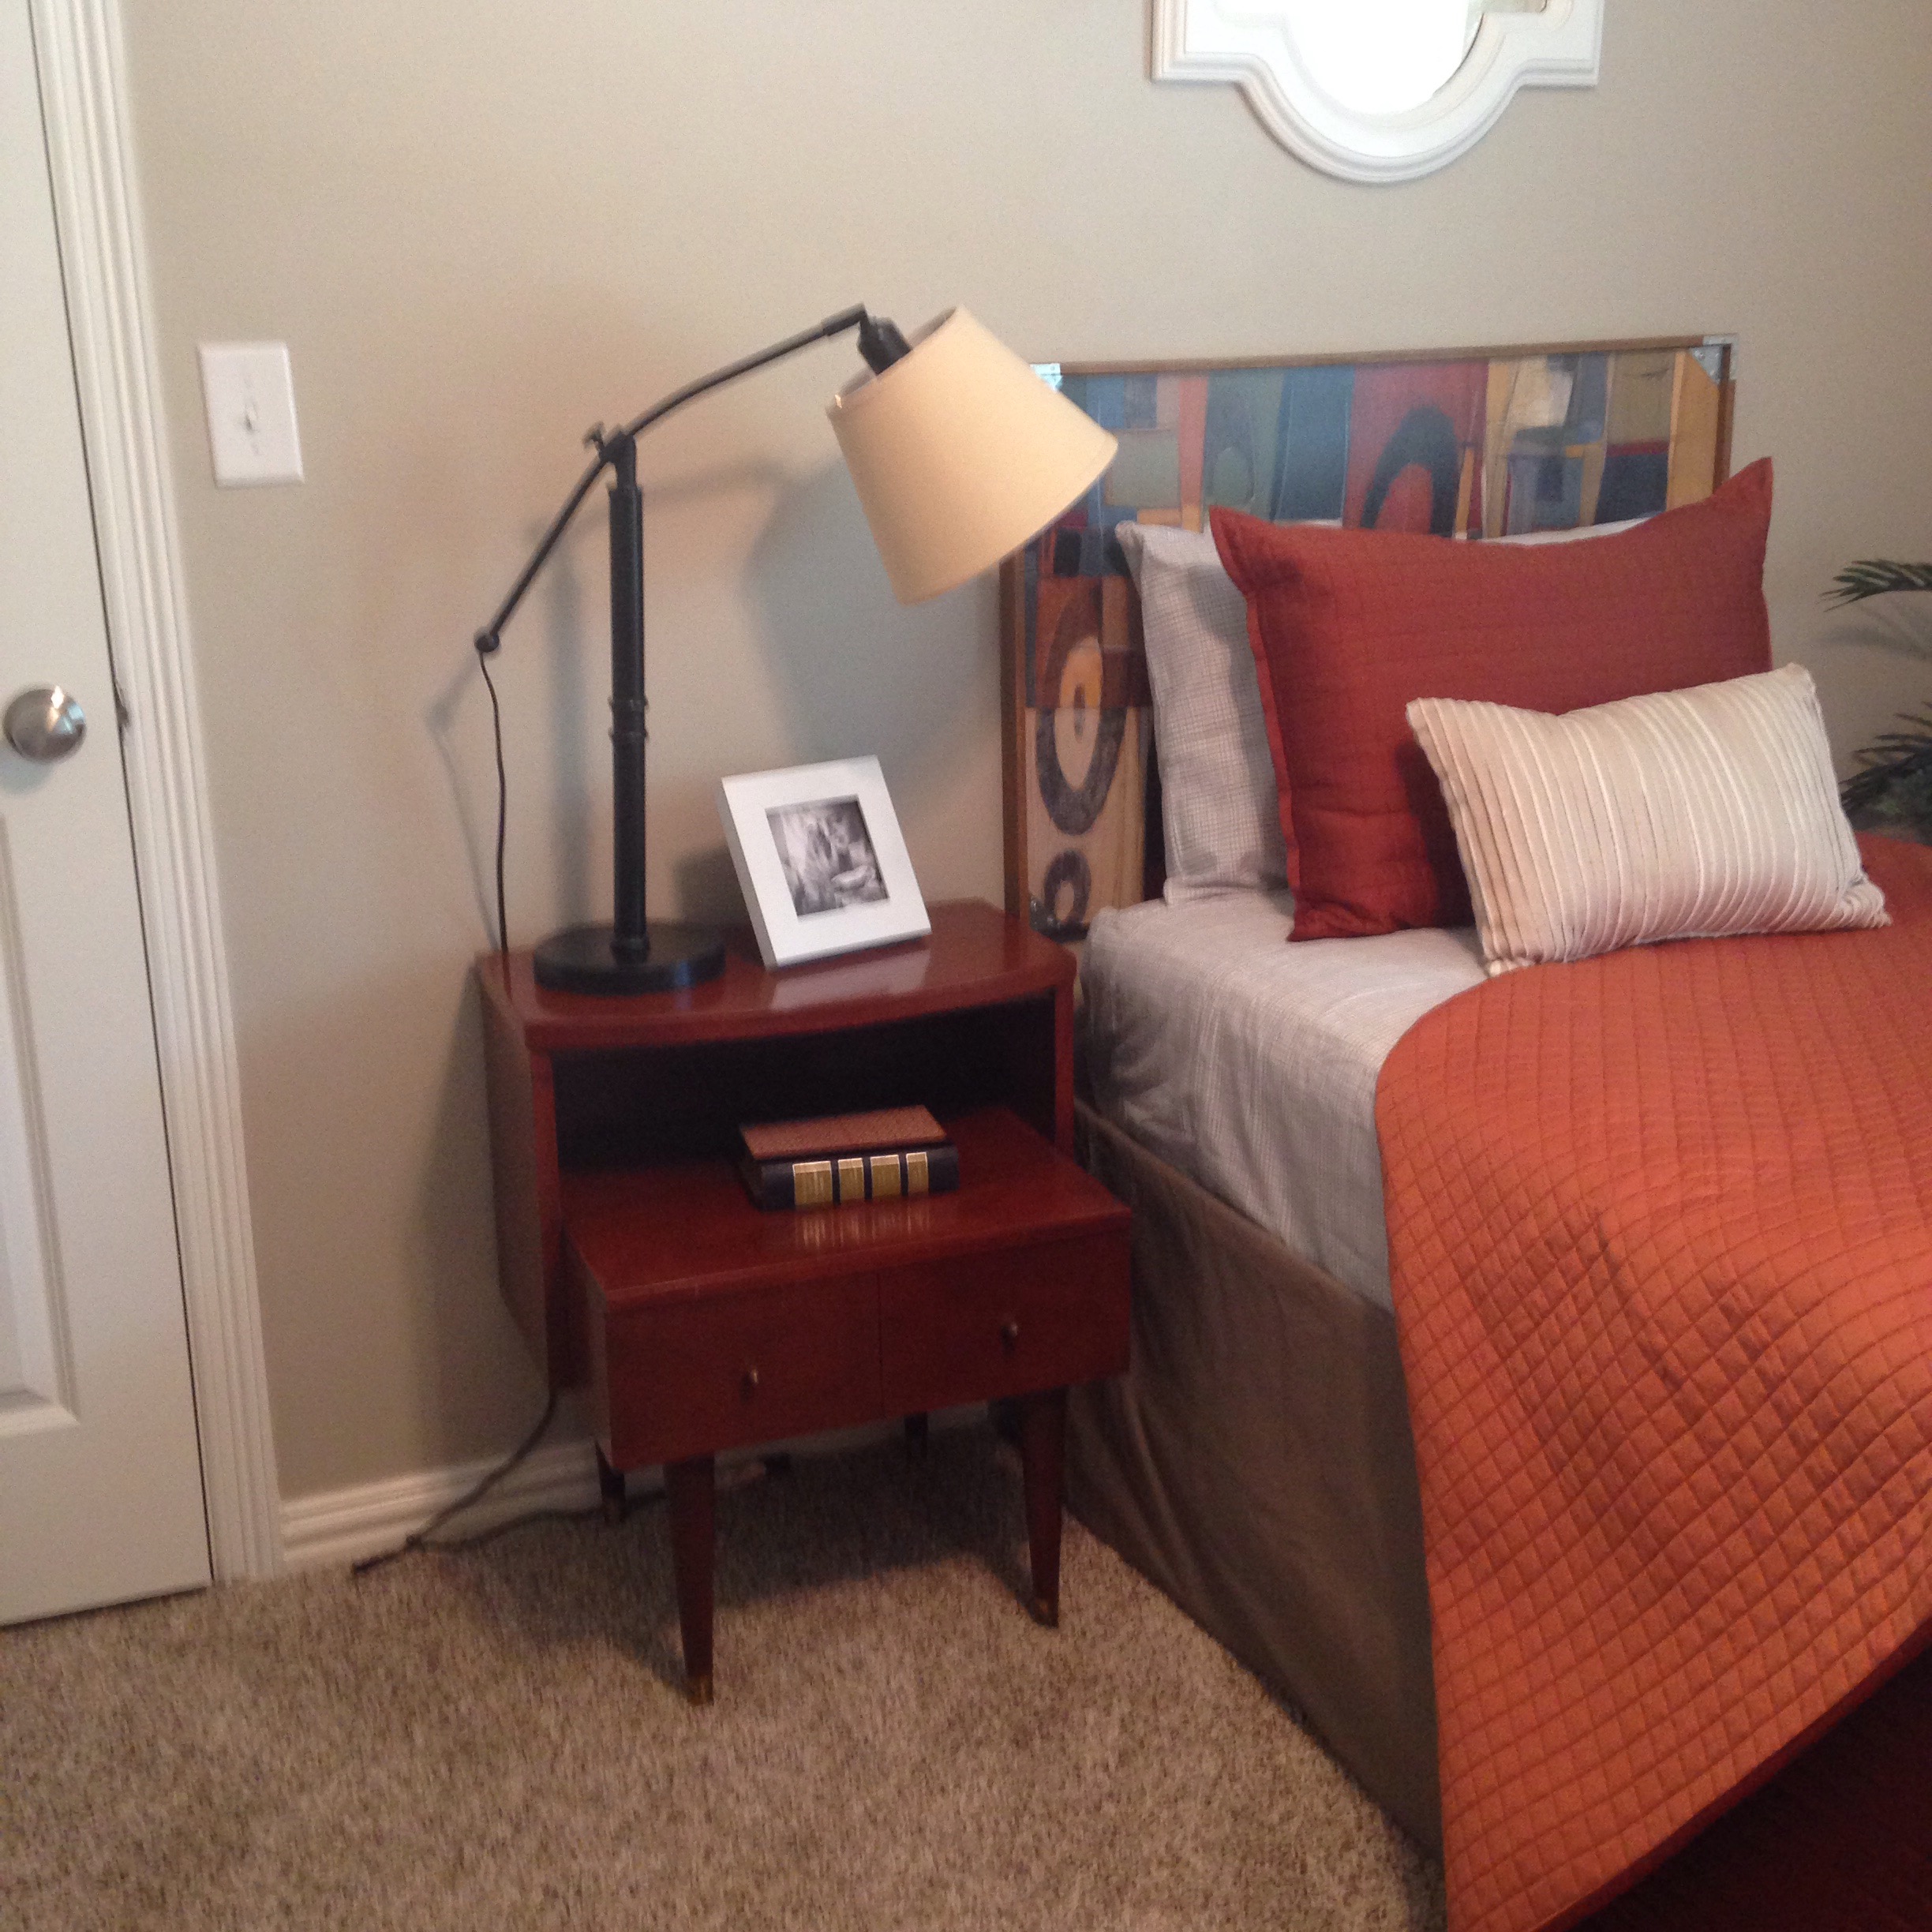
And here’s the table in it’s entirety…

232323232-fp83232-uqcshlukaxroqdfv3433;-nu=3396-6-9--78-WSNRCG=36473894;2346nu0mrj

I chose to simply accessorize with a cute lamp (found at Marshall’s a while back), some books, a shot of me and Lucas when he was only 18 hours old, and one of my easy mirrored planters (which are still rockin’ it, BTW).  This guy was in our bedroom atrium and wasn’t getting adequate light, so I moved him.  I’ll have an atrium update soon since I’ve been an accessorizing fool as of late.   Actually, I’ll have a lot of updates soon.  I’ve been a busy bee this weekend.  😉

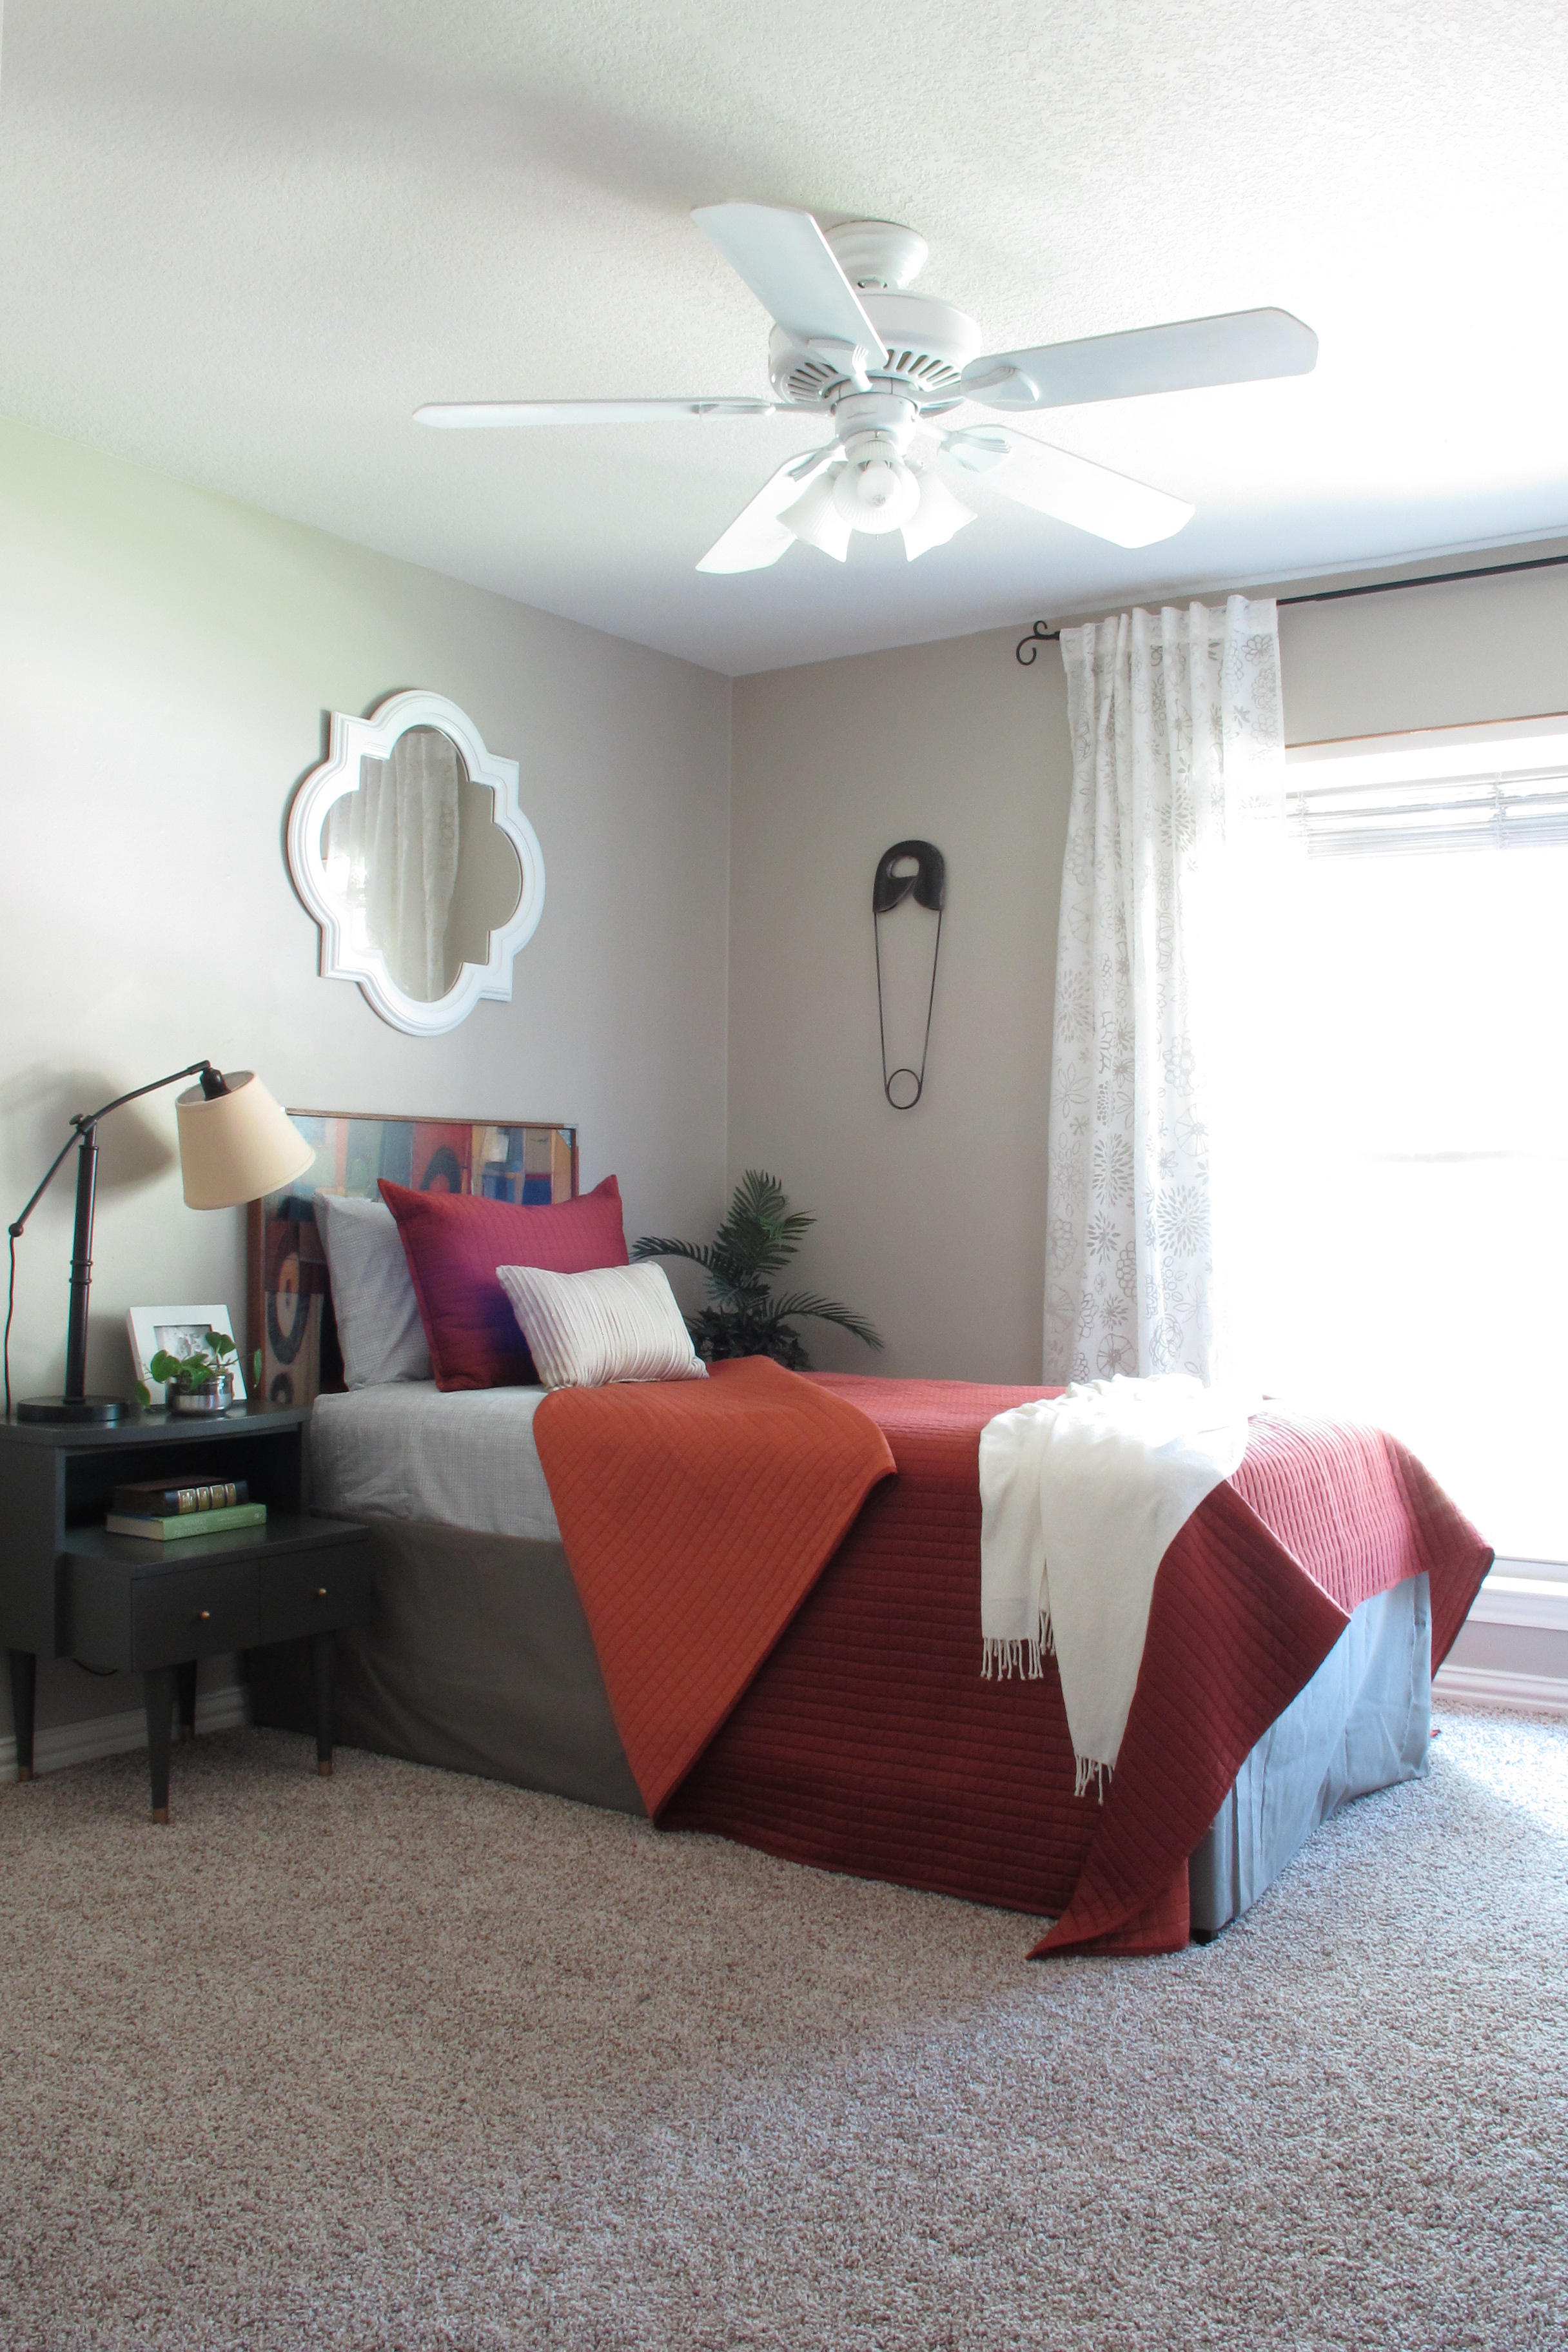
Anyhoo, back to the point.  Here’s a view of the room from the doorway as it stands now…
IMG_9741

So, that’s my little painting project this week.   Like I said, I’ve got more in store including a few breakfast nook, living room and atrium updates as well as the results of moving our fence.  Joey and his dad are hard at it out there and it’s looking awesome.   So, have a great rest of your weekend!  Until next time…

*** For updated pics of this space, check out this (adding a new awesome $12 lamp) and this (creating DIY burlap wall art).***

TDC Before and After
Advertisement

Our Guest Bath Reveal

Our bathroom is done.   Woo hoo!!   So, let’s recap our journey…

We began with a somewhat builder-basic bathroom with a garish yellow-tan bath surround (which, sadly, was my very own doing. Ugh!).   Now, I’ll admit… with a shower curtain hung, the bathroom wasn’t terribly offensive… Just kind of beige.   A little lacking in personality.   Our goal was to give the room an inexpensive makeover while using what we already had in terms of countertops, cabinet, tub, toilet, tile etc. to save some cash.

Here’s the room before we started.   Aside from some accessorizing, this is how the bath looked when we purchased the house…

IMG_3324 IMG_3096

So, I put together a plan to figure out the direction I wanted to go…

…and while I had my challenges finding these exact elements (as discussed in this planning post), I decided to simply take inspiration from the overall color palette and vibe of the board and run with it.

I started by painting the tile bath surround white (which made SUCH a difference).  We swapped out the generic light fixture for a barn light, framed out the mirror and white-washed it. Then, I painted the walls a soft turquoise (Ante Meridian by Valspar) and, with the help of my mother-in-law, sewed extra long shower curtains. After that, I worked on some smaller details like changing out the toilet paper dispenser, adding hooks, a drawer pull and a basket-shelf.  I changed out the toilet flush handle, then worked on accessorizing.

And here is the room as it stands now…

IMG_4704

IMG_4713   

IMG_4728

 IMG_4724  

I incorporated aqua candlesticks (which were relocated from the foyer) to help highlight the turquoise in the paint color, then added the pops of red that I’ve been craving. The graphic grey and white shower curtain adds a fun, bold backdrop while my barn light along with the white-washed mirror frame contribute a bit of a rustic tone to the mix.

IMG_4640

I think my favorite parts of the room are the shower curtains and this pop of red…

IMG_4643

It’s actually a bread box that I got at Goodwill for dirt cheap a while back.  I purchased it without a clue as to what I would do with it.  Then, as I searched my stash for some pops of red to complete the room, the cables connected.  And I thought “Boom! Shelf storage!” for toilet paper…

IMG_4639

So, I removed it’s rubber feet and Joey mounted that sucker straight to the wall.

IMG_4636

I think it lends sort of a retro vibe, which, as you know, I’m quite the fan of.   The leafy art above it, I already owned.   It was in the bathroom before, actually.  I love how the dark frame ties in the deep ebony sink base.  I’m not sure that this will be “forever” art in this room… I think something with a slightly larger scale and more modern feel may eventually replace it.  But for now, it’s fine (and free) so we’re going with it.

Our new faucet…

IMG_4654

…is the Dalskar faucet from Ikea.   Much sleeker than his predecessor, for sure.  We went with chrome instead of brushed nickel to match our bath tub fixtures, which we’re keeping for now.   I actually like the mix of chrome and brushed nickel.  I did my best to disperse them throughout the room to make the choice seem intentional.

IMG_4731

As for the faucet snafu that I’d alluded to in previous posts…  We chose a one-hole faucet, not realizing that we had a three-hole countertop.   So, imagine our excitement when we began installing the faucet, only to cue the “Womp! Womp!” upon seeing this…

IMG_1613.JPG

After a short pouting spell, we did some research and ordered this deck plate to conceal the two unused holes…

IMG_4612

I wasn’t sure I’d dig the end result, since I had my heart set on a one-holer (and unfortunately, it wasn’t in the budget to change out the countertop), but I actually really, truly like it. The deck plate is nice quality and goes great with the faucet.

IMG_4657

Way back in this post, I’d mentioned that I wanted a rug with a small scale pattern or texture to balance out the bold curtains. Well…

IMG_4668

My lovely new friend was a clearance find at Target. It was one of those no-brainer moments where I locked eyes upon it, stated “Oh!” as I realized that it would be perfect, noted the price (under $7.50), possessively shoved it into my cart, and high-tailed it to the register to make it official. No hemming/hawing or thinking. Just instantaneous lust. And it’s perfect.  And I love it.

Here’s a shot to give you some perspective as to where it is in the room…

IMG_4645

One day I’d love to swap out our dumb, biscuit-colored countertop for a white marble top with an undermount sink (and, ahem!  Bid adios to all other traces of biscuit in this bathroom along with it), but until then, I’m happy with the changes we’ve made. 

Here’s an approximate breakdown of cost…

    • Tile paint kit (2) – $50
    • Barn light – Free (gift from my parents)
    • Wood/Mirror frame materials – $29
    • Wall paint – $28
    • Fabric for shower curtain (6 yards) – $33 (after 40% off coupon)
    • Grommets, thread, iron-on hem tape – $19 (after 2 40% off item coupons and and a 15% off total purchase) 
    • Faucet – $70
    • Deck Plate – $14
    • Grundtal Toilet roll dispenser – $6
    • Grundtal rail, S hooks, & wire basket – $16
    • Blecka wall hooks – $6
    • Drawer handle – $2
    • Toilet handle – $9
    • Rug – $7.50
  • Total cost of bathroom makeover: $292.50

Just for fun, I’ll leave you with a few before and after side-by-sides…

IMG_3324 IMG_4695

Welcome!!!!! IMG_4696

IMG_3096 IMG_4704

There are still some small tweaks that I’d like to work on (like adding something above the wire basket), but for now I’m pretty much calling it.

So now, it’s onto the next….  🙂