The Porta-Potty

I kid, I kid.   It’s not portable.   But, it is a tiny room with a toilet …

IMG_7262

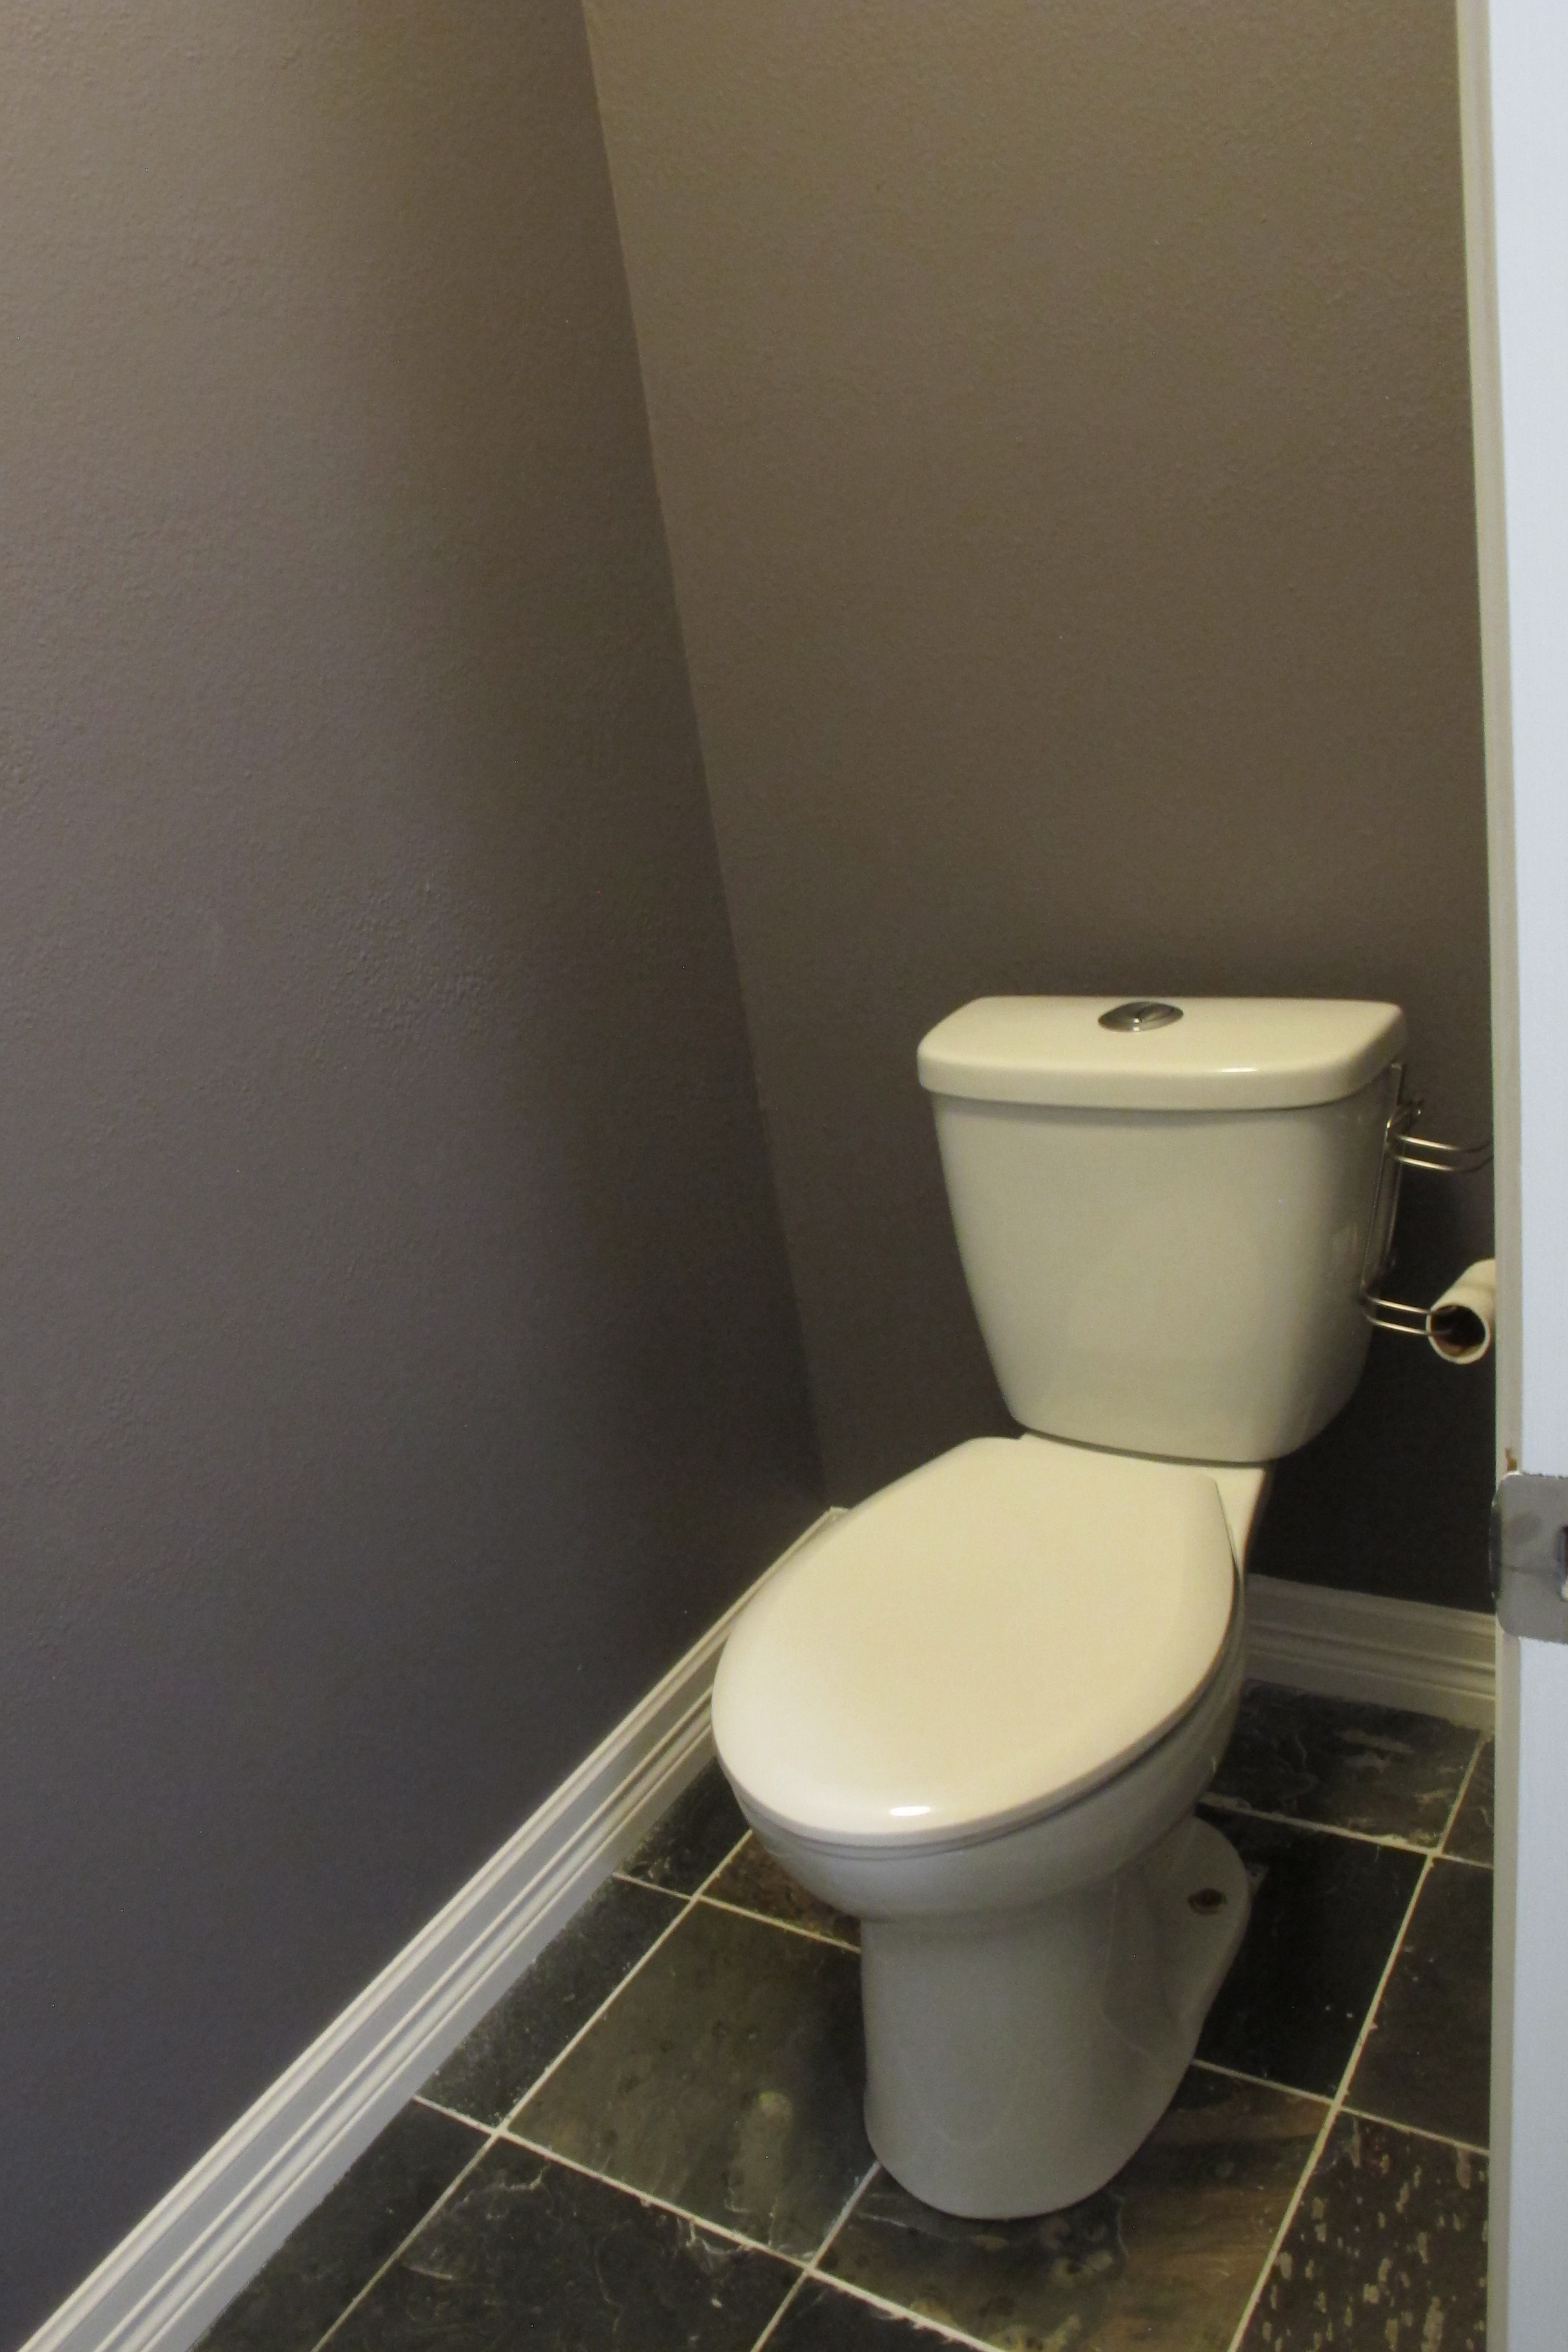
Literally. They call it a “half bath”.  But, I’d like to know where the rest of it is.   Oh wait, it’s in the laundry room.  The bathroom itself is only big enough for a commode. You have to wash your hands in the work sink in the laundry room.  Small price to pay for a decent pool bath, though.   I think it’ll function really well for this purpose when it warms up again.  It’s close to two of the entrances to the backyard and is wholly surrounded by tile which pretty much quadruples it’s useful-quotient. But still… a room with a toilet only.  Iiinteresting (taps fingers together)….

When it comes to decor, it’s a total blank slate.   Last year a pipe froze and burst in the attic above, requiring the previous owners to basically rebuild this portion of the house.  They simply sheet-rocked this little toilet room and (muchtomydismay) painted it the same dark purple tone as the master bedroom (before I painted it grey). While purple isn’t exactly my cup o’ tea, I thought I’d at least try to make it work before taking the plunge and painting it myself.  I mean, it’s a teeny room that I don’t spent much time in, so I figured that maybe the color would be more tolerable in this setting.  I decided to accessorize the space and then objectively reevaluate the color.

Among other things, the room is desperately lacking in storage.   Up to this point, we’d just been stacking toilet paper on top of the precariously rounded toilet lid… not the best of plans, especially being that the flush buttons are also on the lid.   It made for a toilet tissue Slip-n-Slide of epic proportions.   So, being the “use what I got” person that I am, I took stock and realized that the shelves that were in Lucas’s old room would fit perfectly above the toilet. Thus, I proceeded to install both shelves (ALLBYMYSELF! WOOT!)…

…then I tossed around some accessories that I already had.

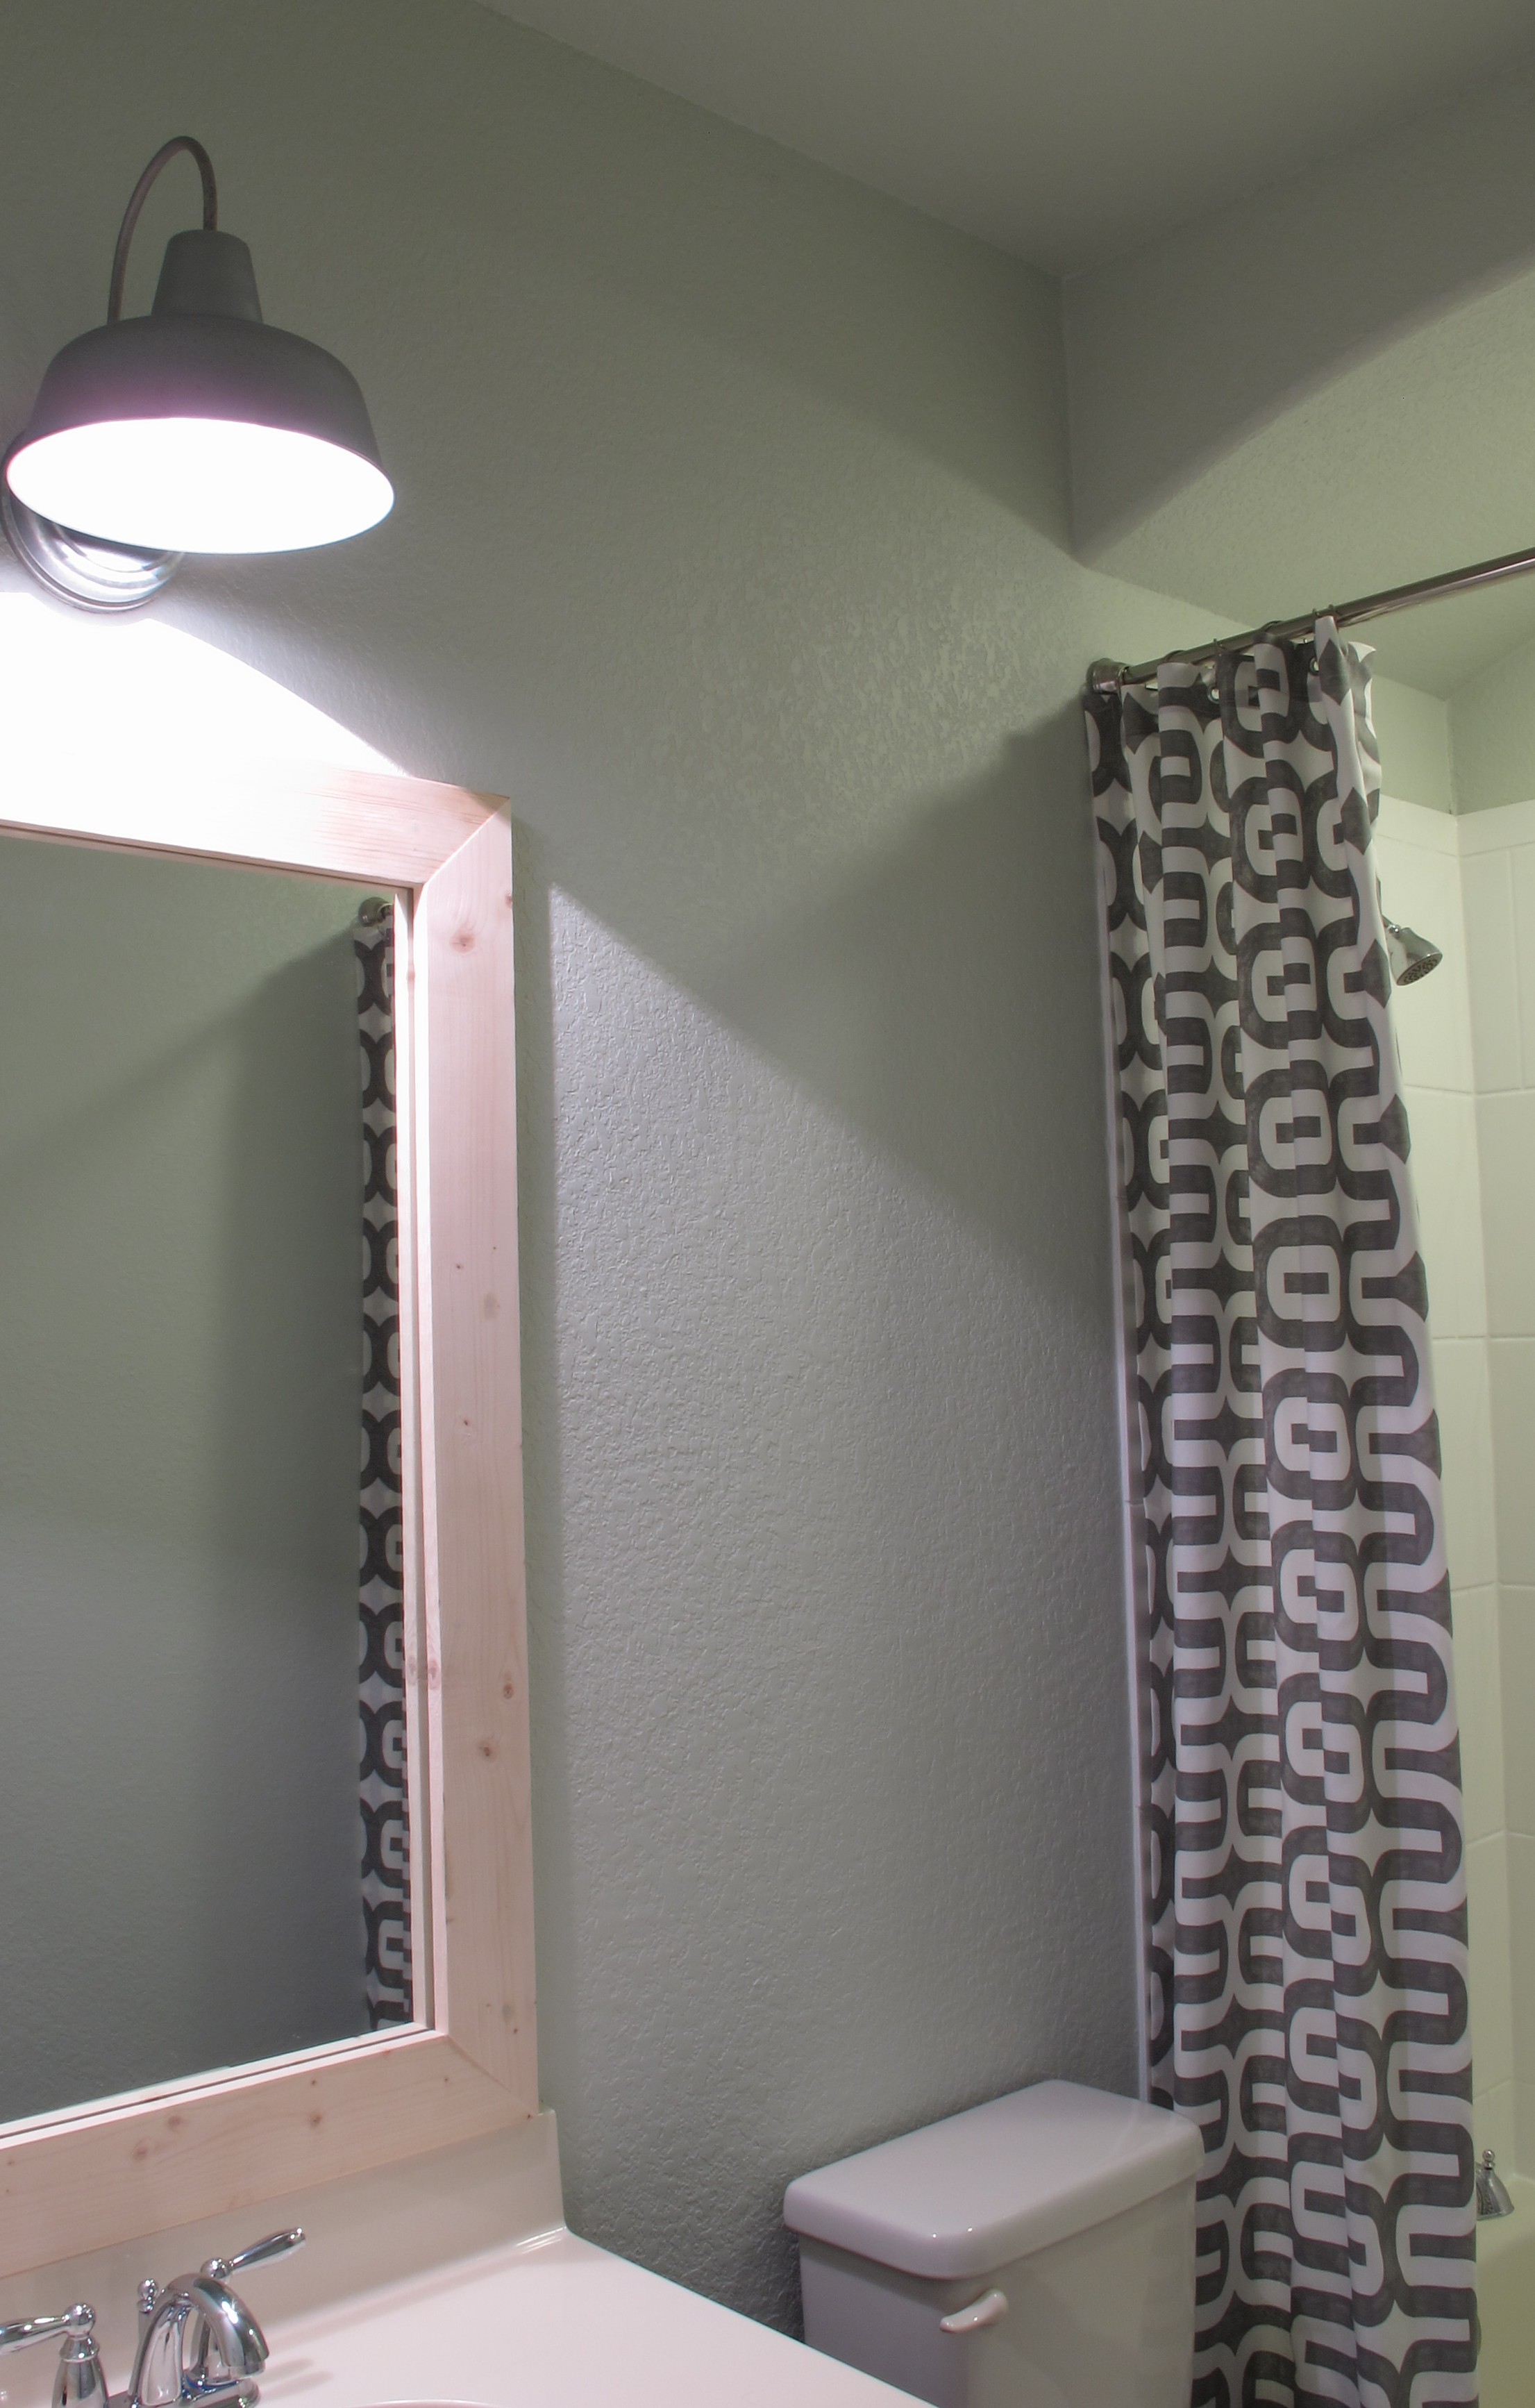
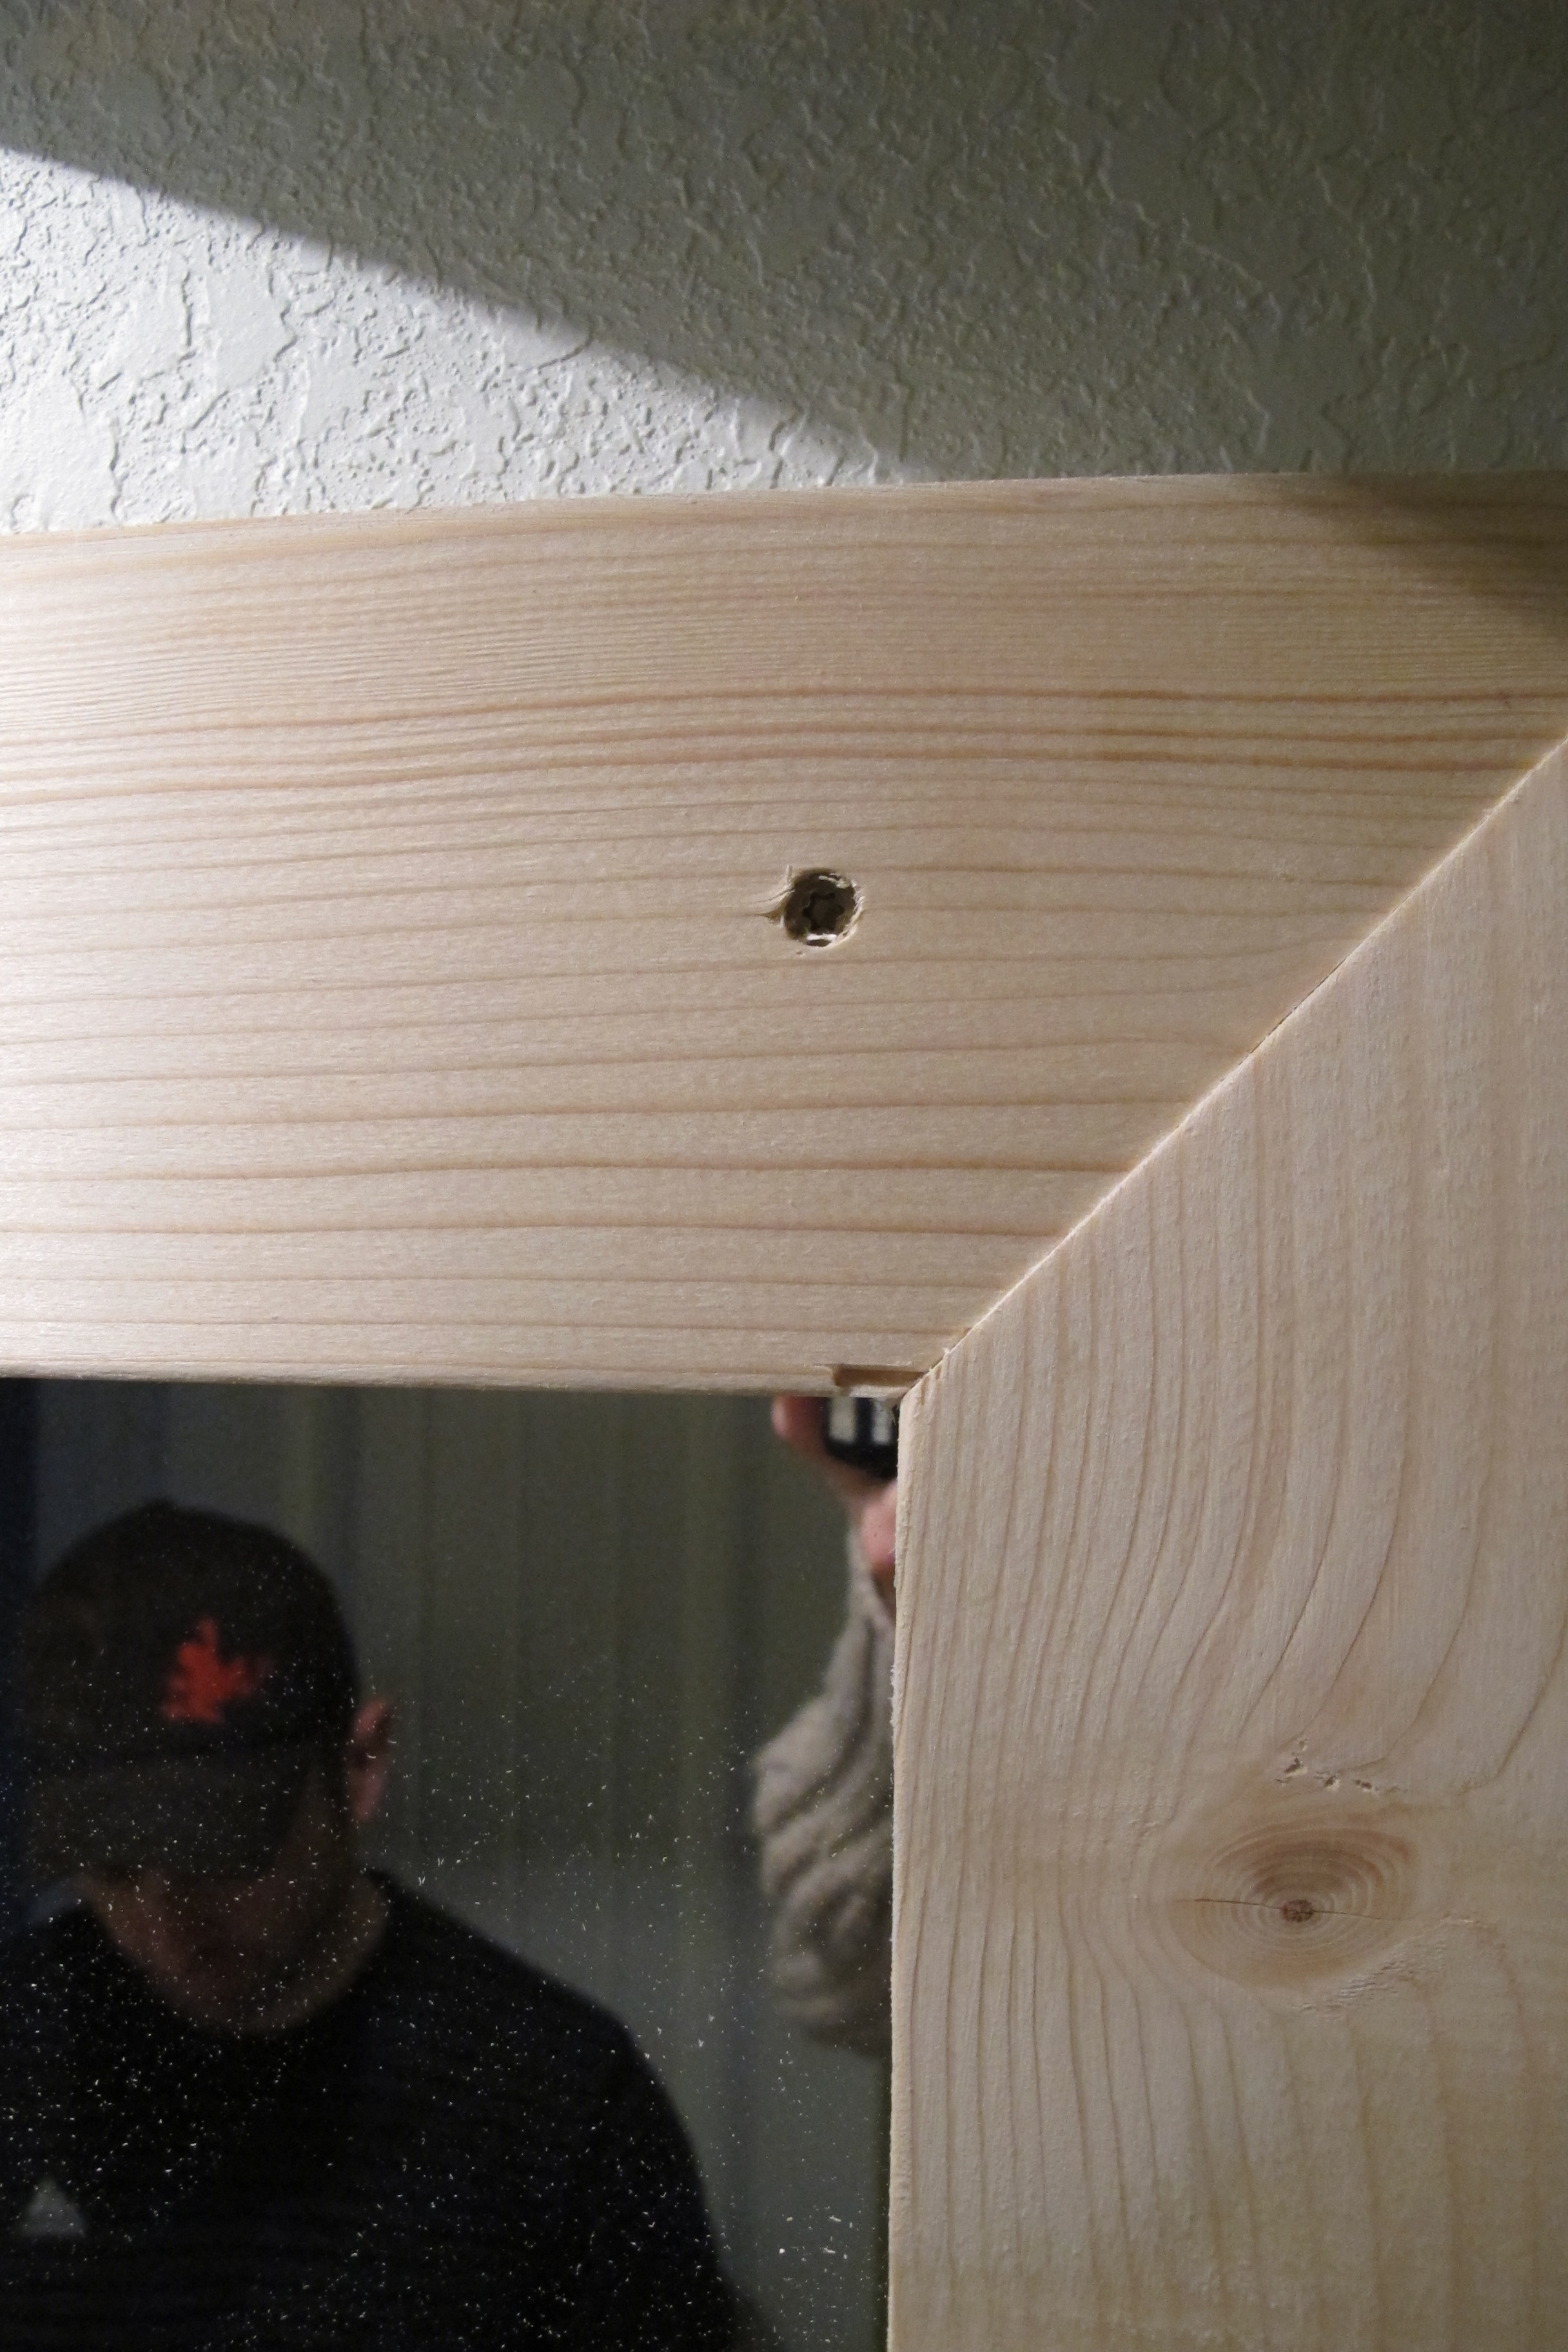
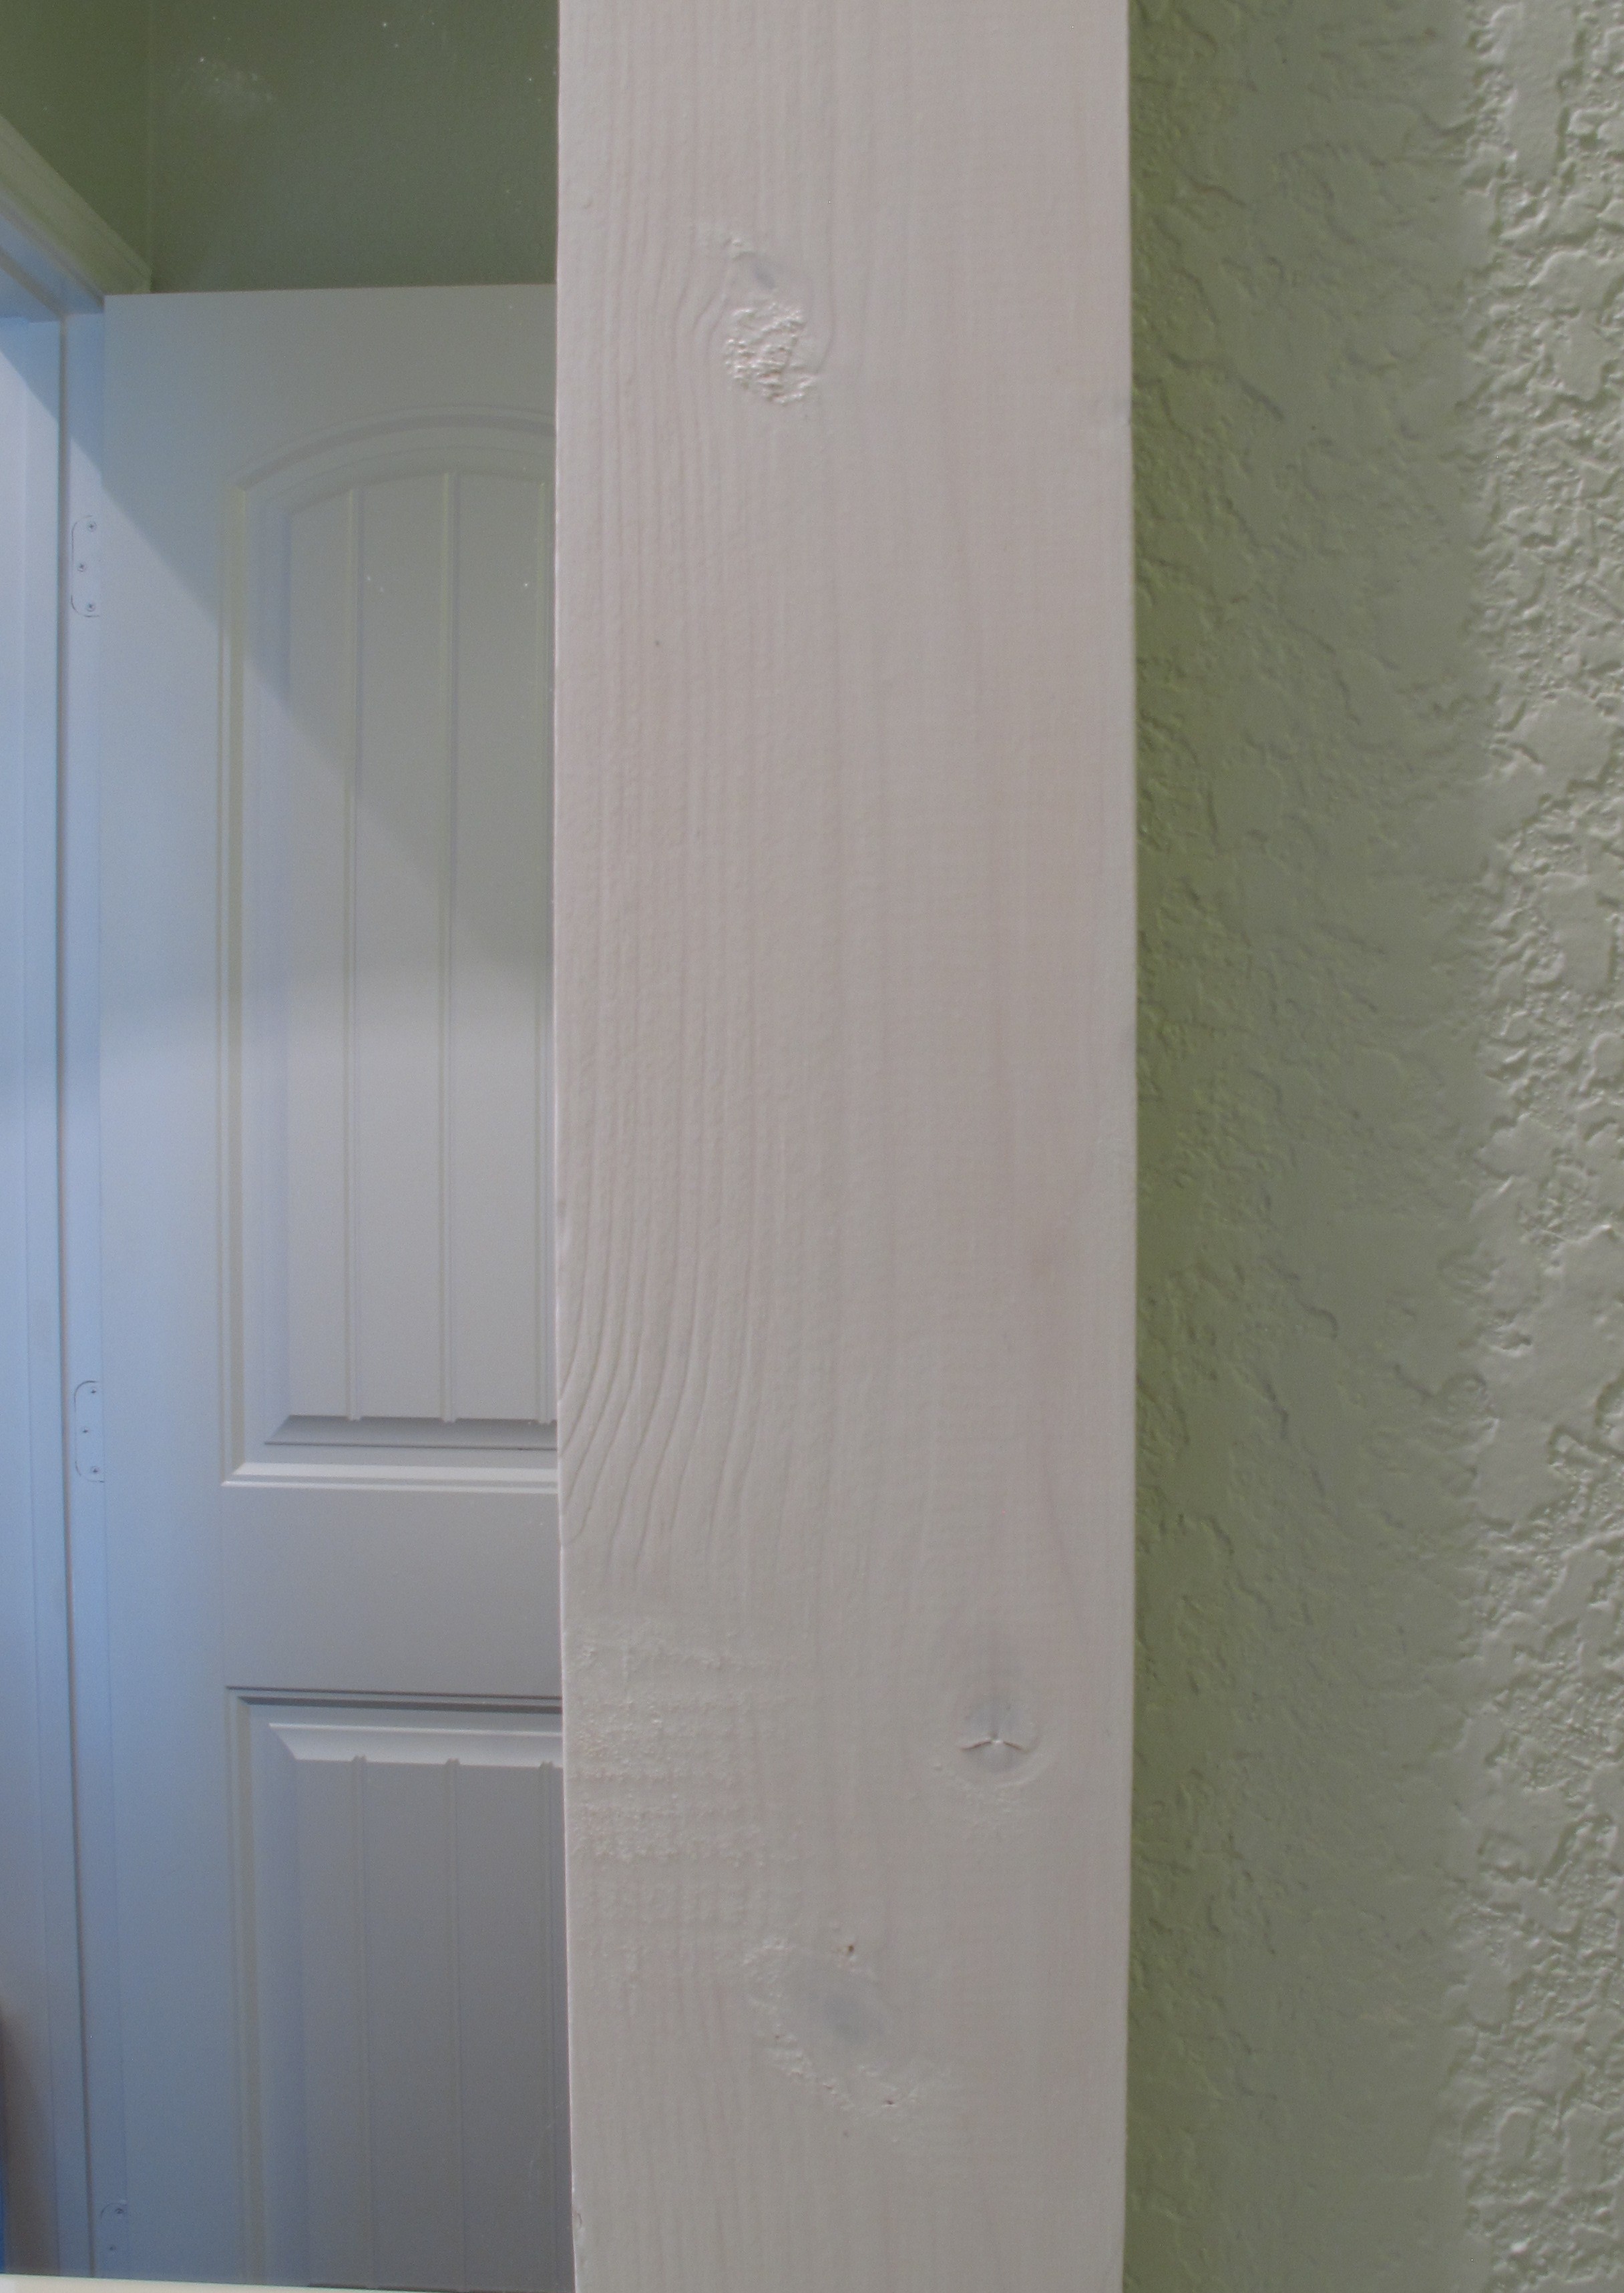
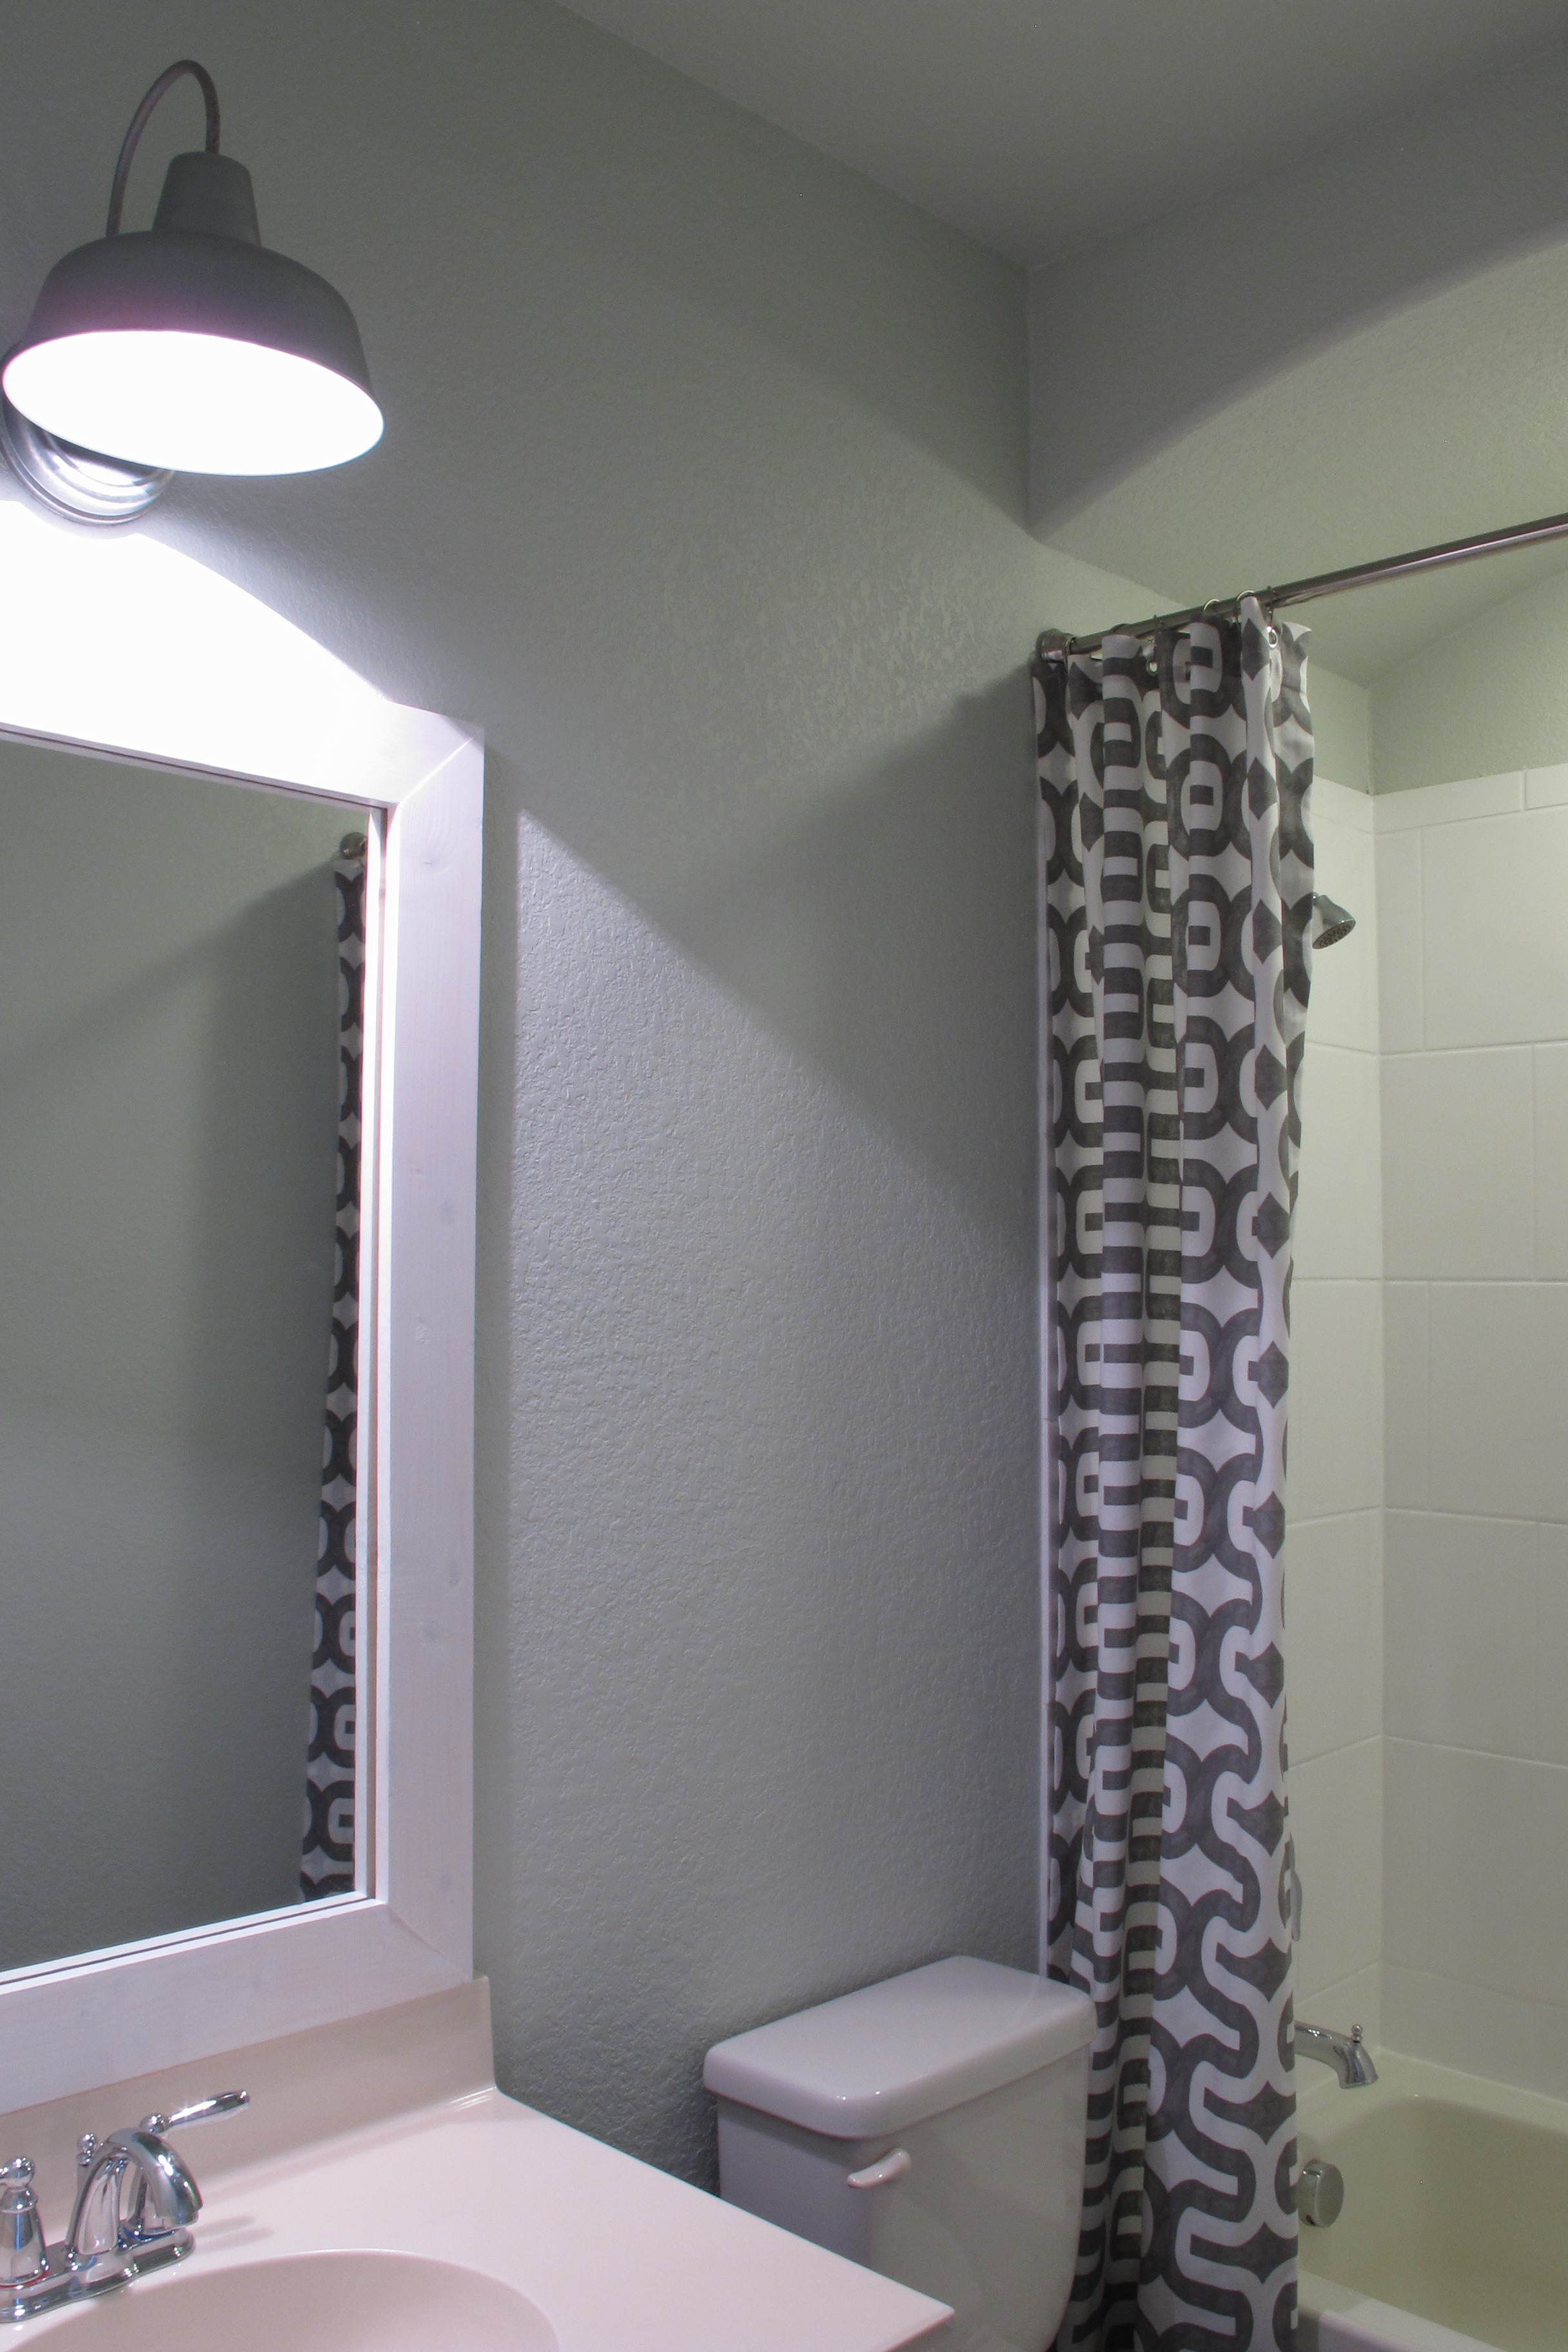
I liked having a mirror up there to bounce light around, but wasn’t digging the dark frame.  In person, it felt very heavy.  So, I taped that sucker up with painters tape (we’re friends now, remember?) and plastic wrap and gave it several thin and even coats of spray paint in matte white…

And I ended up here….

In hindsight, I probably should’ve restocked the toilet paper in the basket before snapping pics.  But, that’s okay.   The shelving now allows space to PUT toilet paper, which is a vast improvement from the previous situation.  So, that’s enough to make up for it in my eyes.  I’m really liking the mix of white, black, green, and natural wood… not to mention, the stainless/gold mixed metals.    I still need to get an actual toilet paper dispenser for the wall so that that awful toilet bracket can hit the road (P.S. that isn’t ours… it was left by the sellers. So, uh, yeah. It’s gotta go.  Something about using somebody elses attached-to-the-toilet-paraphernalia gives me the heebie jeebies.).

As for the paint color… Seriously, ya’ll. I’m trying. I’m REALLY trying. But, I just can’t do it. I really can’t.  It needs to change. So, I’ll be changing it. It feels way too traditional for my taste. I need a lighter, brighter, more modern-feeling hue to blow my skirt up. So, now this room is definitely on my “to paint” list.   I was tossing around the idea of a soft aqua-blue tone.  I thought it might feel nice and beachy given that this is a pool bath.   What color do y’all think I should paint it?

TDC Before and After


Stick a fork in it. Frame is DONE.

Who has two thumbs and seemed like the never-ending project?? This guuuuuuuyyyyyyyy…


IMG_4077

(Sans thumbs)

Last we spoke about the guest bath makeover, I had just hung our newly-sewn curtains

IMG_4193

Which meant I was SUPER motivated to finish the mirror frame we built to see how it would jive with the rest of the room.  I considered staining it darker and painting it a bold or metallic color, but then decided to try my hand at white-washing.

I really wanted the mirror frame to be crisp and bright to balance the sparkling white tile tub surround (which I painted here) and contrast the soft turquoise wall paint.  Staining the frame deeper or painting it a bold color would have been way too dark with the ebony sink base.   And since I wanted a slightly rustic feel, I felt like white-washing would be a nice compromise… A nice white color which would still allow the knots and wood-grain to show through.

I started with prep work.   Remember these counter-sunk screw holes?

IMG_3981

I filled them in with wood filler, waited the allotted dry-time, sanded, then repeated the process a second time.    I’ve always found that the second application is key in achieving a smooth finish.  Which left me with this…

IMG_4202

Now for the fun part… I had some Clark & Kensington white paint + primer leftover from a few previous projects, so I simply poured a small amount into a plastic cup and added an equal amount of water. Then, I stirred very well.

I basically treated it like stain. I brushed it onto my frame…

IMG_4208

Then, immediately wiped it off with a rag…

IMG_4211

You can see the difference on the top portion of this pic with one coat here…

IMG_4204

I ended up doing a total of three coats which was the perfect amount. It got rid of all traces of yellow undertone, but still allowed the knots and wood-grain to shine through.  I pretty much zipped through this part.  The paint dried so fast that by the time I’d completed one coat, I was able to start another.   The whole process maybe took me an hour.  Easy-peasy.

Several times I forgot that I wasn’t dealing with normal-consistency paint.  I failed to wipe off my brush adequately against the side of my cup, so when I lifted my brush to the frame, paint dripped EVERYWHERE.  This pic, unfortunately, doesn’t show the splatter-painted countertop beneath, but you get the idea….

IMG_4205

So, don’t do that. You need very little paint on the brush.  Please learn from my mistakes if you decide to try this.

Also, I may have mentioned before that I’m not a fan of taping. I tape sometimes if a project calls for it, but most of the time I get lazy/cocky and think I don’t need it. Because I didn’t tape and this was a slightly drippier project, I ended up getting a fair amount of paint on the glass.  It took me a while to scrape all the paint off with my razor….

IMG_4214

So, after I was done scraping I went ahead and taped off my mirror…

IMG_4225

Now, I’d completed a bunch of research prior to starting this project to determine which product would be best for a topcoat. I already owned several types of polyurethane (the original plan), but had read that poly will yellow white paint, which is the opposite of what I’m trying to do here.  After reading a bunch of articles, I finally landed on this…

IMG_4228

Polycrylic in clear satin finish. It claims to dry crystal clear and all of the reviews I read contested to the same.  Plus, it’s low odor which is a plus since there are no windows in the bathroom. When we framed out the mirror, I mentioned that I already owned the stuff to finish my frame, but I actually ended up purchasing a can of this stuff for 8 bucks to be on the safe side.

I applied three thin coats of Polycrylic, sanding lightly with fine grit sandpaper between coats.  This somehow took me three days. Each coat seriously went on in 15-20 minutes a pop. And according to the can, recoating can happen in as little as 2 hours.   Yet, it took me three days.  Go, me.

After I applied the last coat, I removed the painter’s tape.  Remember how I thought I was saving myself so much time by taping? Well….

IMG_4265

Holy bleed-through, Batman.

So, four days later (yes, you read that right), I scraped. Again. Moreso than when I didn’t tape. Go figure.  I must be really bad at taping.  But, in the end, it was worth it.  All seven days that it took me to finish this project.  And it’s not even the project’s fault.   It wasn’t difficult or time consuming. I just had a hard time keeping up the momentum. And was reminded of this every time I walked in there and noted the mess that I continued to not deal with all over the countertop.

As an aside… while I was in the middle of applying my third coat, I ran to the garage to get something. Which is when I heard Lucas’s voice sing-songing from the bathroom,  “I helping! I helping!”. A wave of terror washed over me as I pictured the bathroom covered in Polycrylic. I rushed in there and Lucas simply looked at me and said, “See?? I helped!”. And he pointed to this…

Slippers on the counter.

Apparently, I’ve passed my gift for random onto my offspring.

Anyways, in the end, our mirror turned out like this….

IMG_4279 IMG_4270 IMG_4276 

It’s exactly what I wanted. Bright and airy, with a slightly rugged edge. It ties so nicely into both the barn light and the curtains. I’m giddy when I see it.  And with purchase of the Polycrylic, it only took 29 buckaroos to turn this mirror….

IMG_3096

Into this….

IMG_4267

I know it looks a little monochromatic right now (I’m really sad that the paint color is appearing so grey in these pics rather than the soft aqua that it is). But I will say that I played around with a few accessories and started getting really excited.  Hopefully, those will bring in the pop that is my final vision.   So, now we just need a new faucet, handle for the false drawer on the vanity, toilet paper holder, hooks and accessories to complete this budget-friendly makeover. The finish-line is in sight!!! Woo-hoo!!!