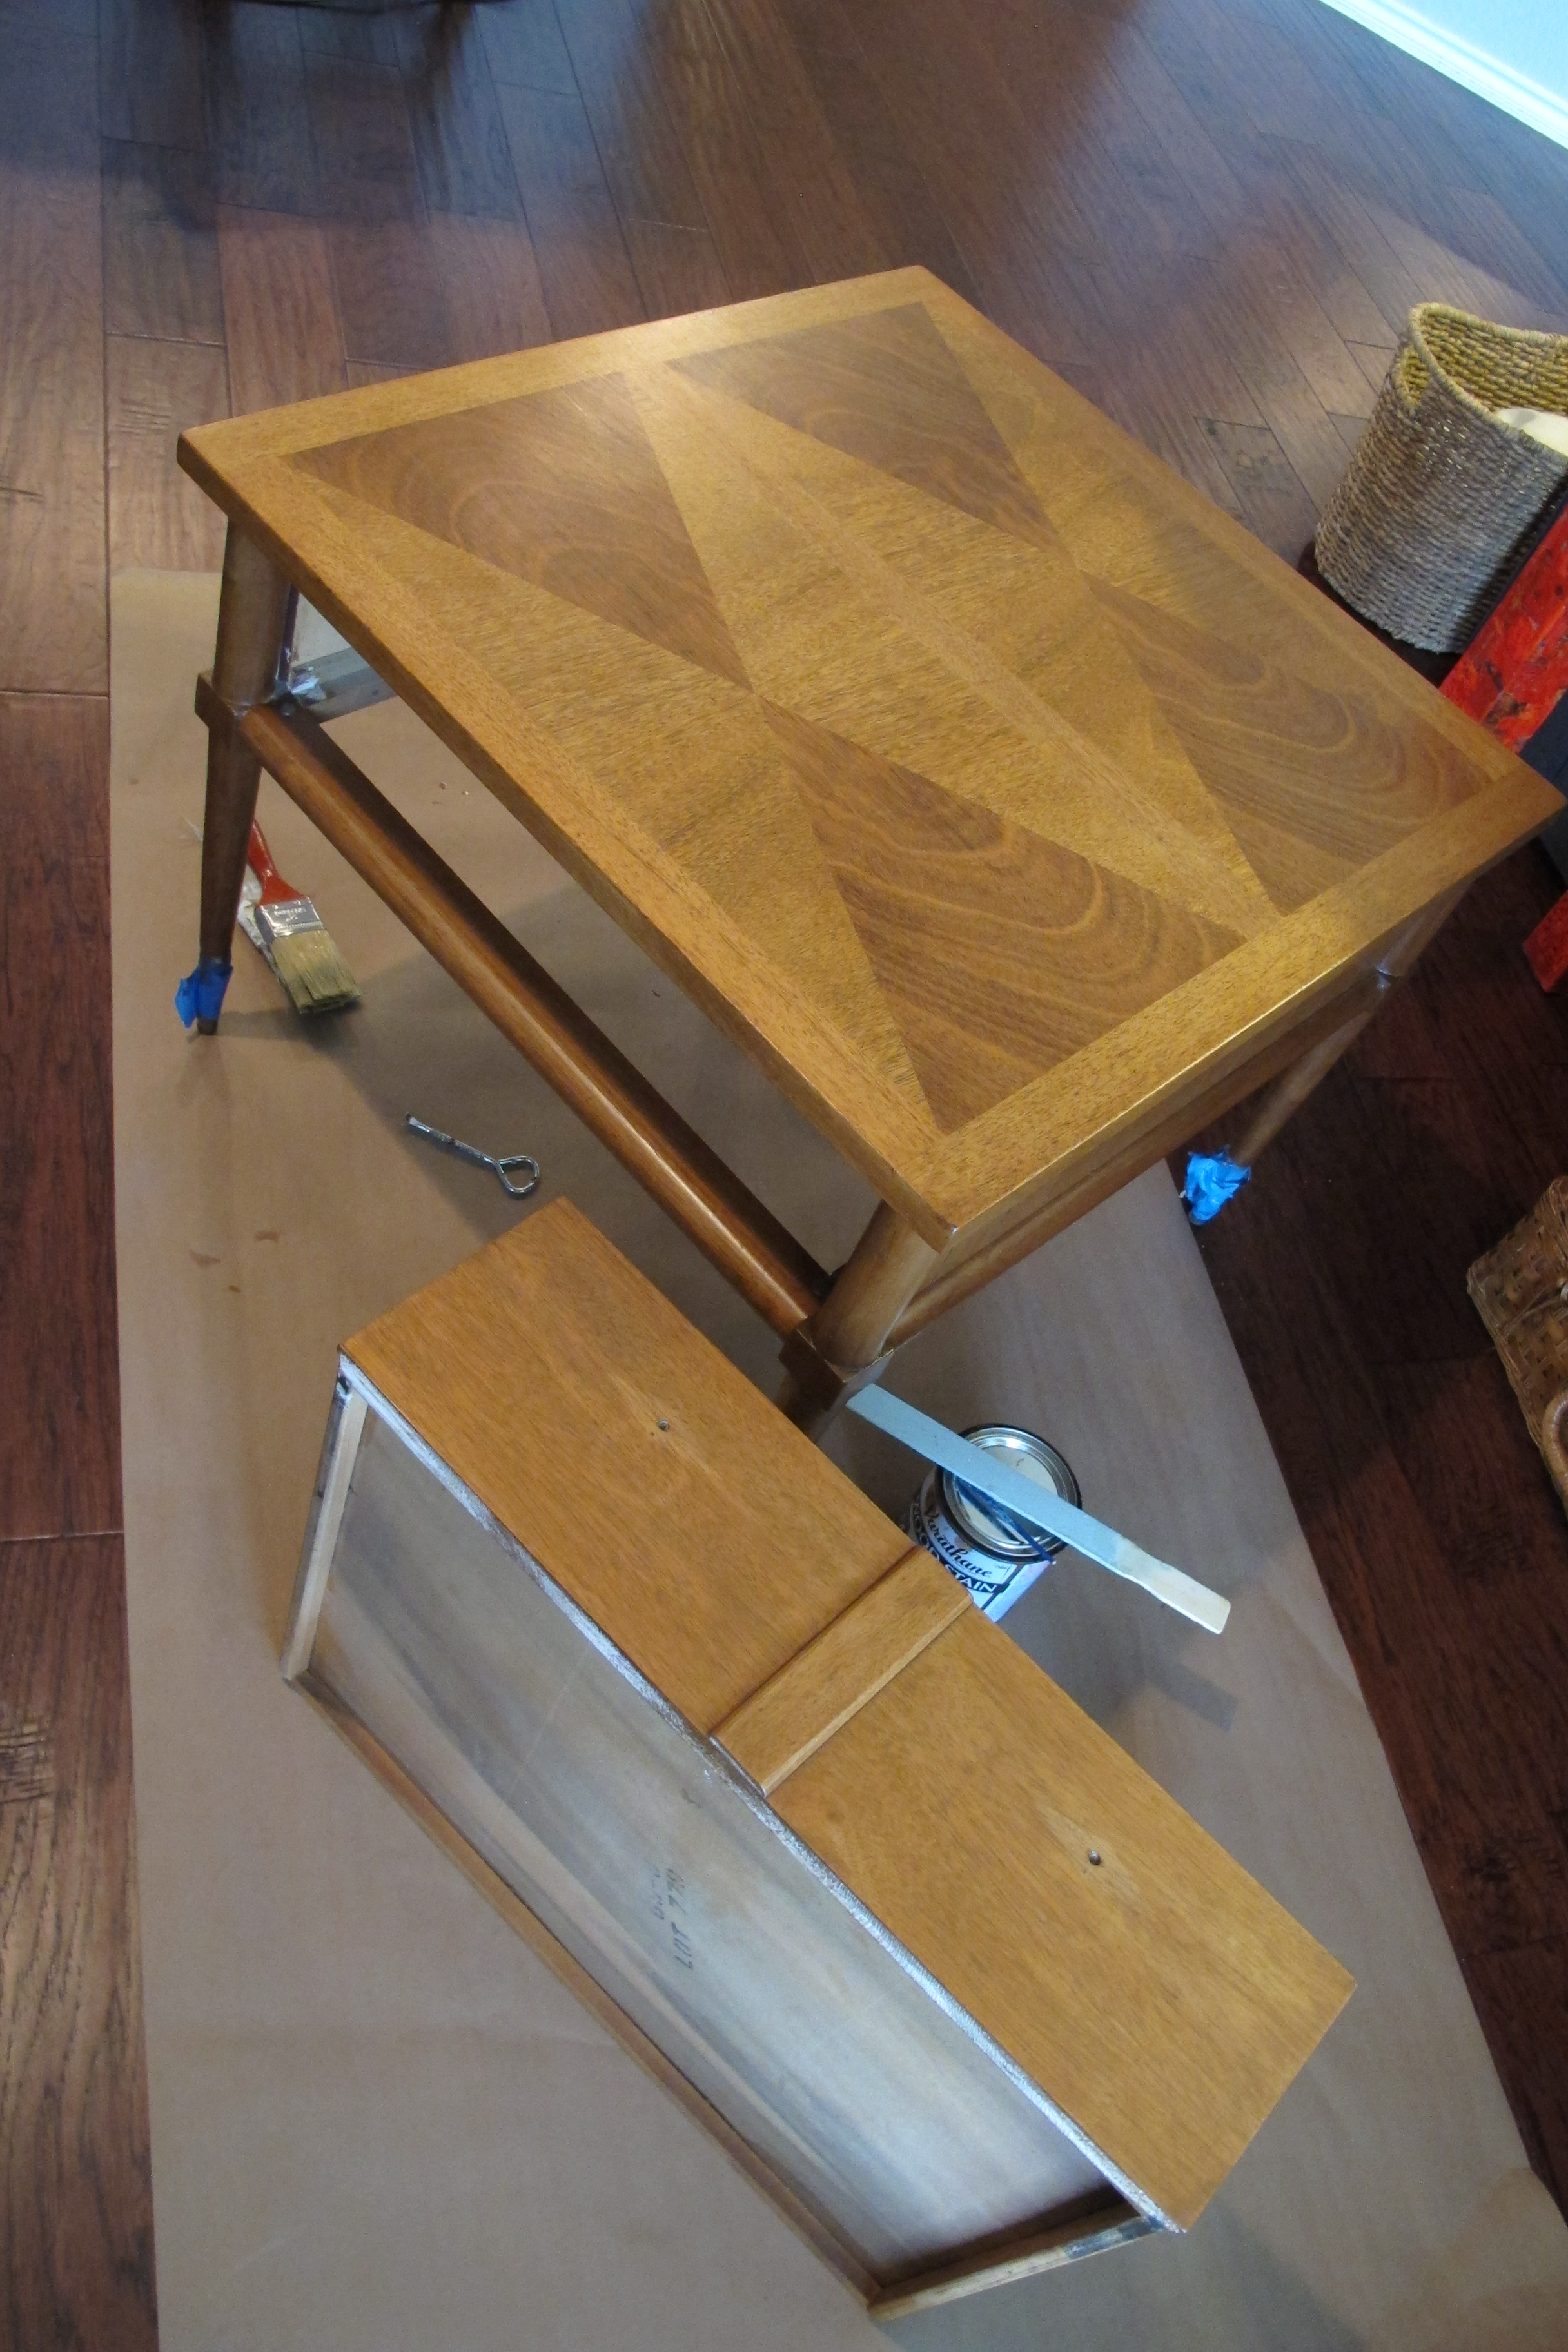
Last we left, we had a naked table…

It turned out so nicely after I stripped it, that I decided to try staining it. When it came to choosing a color, this was easy for me… I decided to try and match the original stain. I’m kind of a purist when it comes to these things. I mean, ugly 80’s furniture… Change that stuff UP. But a vintage, mid-century American of Martinsville table? I’m gonna try to keep it close to the original if given the option. I have to. No choice. It’s part of my nature. I love pieces like this to no end so if I have the option, I’m going original all the way.
The color I chose was Varathane’s Early American, which is also the color I stained our media cabinet.
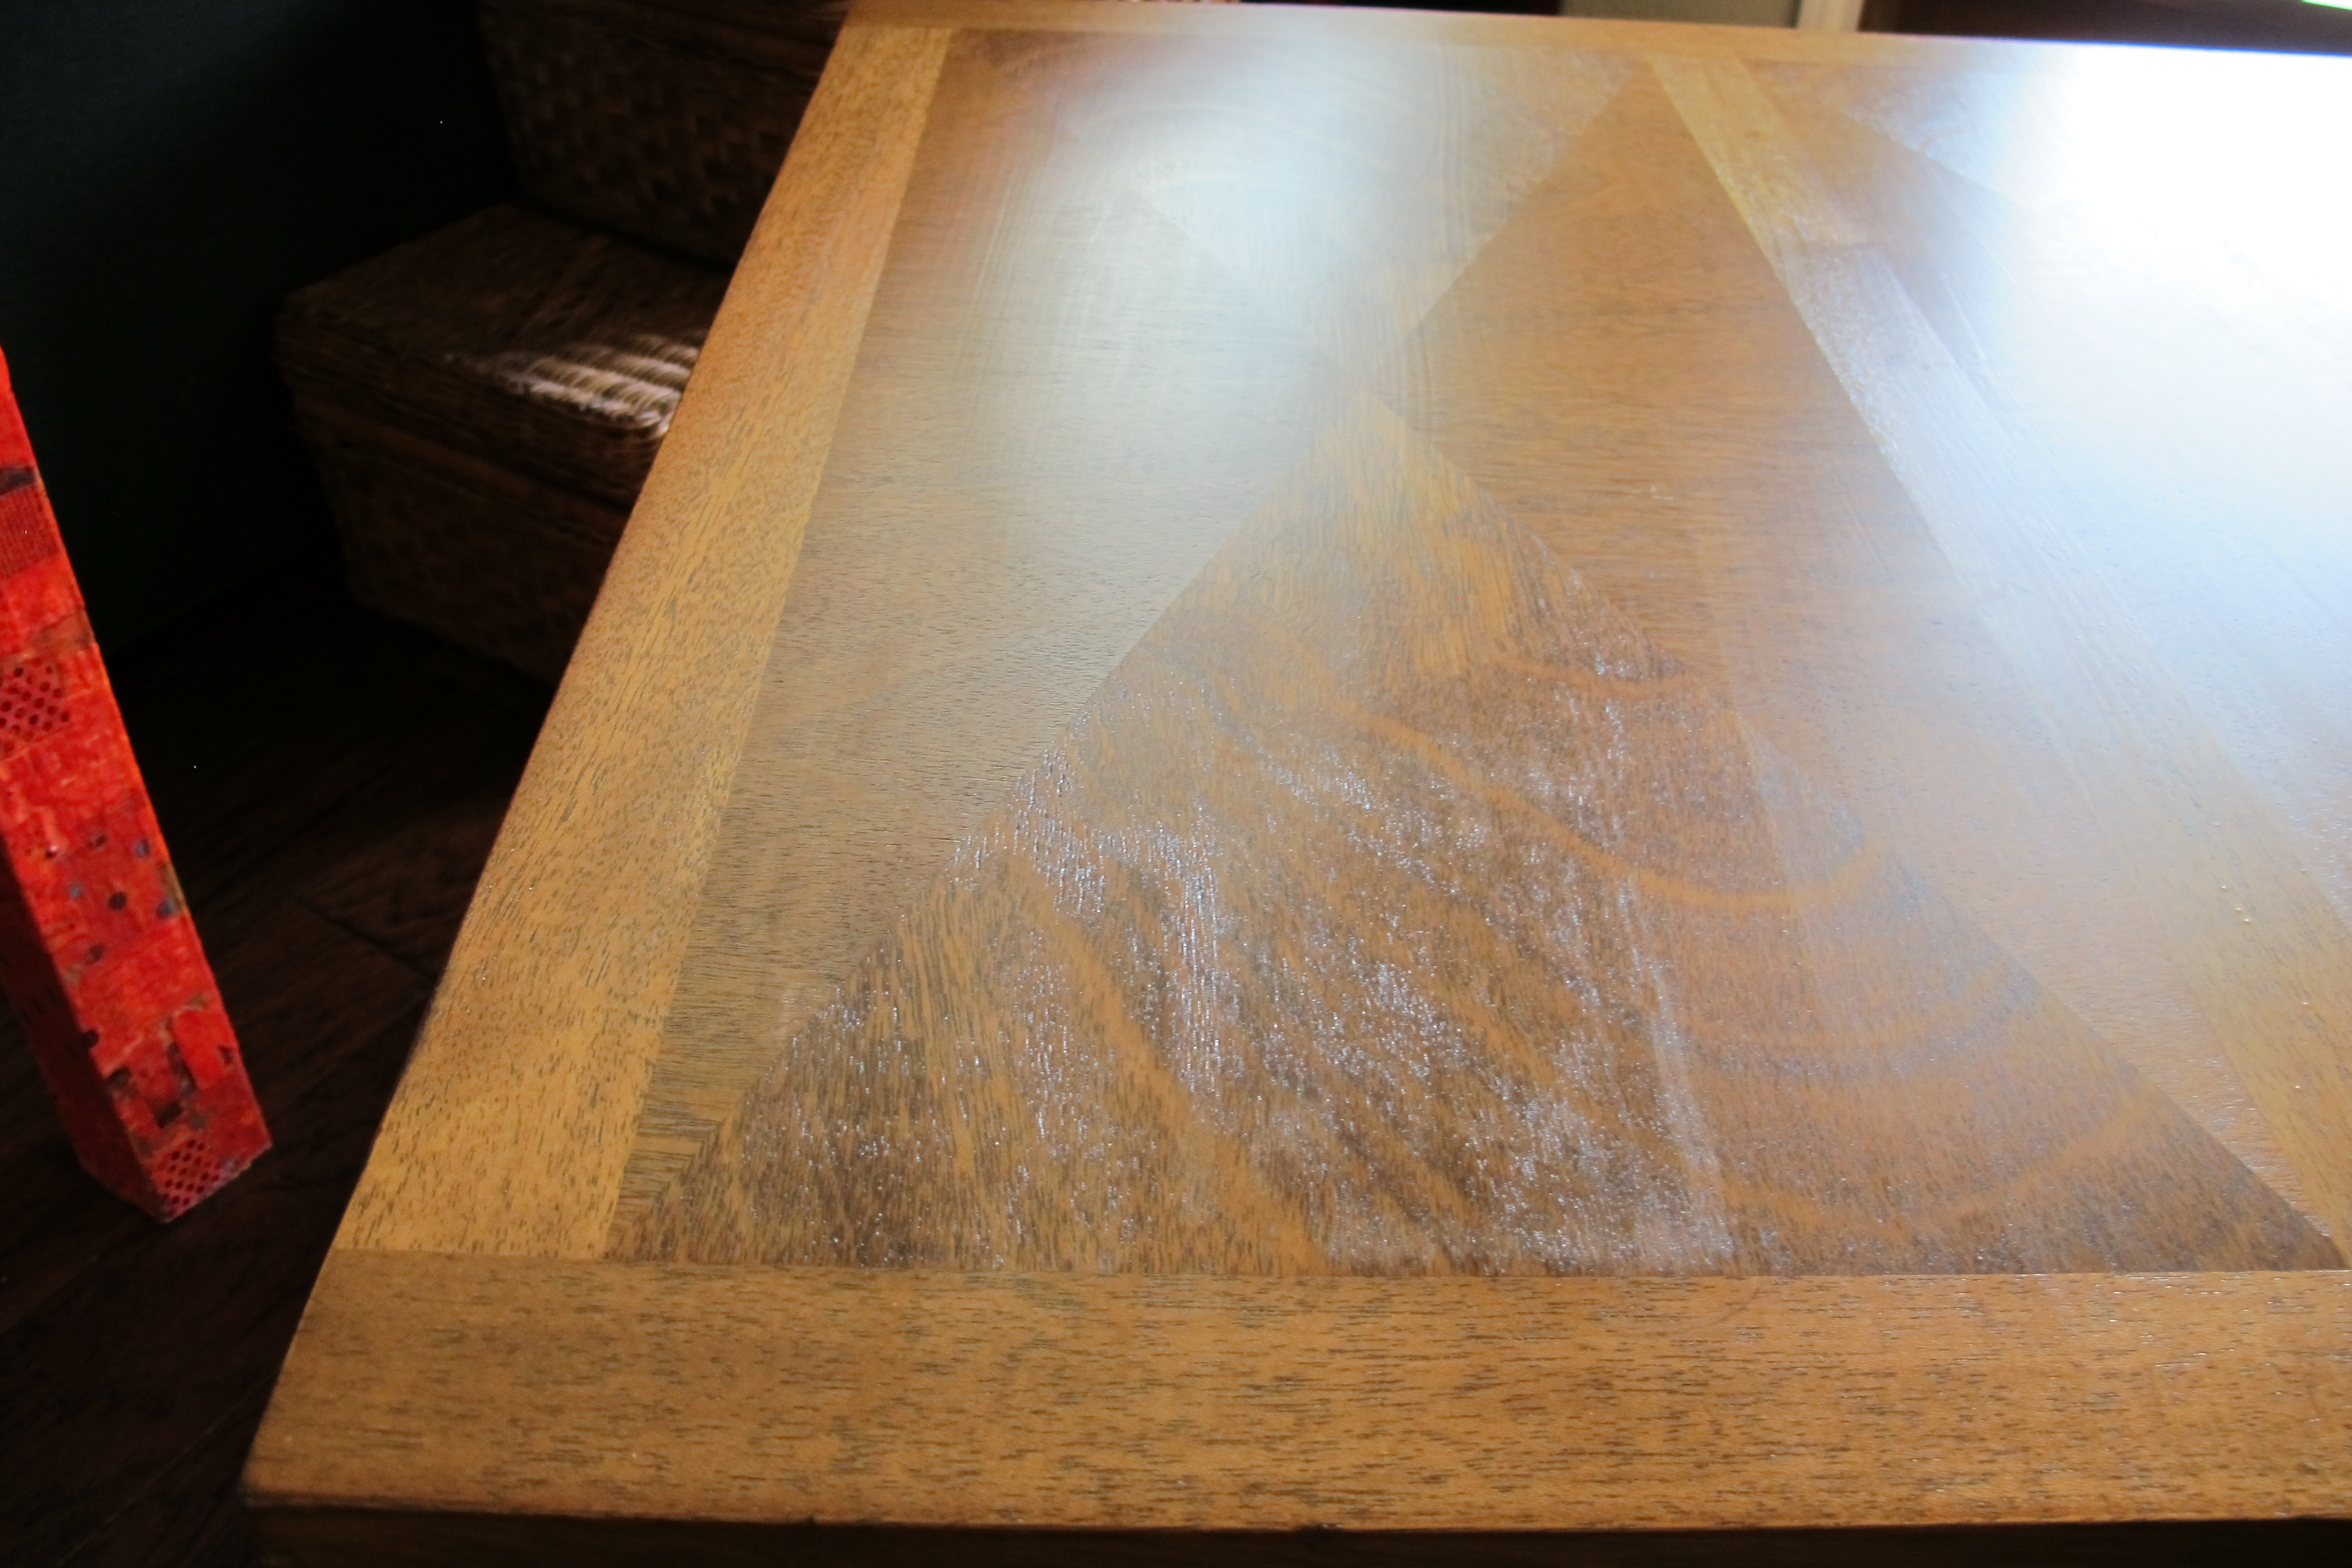
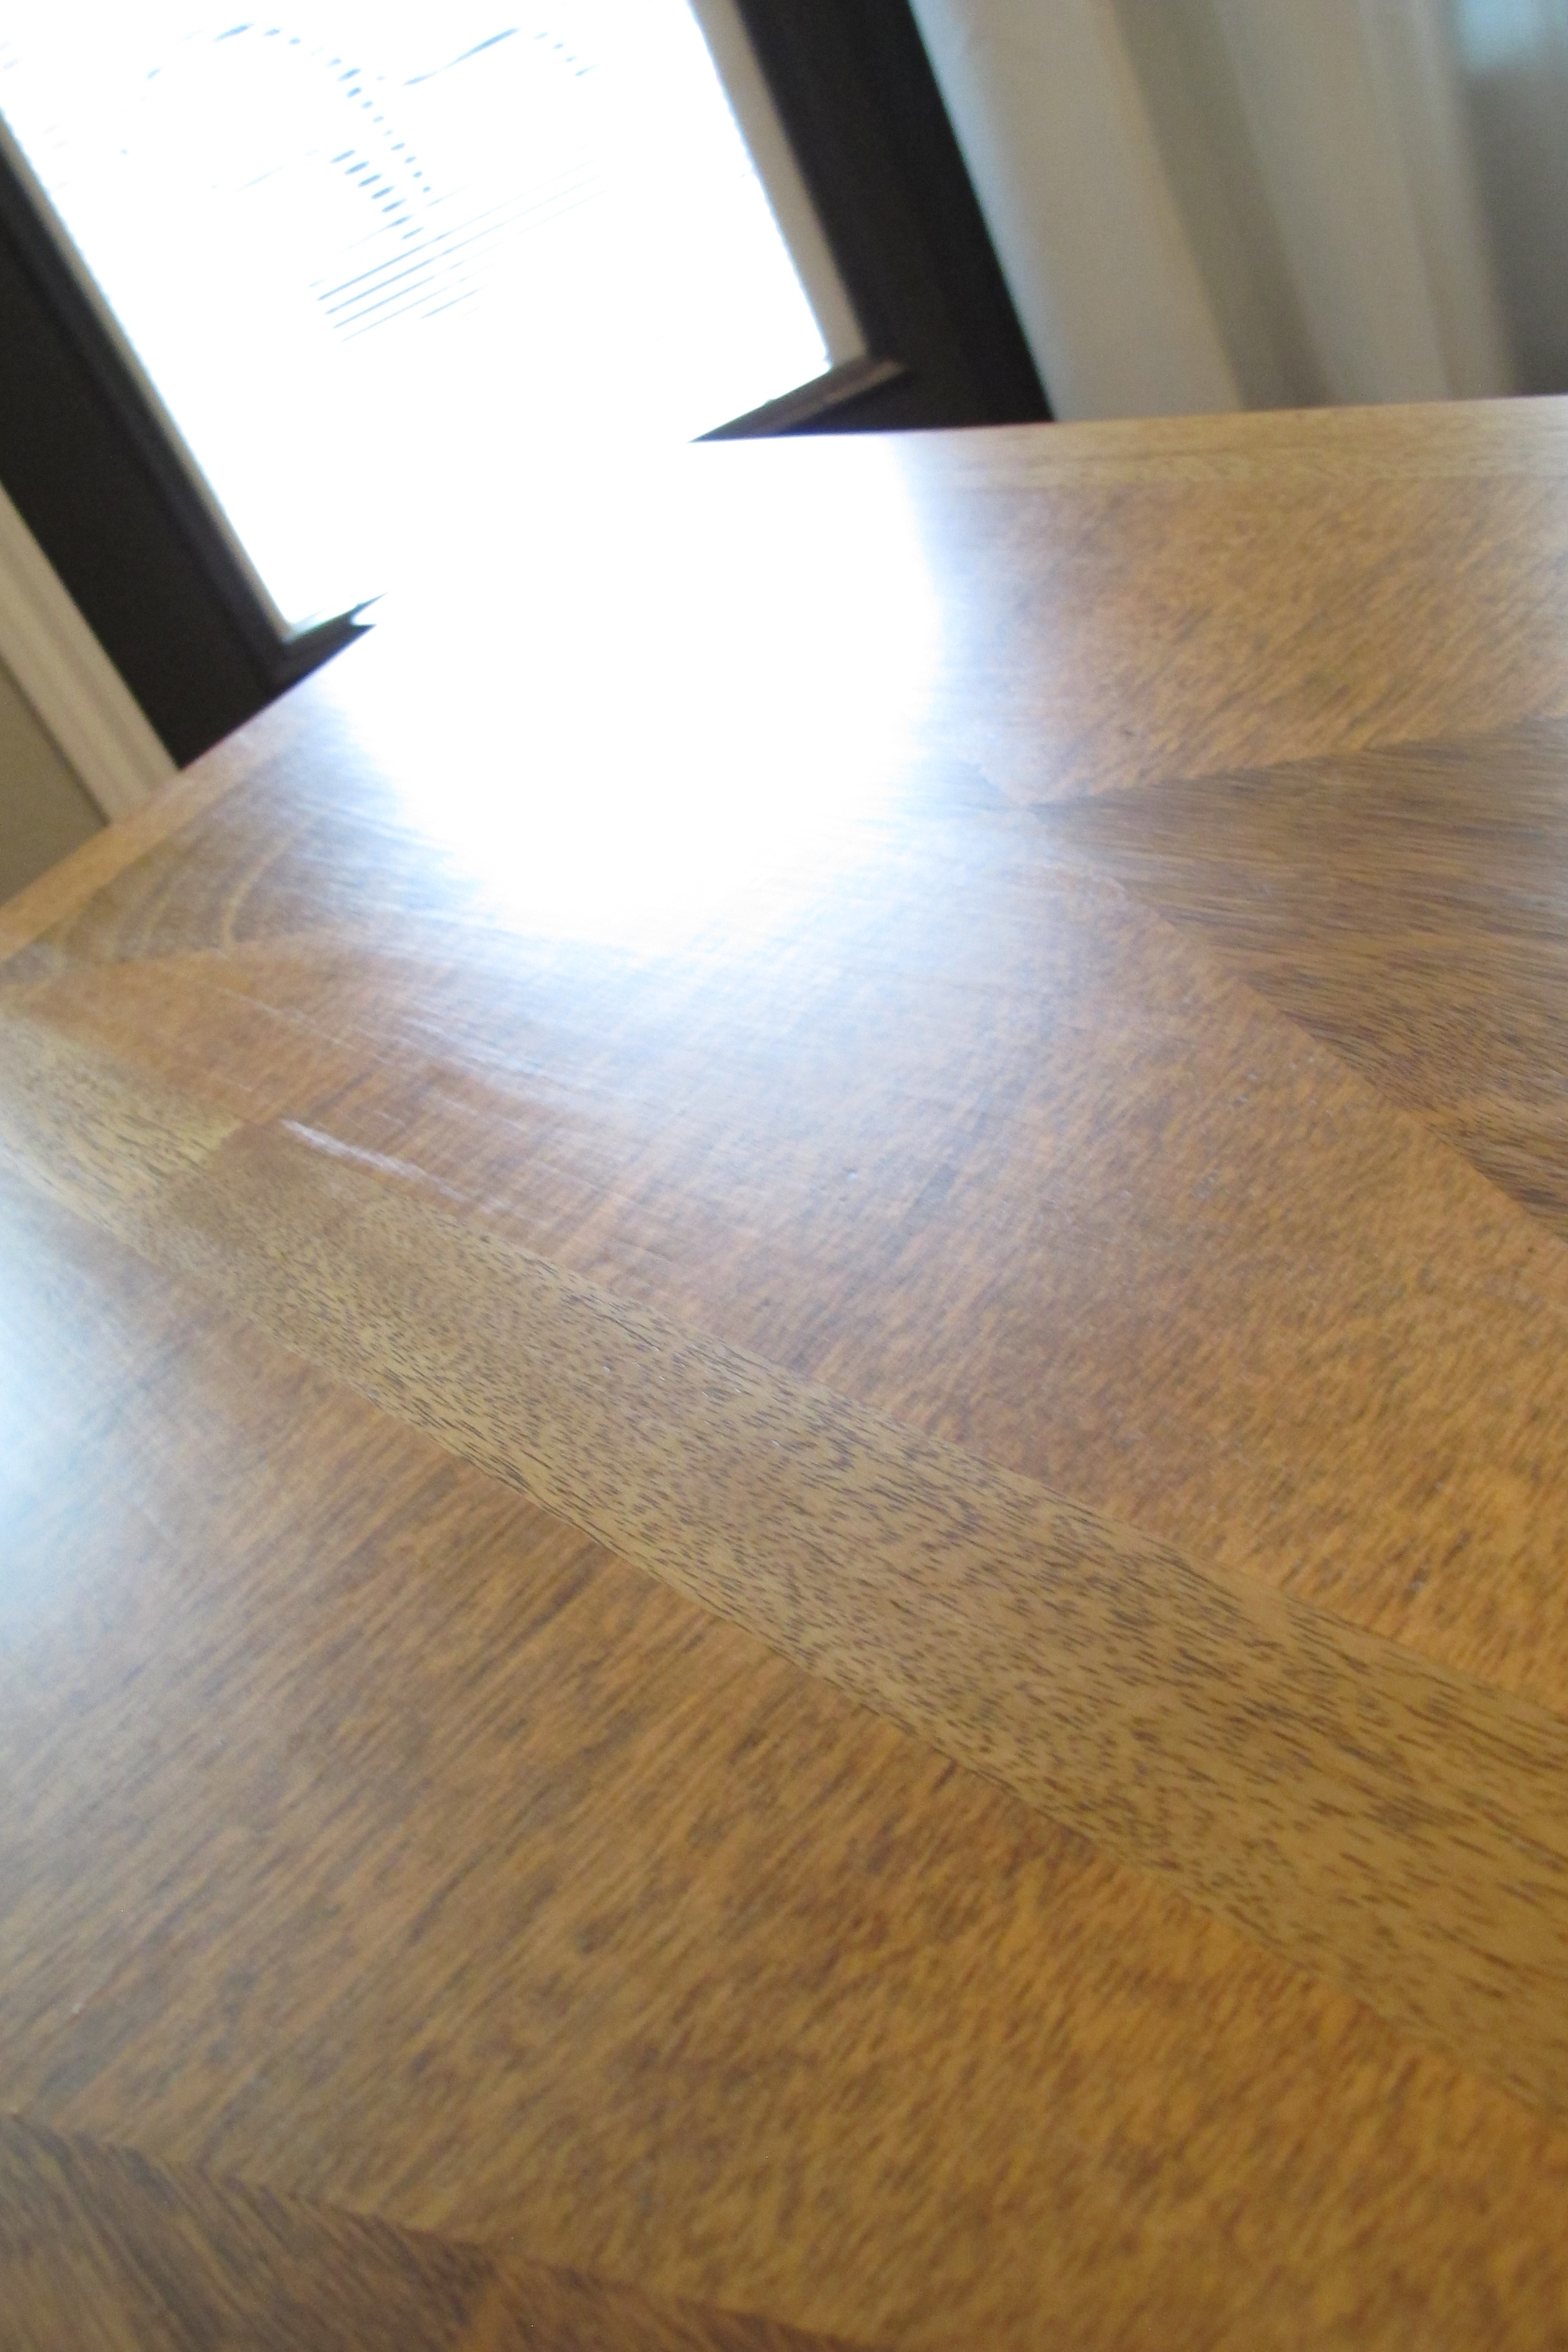
I simply waxed on, waxed off applied it then wiped off the excess immediately. I chose not to let the stain sit, because even though it was morning, the temperature was creeping up. Thus, leaving it on any longer would’ve caused the stain to dry and become hard to remove. The speedy exposure ended up yielding the perfect color, though. So, happy accident. The color matched the original to a T. And I was ecstatic that the table took the stain so beautifully. Here’s the post-stain result…

It appears more orange in this picture than it is in real life. Seriously, it’s a dead-ringer for the original color. A few days later, I decided to apply the topcoat. Now, I’m going to foreshadow this post. This morning (after I’d completed the table), I received this comment on my stripper post from Beck at Beckwith’s Treasures, who refinishes this type of furniture frequently…
“…PLEASE do not put poly on this furniture!!! Use an oil finish like formbys tung oil…SOOOO simple to apply…”
And I started continued kicking myself. I’d used poly. And I DEFINITELY regretted it. When I tell ya’ll that I LOVE your advice and input, I mean it. This comment contained such great advice… I just wish I would’ve held off on finishing the table so I could actually have used it.
But let me start from the beginning… Ya see, we’ve hit triple-digit weather here in Texas and if this year is like most others, it’ll probably stay this way for some time. It’s always funny to me when bloggers from the northern cold-weather areas talk about about how they can’t spray paint and stuff in the winter… For us, it’s the summer months that pose a problem. Totally the opposite, though equally annoying. Painting, finishing, staining, or spray painting outdoors in the summer months is virtually impossible because the paint gets all gummy and nasty. Seriously, those temperature guidelines on the can are no joke. Believe me. I’ve tried to challenge them.
So, with this in mind, I knew I had to apply the topcoat indoors. I decided to try a water-based oil-modified polyurethane, since (at the time) I thought Poly was my only option…

I’d read that this particular version acts more like oil-based Poly but is water-based (ie: low odor, better for indoors when you can’t throw open a window without air-conditioning the neighborhood). I happened to have the satin finish on hand and thought that it might be nice to just have a mild sheen on the tables.
Now, to clarify, I’ve never used this product before. I bought it back when I white-washed our bathroom mirror, but never used it as it might have yellowed our white frame.
I read the can and followed the directions to a T: Clean dust off (I used tack cloth), apply a light coat with a high quality polyurethane brush, wait 2 hours.
The first coat made me very nervous. There were bubbles and brush marks in the finish and the area where that damage was turned a lighter tone than the rest of the top.


Before this project, I’d always only used oil-based poly and had never noticed brush strokes with it. Plus, its slow dry time allowed most of the bubbles to pop before the finish hardened. Knowing this, I was REALLY doubting my decision with the water-based poly at this point. Bubbles plus brushmarks after all the time I’d already invested in this table. Ugh. Heartbreaking. Though in all fairness… when it came to brush marks, I’d never applied ANY poly against the grain of the wood before. And the differing directions of the table top’s inlay basically forced me to do so in some areas.
Once the 2 hours of wait time passed, I lightly sanded with 220 grit sandpaper (paying closer attention to the bubbled areas) and applied a second coat. This coat was better, but some bubbles and brush strokes remained. And the finish almost looked like dried glue to me. Plastic-y. Cloudy. I wasn’t sure if the water-based version was to blame or the fact that it was a satin finish instead of semi-gloss.
Now, the heart was really sinking. To make matters worse, the top felt rough to the touch from the bubbles. So, I sanded again between coats, and added a third coat as the directions stated (hoping against hope that the third coat would be the magic cure-all). I used a foam brush this time to help eliminate brush strokes.
The third coat just made it worse. There are still brush strokes and bubbles. At this point I was ready to bust out the ugly-cry.

The finish remains rough, plastic-y to the touch. I’m SO disappointed after all the time I invested. I’m sure this product works great with the right project. THIS was not the right project. And I feel like, by not doing proper research before top coating I’ve ruined the integrity of the piece.
And now I’m not sure what to do…. Strip the table again and try oil? The problem is that I really can’t sand the top much without risking going through the veneer. Part of the advice in the aforementioned comment was to use acetone + laquer thinner to remove the finish. Would this prevent the need for sanding? I know that this is DIY. Things don’t go perfectly all the time. And it’s a learning experience. I mean, I learned how to use chemical stripper, and am now much more familiar with the differences in poly. Valuable knowledge acquired. Am I gonna give up on this table? No way. I mean, honestly, it looks okay (if you squint). Just not nearly as great as this gorgeous piece deserves.
I could still paint it, but this goes against every instinct I have since I now know how beautiful the wood is.
So, what are your thoughts? Any suggestions? If you know anyone who can offer advice on this, I’d really appreciate it if ya’ll would share my post with them. Thanks, guys!
Linked up at: Tatertots & Jello