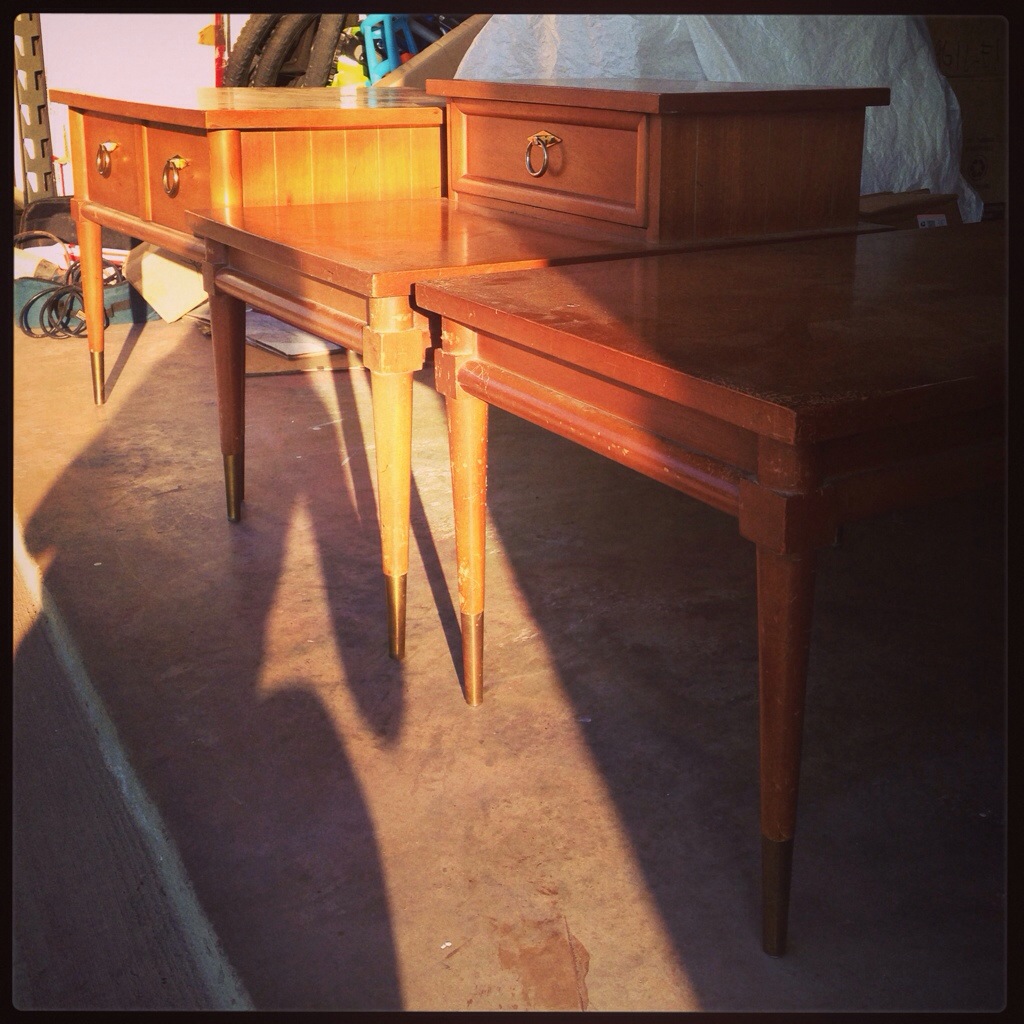
Remember my Goodwill mid-century tables that I discussed in this post? Well, progress has been made (cue applause).
After my sad cry for help as to what to do with these small furniture gods, I took the generous advice given and purchased an orbital sander. We literally just chose a mid-range sander at Lowe’s and ran with it.
I started with the coffee table… Now, as I’d expressed before, I was very, VERY nervous about sanding through the thin wood veneer on top, so I used 220 grit sandpaper and sanded very slowly…

It took a good hour or so, but (wait for it) I succeeded in getting down to the bare wood without destroying the veneer (joy)…

Once I’d finished, I examined my work closely and broke into celebratory dance, respirator and all (it was a fist-pumping-Hammer-dance-combo). And our neighbor saw me. I panicked and nearly blurted out something about “table dancing!”, but fortunately, my brain caught up in time to stop that little nugget of awesomesauce from escaping. Instead, I went with the always-smooth, ever-popular “Um… Hi. (awkward pause) …How’s it goin’?”
Right. Way to get down with my socially-awkward bad self. Welcome to my life.
Anyways, my original plan was to use Polyshades because I never-in-a-million-years thought that I’d actually get down to bare wood that could be stained with REAL STAIN. But I did. So, it was on.
Next, I proceeded to hand-sand the base of the table. Which took FOR-ever. I literally got one of the short sides done and decided that I’d go the chemical stripper route .
I’d never used chemical stripper before, so it was a little scary for me. I was wholly afraid I’d do it wrong and be scarred for life. But, then I did it anyways.
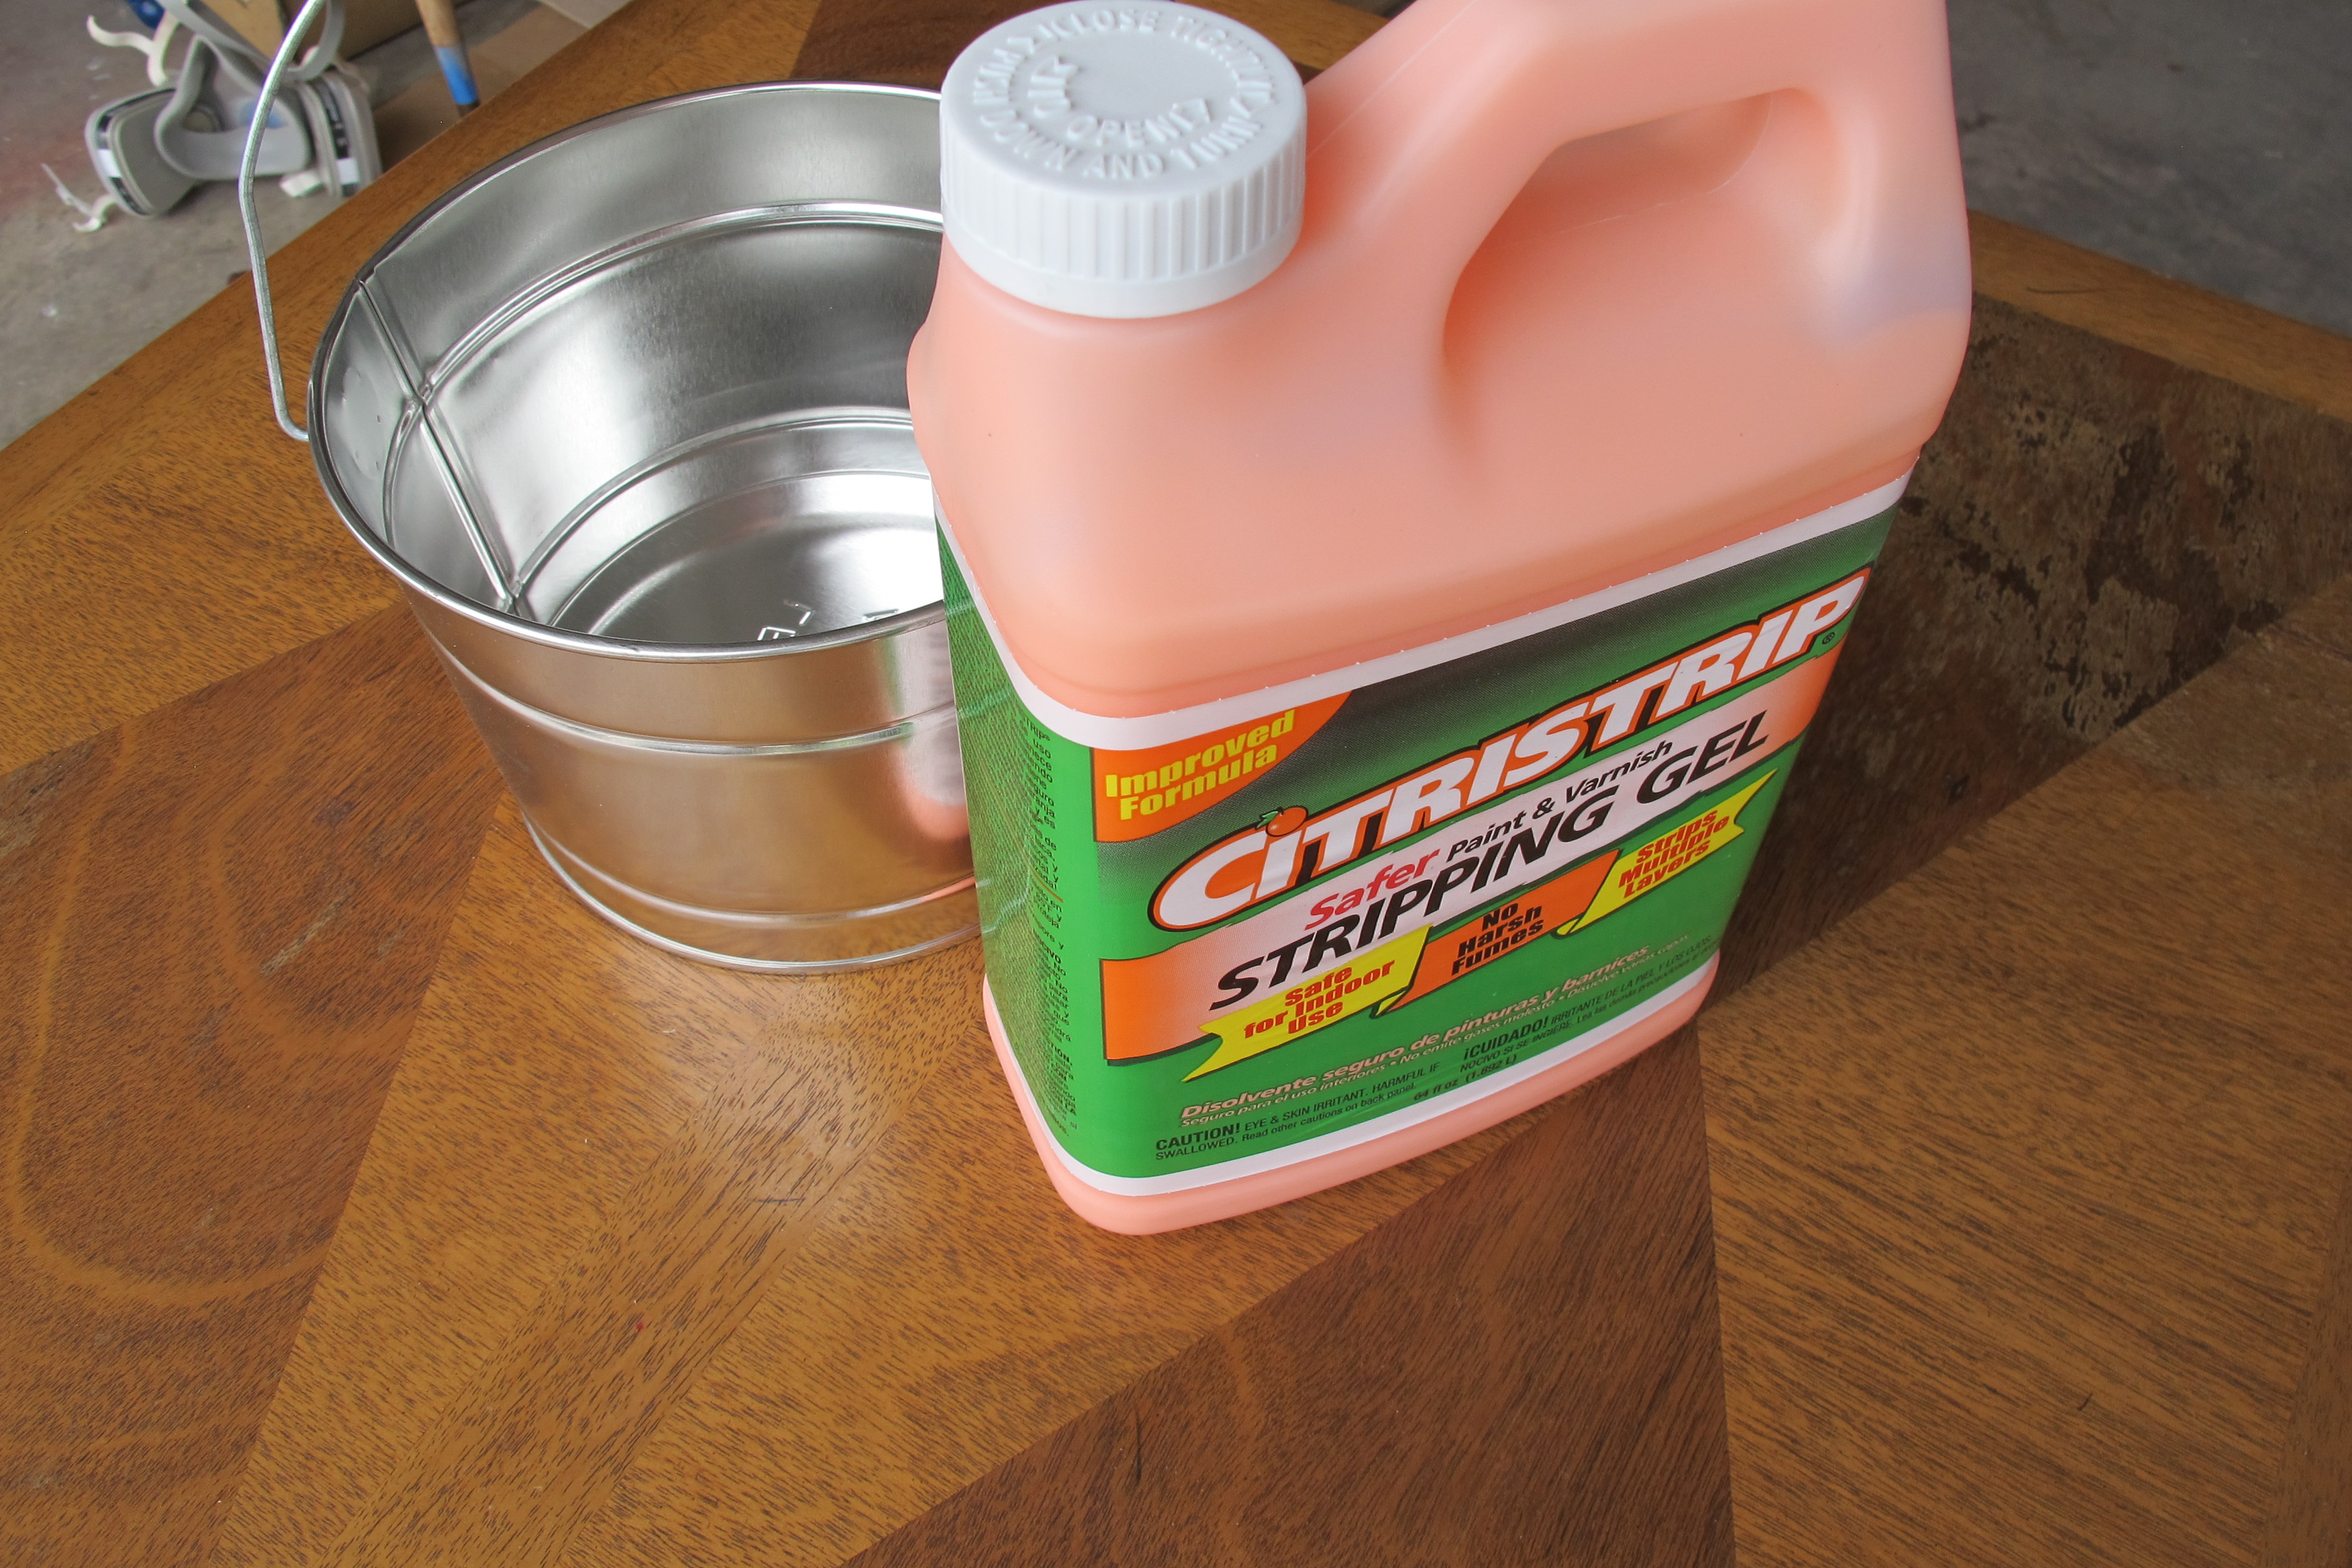
This is the stripper I went with (it claims to be low odor = Bonus)…
I decided that since I’d already partially sanded the coffee table, I’d start with chemically stripping the end table because I wanted to see the difference between using the stripper and sanding. I also wanted to be sure that I was making the right decision by switching methods mid-job on the coffee table. As a reminder, here’s how the end table looked when I bought it (um, forgot to take a shot of the whole thing (mybad), but here’s the top)…

The main issue was this part of the finish…

I hoped that stripping the table would allow me to be able to refinish it with stain (fingers crossed!). The damage seemed to go deep into the wood, so I wasn’t sure if I’d be able to pull it off, but figured it was worth a shot (…I told you… I’m a pathetic sappy when it comes to vintage finds #gottadoit).
I started by brushing on the stripper…

I waited about 2 hours (the directions said you could scrape in as little as 30 minutes or as long as 24 hours).
And I scraped…

And scraped and scraped, but found that scraping the rounded areas and details was somewhat difficult.
And although the directions stated that the stripper remains wet for up to 24 hours, my guess is that these statements were not made in the Texas heat. Granted, I chose to do this during the polar vortex when it was 85 degrees (In July! In Texas??!), under the shade of the garage. But the areas facing the driveway still became gummy and difficult to scrape in that time frame.
So, I switched to the second method recommended on the bottle. Abrasive pad plus mineral spirits…


This did the job, but took quite a bit of time and elbow grease. And murdered a few innocent bystanders…
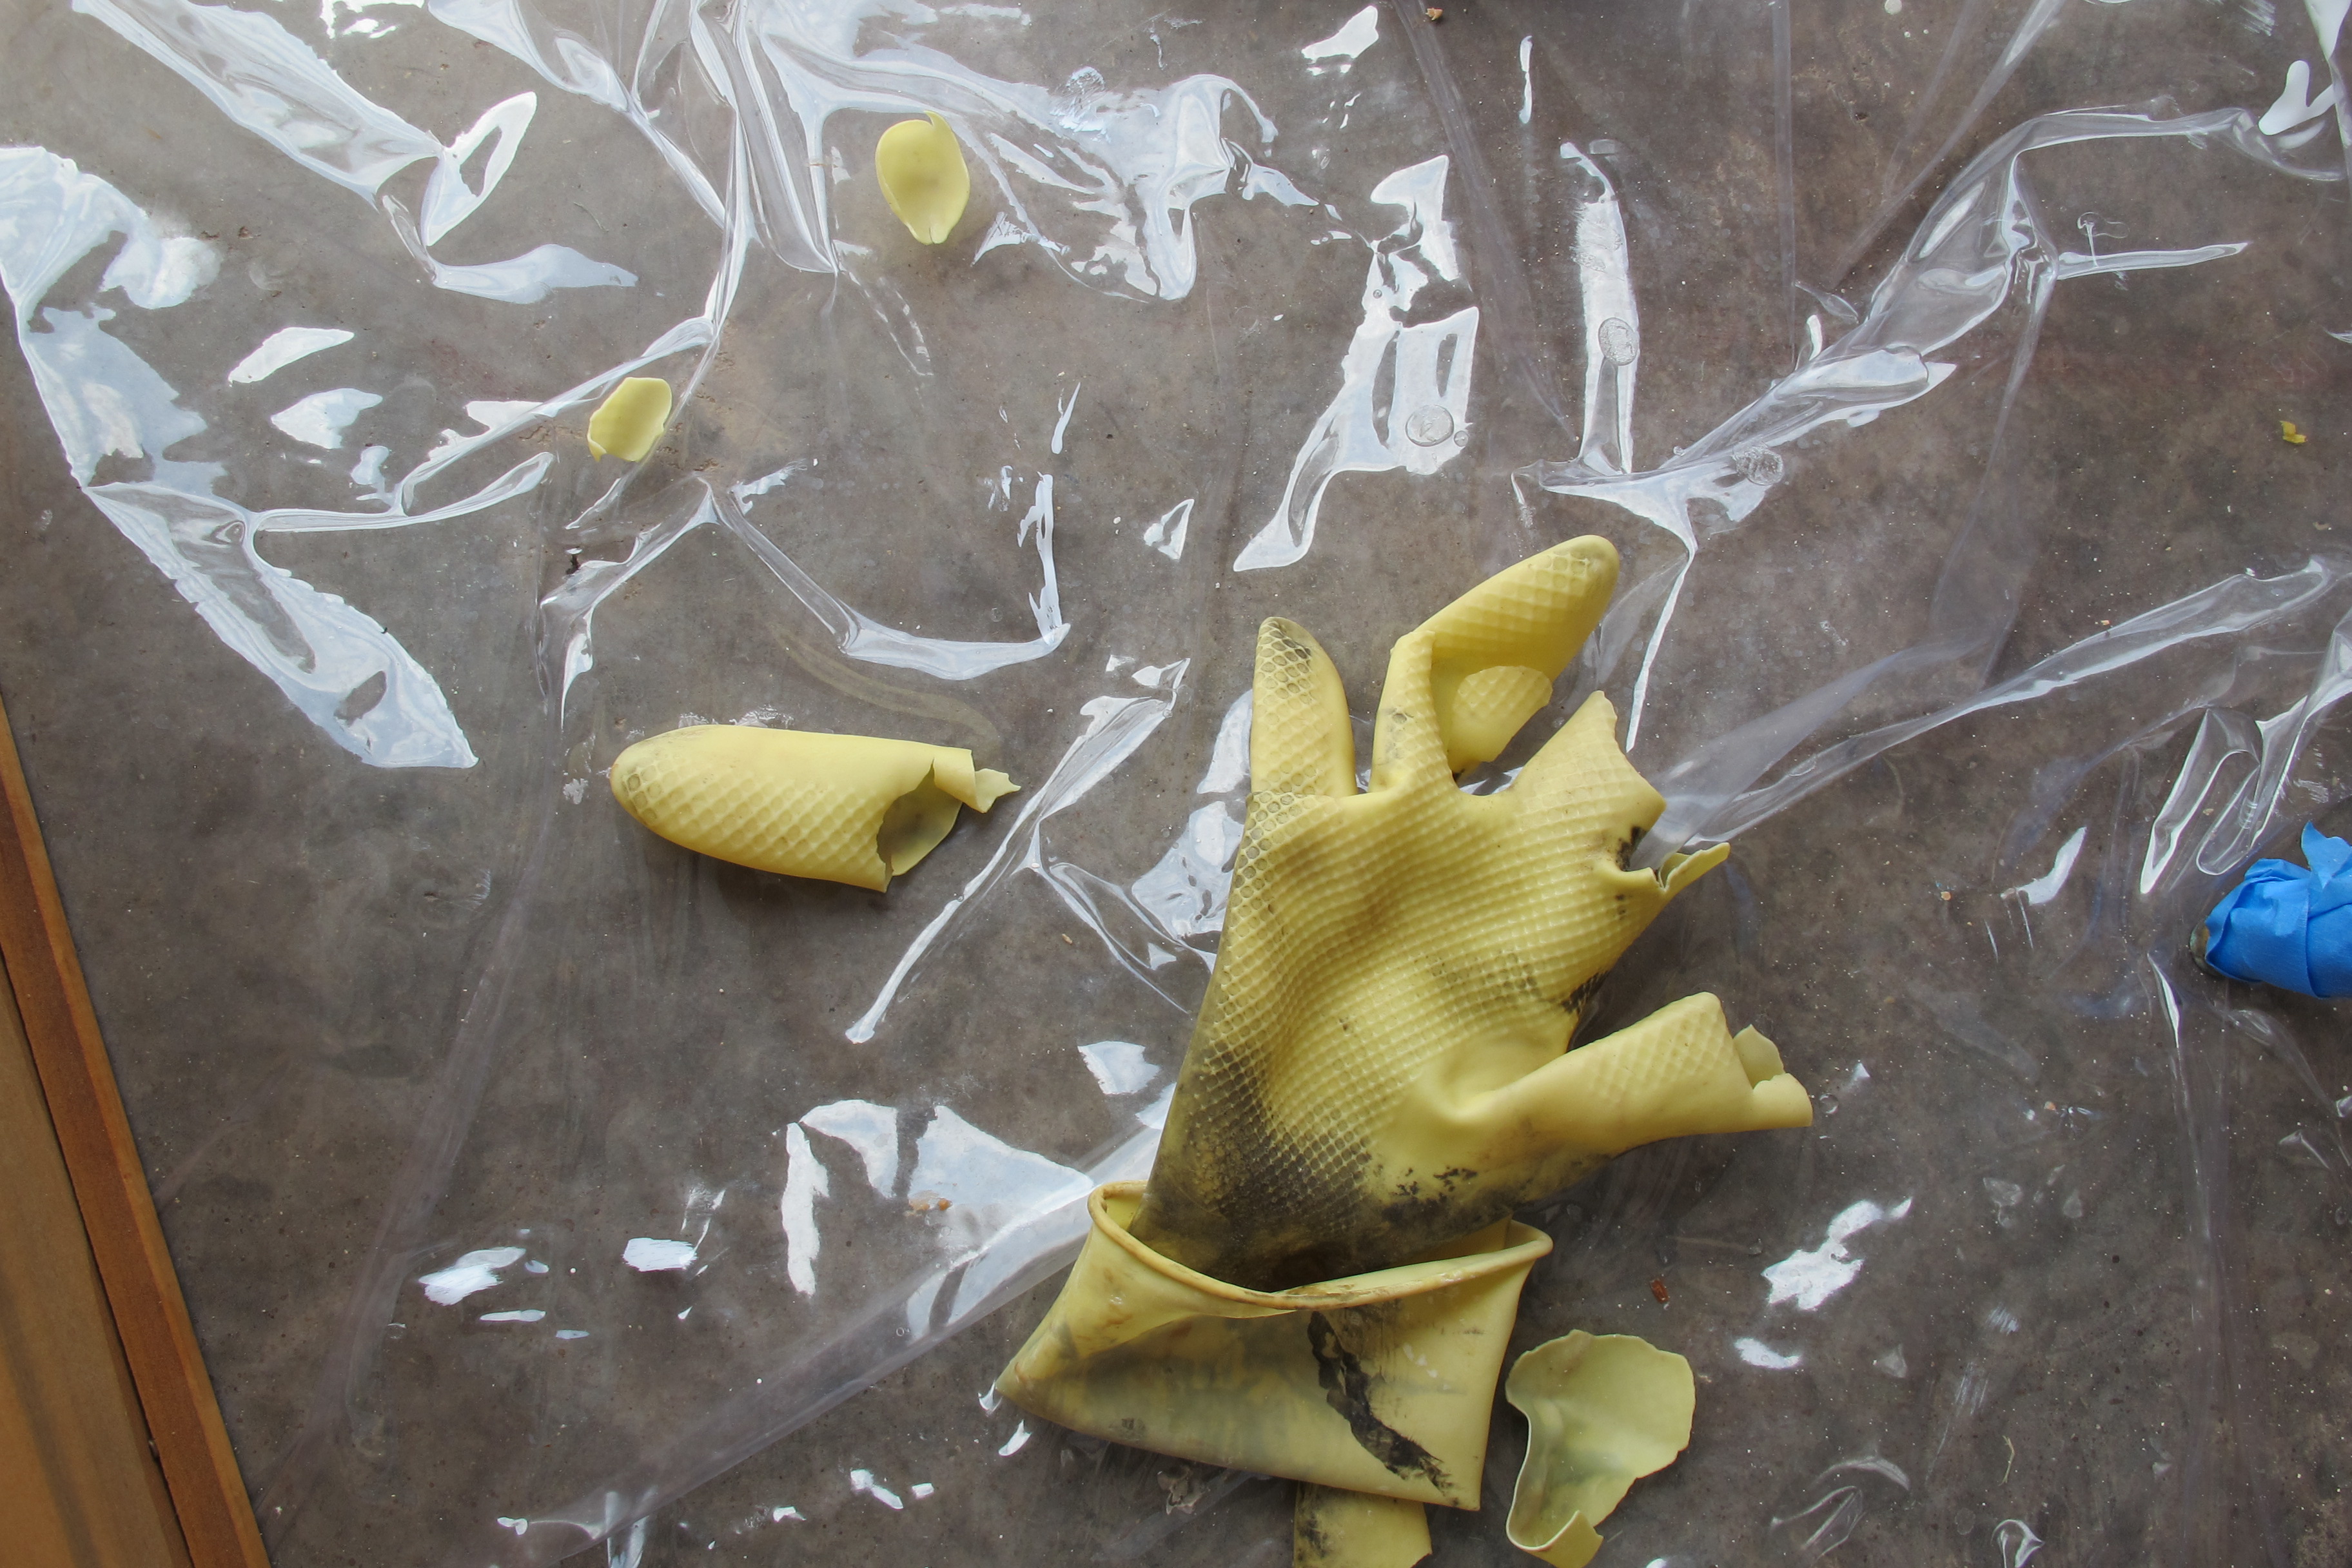
And these were the heavy-duty gloves, folks! TIP: Buy more gloves than you think you need.
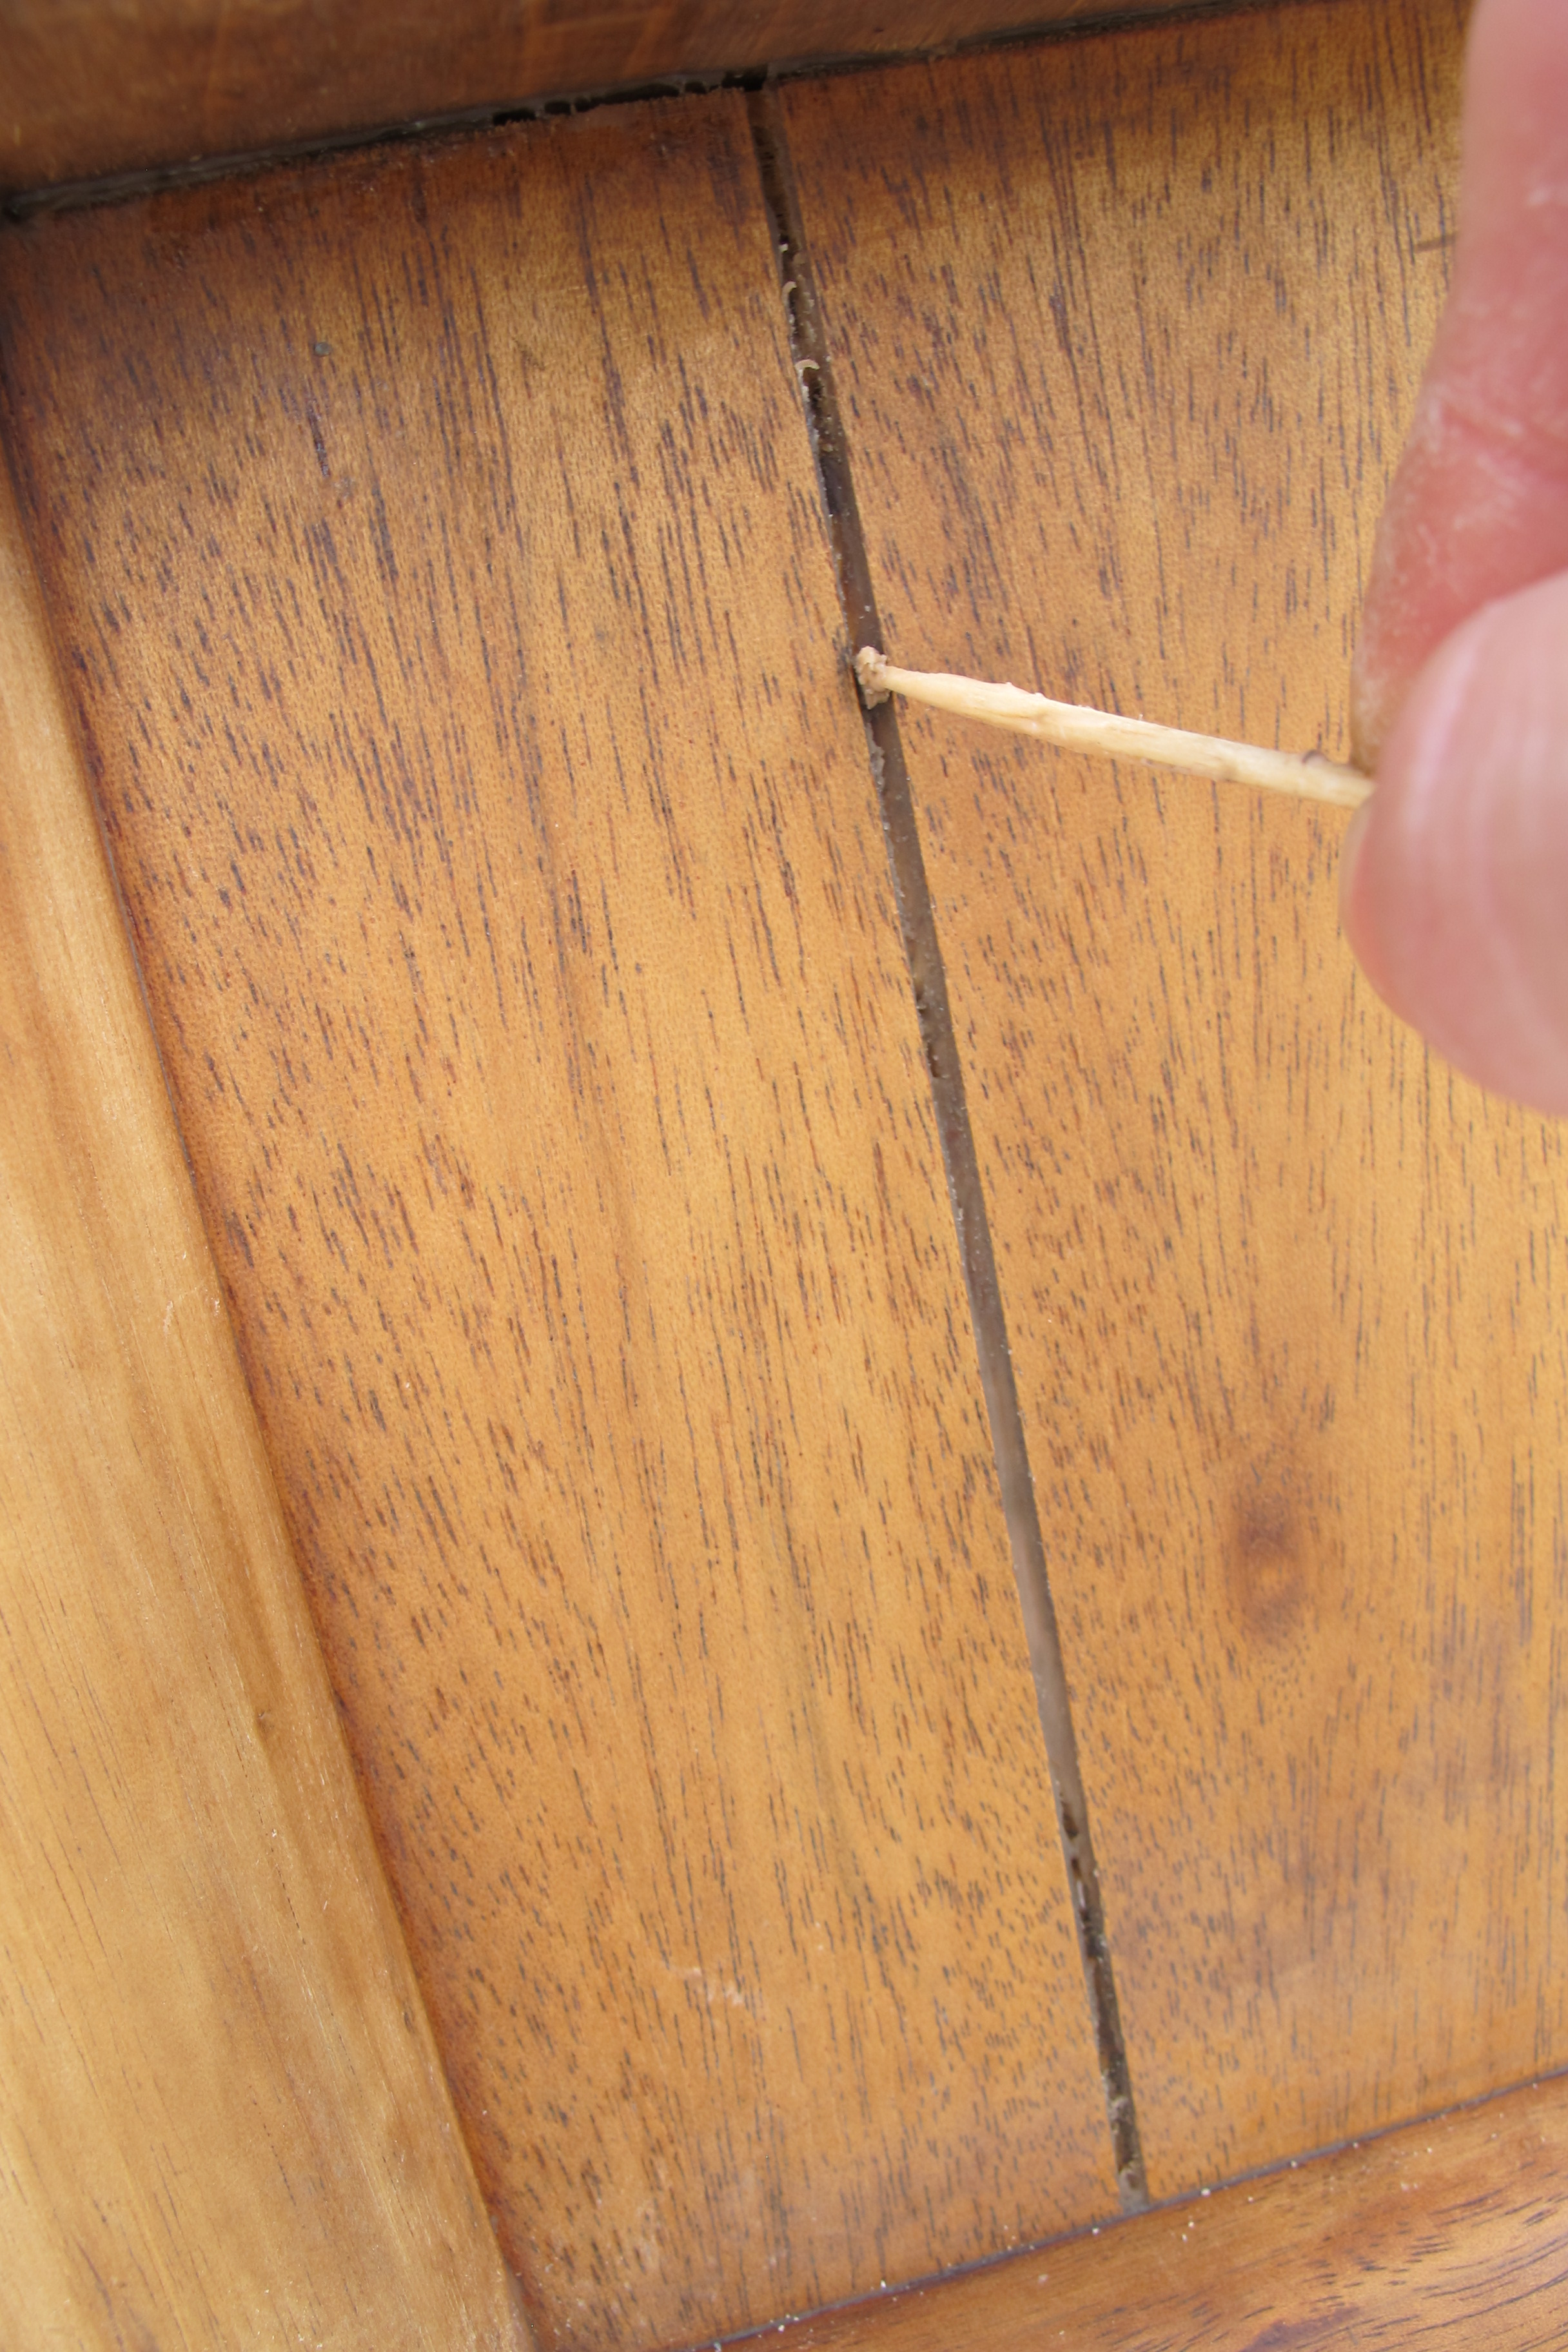
I used toothpicks for the little grooves…
And then (ahem!) a few days later, I gave the table one last scrub down with the mineral spirits.
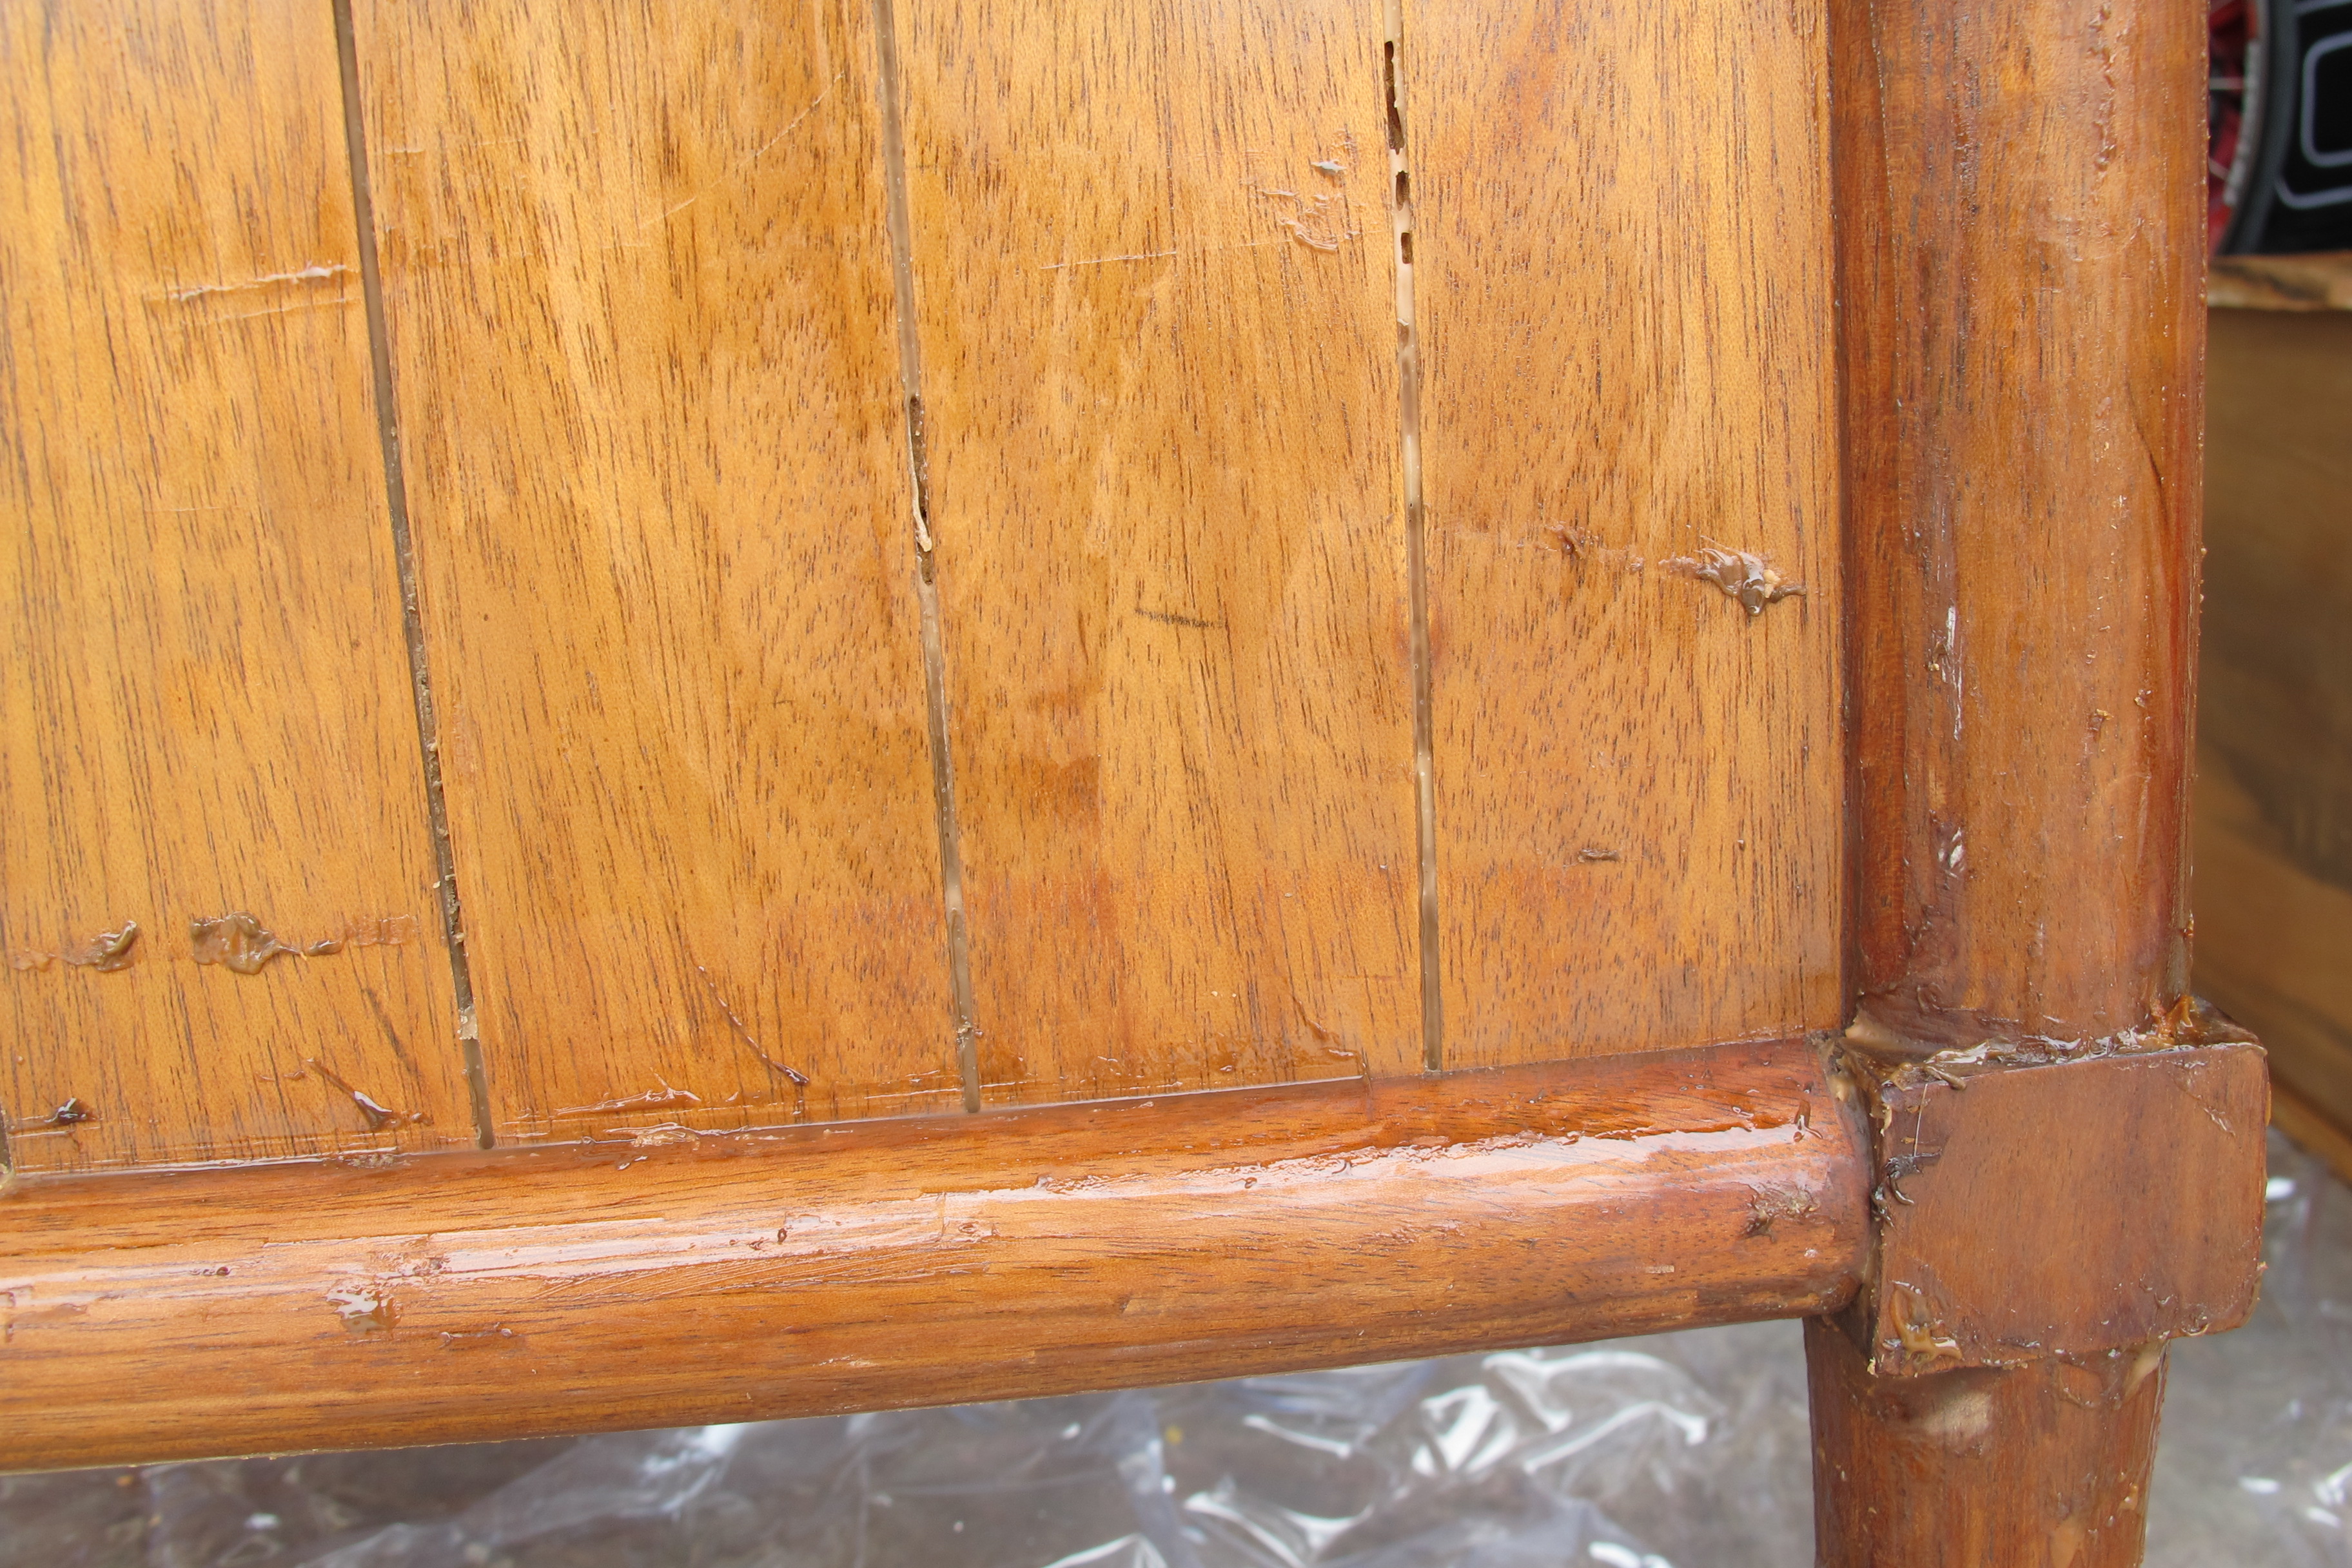
There were areas where the stripper dried in the crevices…

But I found that simply wiping on a little more stripper was enough to moisten the residue…

…so that it could be scraped out using a very small, pointy screwdriver.
The top of the table looked pretty good at this point, but felt wavy to the touch where that large damaged area was. So, I took the orbital sander with 220 grit sandpaper to it.

I got the top pretty smooth, but not perfect since I was afraid of sanding through the wood veneer.
I lightly hand-sanded the base of the table with more 220 grit in areas where I felt there was still residue. And then went over it again with mineral spirits. By this point, I had pretty much come to terms with the fact that stripping furniture is a time-consuming task no matter how you slice it. It’s definitely doable, though. And I was happy to see that I’d likely be able to stain the table after all my hard work. With that said…
Ladies and gentlemen, if you’re bashful I implore you to avert your eyes…. I give you naked furniture…

(applause! applause!)
I will say that the damaged spot is still mildly detectable (although it’s hard to see in the pictures)…

The texture is different from the rest of the top and the wood is slightly darker, but all-in-all it’s a vast improvement. I’m just curious if it’ll absorb the stain differently than the rest of the top. I guess I’ll just have to do it to find out.
I still have to finish stripping the coffee table, but decided to fully finish this little end table first to be sure it comes out well once stained. Since I want the two tables to match, if staining the end table doesn’t work out, I’ll paint it, thus there’s no point in wasting time stripping the coffee table if this is the case. So, I’ll update ya’ll once that’s done.
So anyways, that’s my story… Have ya’ll ever stripped furniture? Any stories to tell?? Tips??
Linked up at: Houseologie, Brepurposed, Anything & Everything, Home Stories A to Z, Lines Across, Sugar Bee Crafts, Home Coming, Tatertots & Jello


